

Our family room is a huge addition that the previous owners built. We love hanging out there, but the ceiling is awful. It’s a drop ceiling like what you see in office buildings – with the ugly grid and the speckled white tiles. Yuck! The tiles look aged, dirty and stained. It was time to change it up!
We looked into prices to replace it, but we were shocked by the cost! The room is huge (16ft x 30ft), so just to buy the regular old ugly tiles was going to cost a ton. So we did what any other cheap budget conscious person would do – research alternative options!
I found some really beautiful tiles to fit the grid, but they were crazy expensive. If we were going to splurge, we probably would’ve just bought tiles from decorativeceilingtiles.net because they have a ton of options and they’re beautiful.
Some of the links in this post are affiliate links. If you click the links and make a purchase, I will earn a small commission at no additional cost to you.
First Idea: Foam Boards
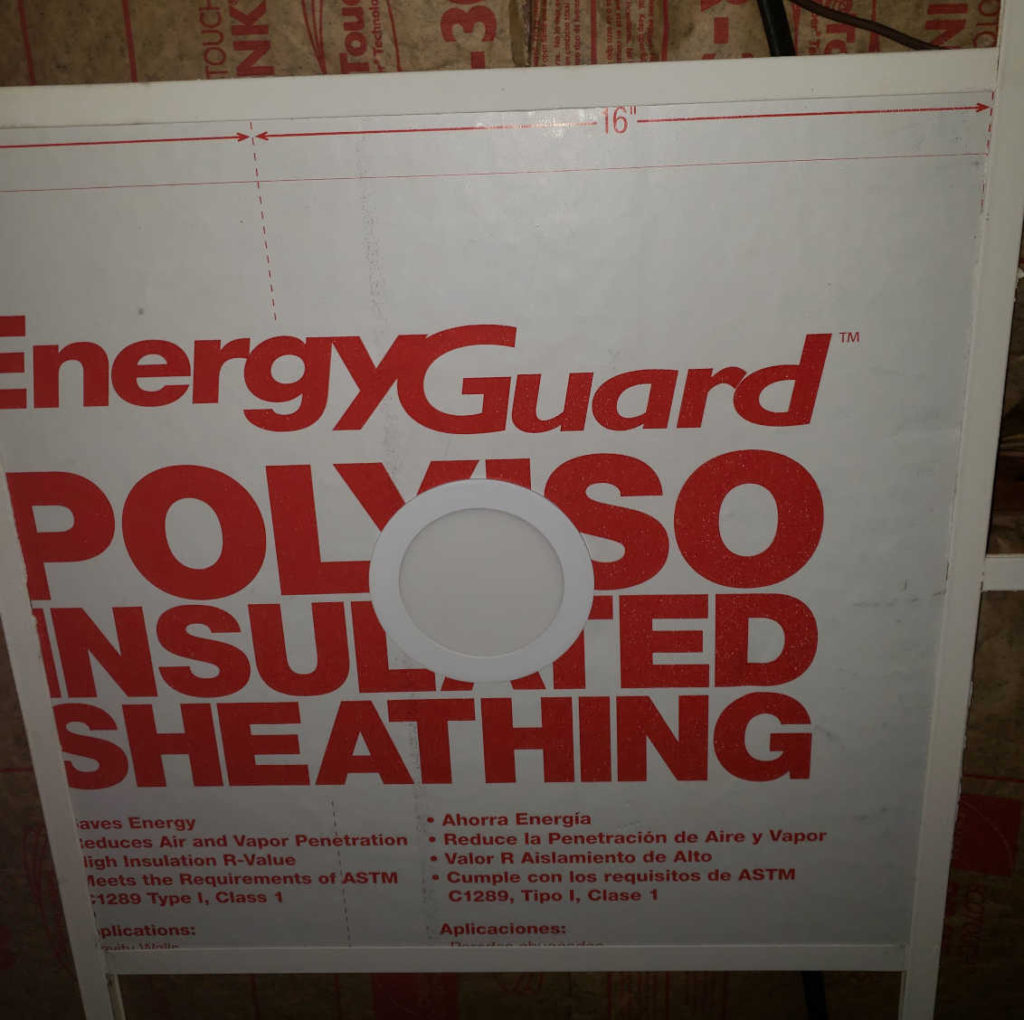
Eventually, we discovered some foam boards at the hardware store that were pretty cheap. They come in 4ft x 8ft pieces, so it could be cut into four tiles. A little paint on them would hide the ugly lettering and make it match the room. This would allow us to have a custom colored drop ceiling! As a bonus, these act as insulation, so it would help insulate the room from the sweltering summer sun!
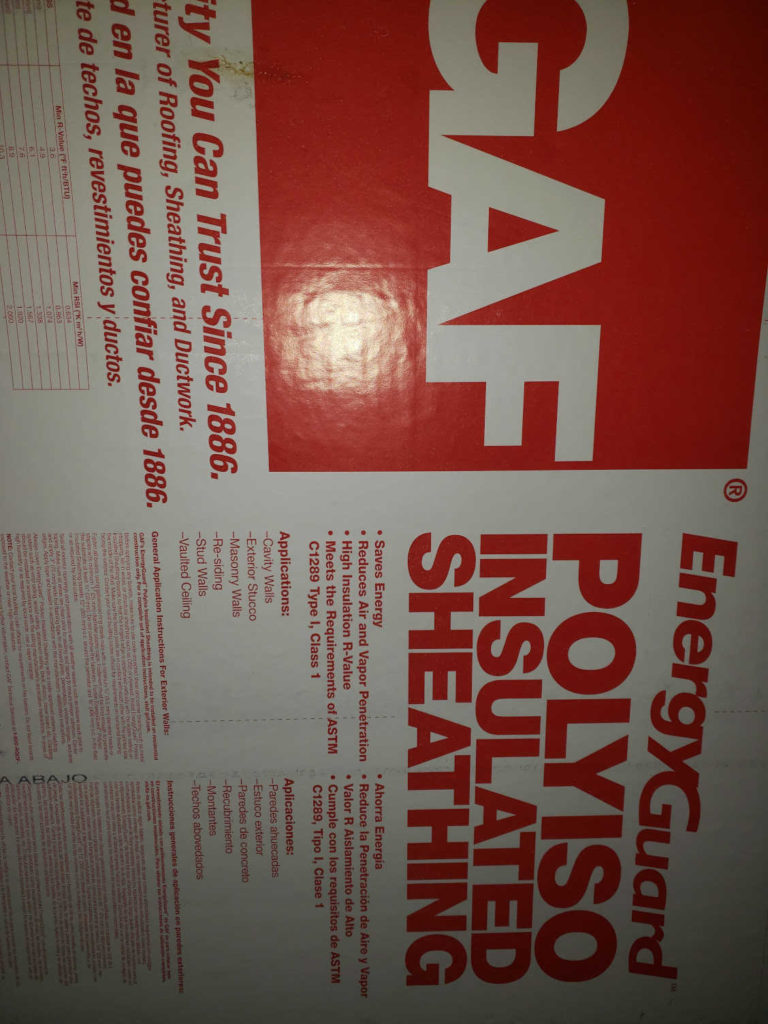
We decided to go for it and bought one to try out our idea. It worked pretty well, but it was super messy to cut. As we cut the foam with a utility knife, it flaked little foam balls everywhere. Once they were the right size to fit our grid (2ft x 4ft), we put them in place for a trial run. They were a bit tricky to put up because they’re not very flexible. We weren’t completely sold on the idea of using tiles for the whole family room.
Second Idea: Acoustic Foam
The trial of foam boards left us looking for a new option that was flexible and (hopefully) less messy to cut. We were also hoping to find a material to act as an insulator and sound dampener. I scoured the internet for days, searching for the best option at a reasonable price. Unfortunately, a lot of foam that’s marketed for sound dampening is quite expensive. I finally found acoustic foam at thefoamfactory.com for a reasonable price! We ordered the wedge style in the 24″ x 48″ x 1″ because the price was great and we liked the design.
Update the Ugly Drop Ceiling Grid
While waiting for our foam to be delivered, we worked on the ugly drop ceiling grid. Most of the grid had old, yellowed paint on it and some areas had stains. We tossed around the idea of painting the grid for a simple update. First I thought that we could use the paint color to hide the grid. We scratched this idea because we realized that the flat grid would be noticeable next to the wedge foam.
If we couldn’t hide the grid, we wanted to make it look better. So, we came up with the idea to make the grid wider. We used a thin sheet of plywood and cut it into 1″ wide strips, then I painted the strips.
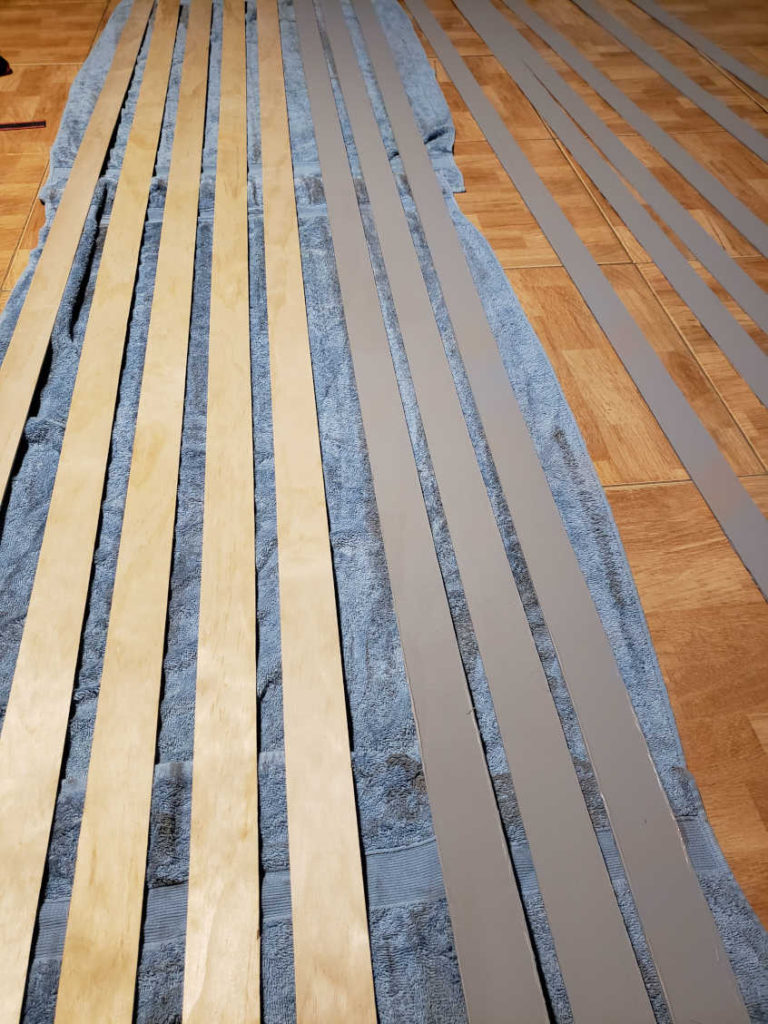
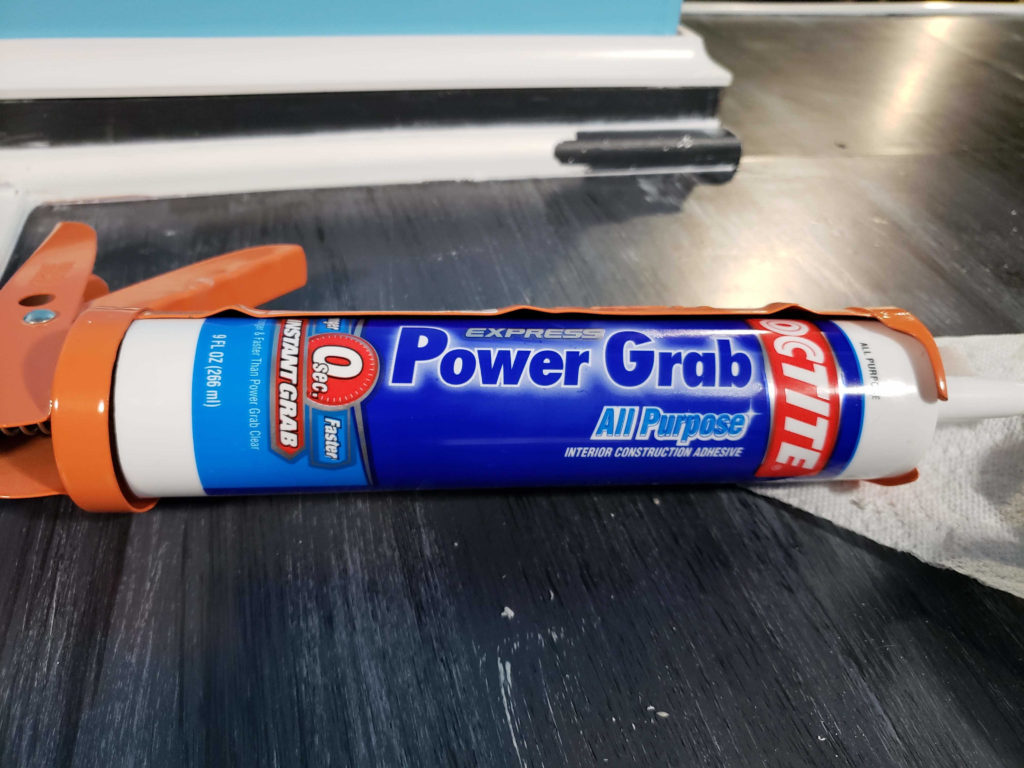
After they dried, we used adhesive in a caulking gun and clamps to put the strips over the grid. We started with the long grids, then went back and applied the short strips. We applied the adhesive to the back of the strip, then put it into place and clamped it to the grid. This process involved a lot of sitting and waiting because we didn’t have enough clamps to do the whole room at once.

power grab adhesive strip glued and clamped
Updating the Lighting
The only lighting in this room was two ceiling fans with lights. We knew that we wanted to remove the ceiling fans and switch to other lighting options. The room is really big, so having two regular ceiling lights in place of the fans wouldn’t light the room properly. We liked the idea of recessed lighting, but there wasn’t enough room to fit the big cans above the ceiling.
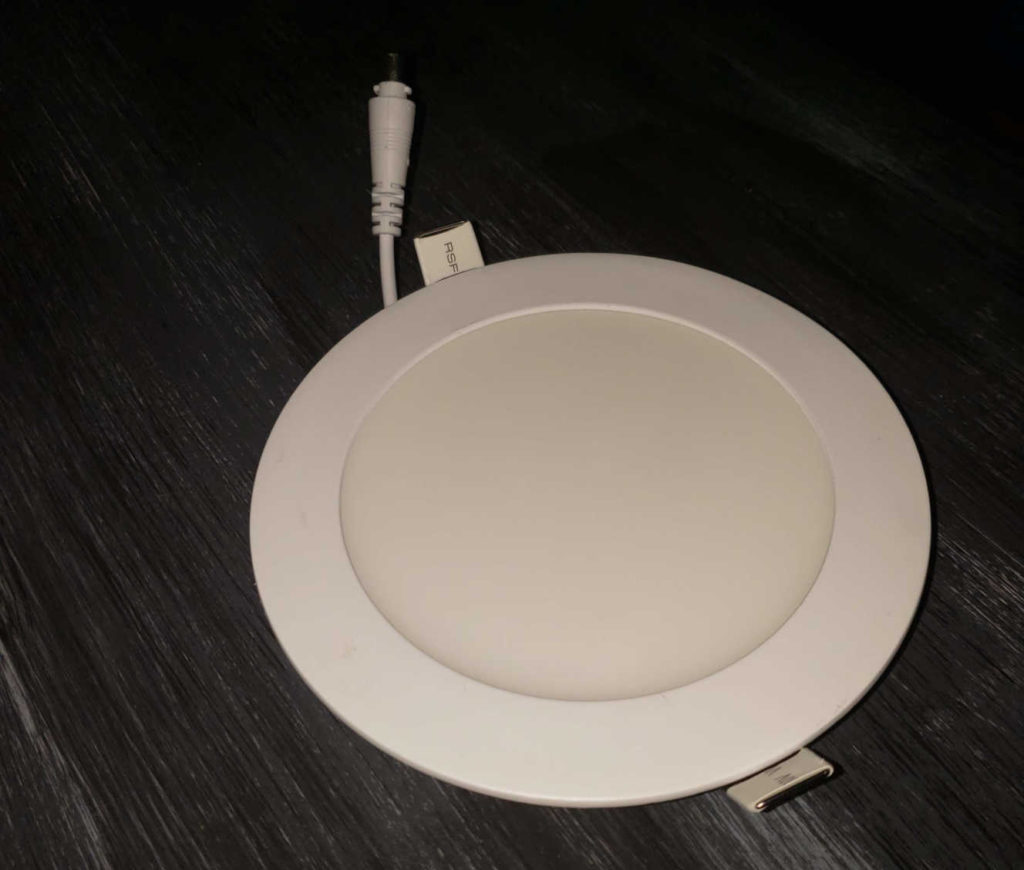
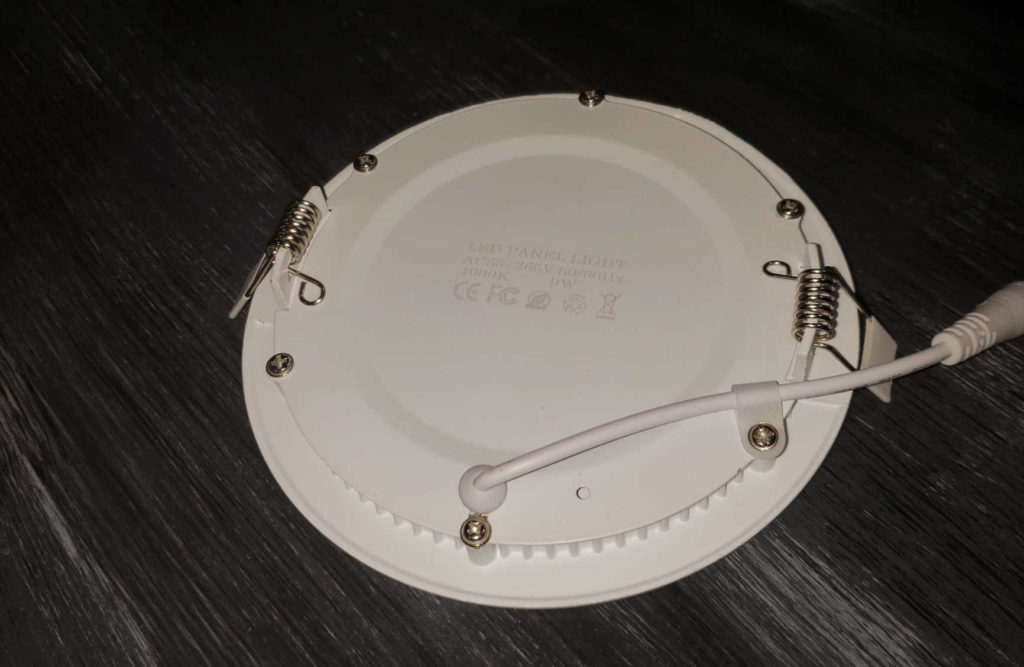
We checked the hardware store for other options to the big, bulky cans and found thin LED, but they were pretty pricey. I searched the internet for good deals on this type of light and found these on Amazon for a great price! I ordered two packs because we knew that we wanted 8 lights in total, spread out over the room.
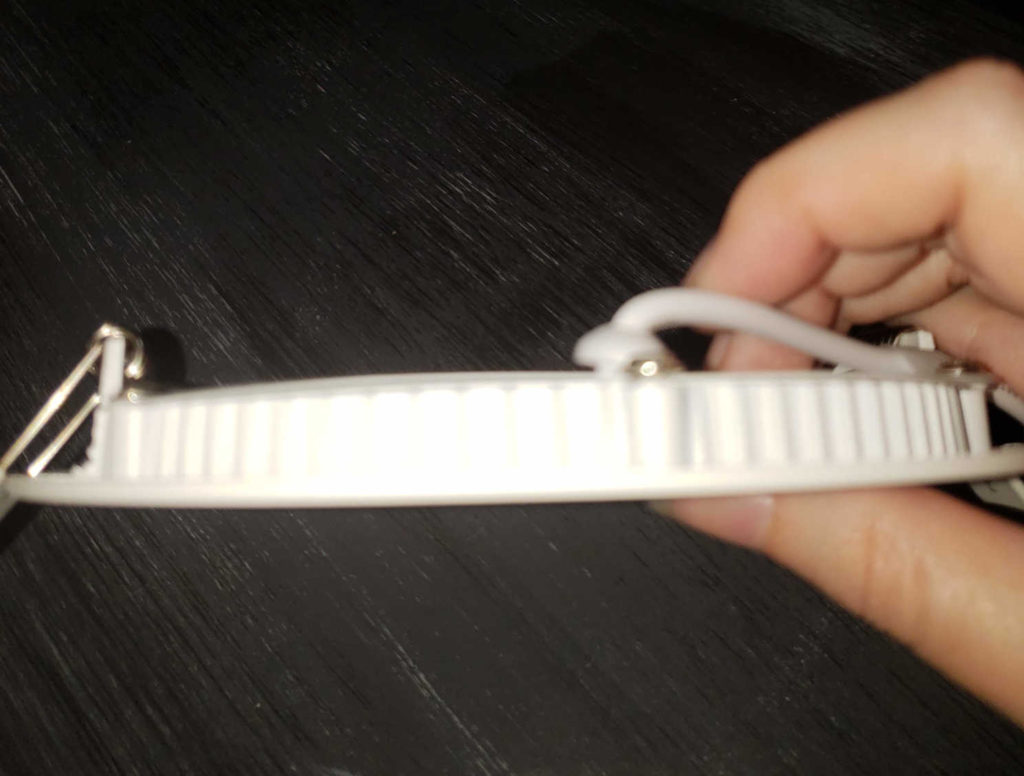
LED recessed light: front LED recessed light: side LED recessed light: back
Mounting the Lights
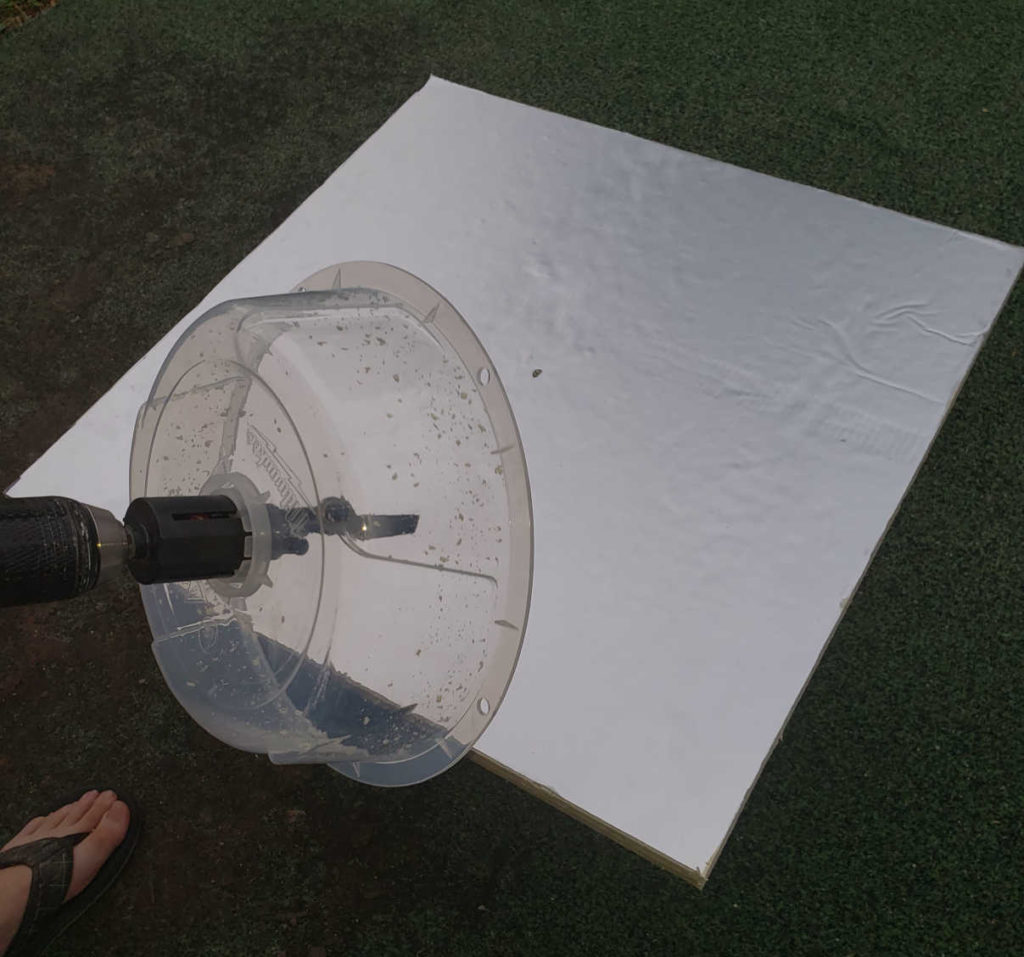
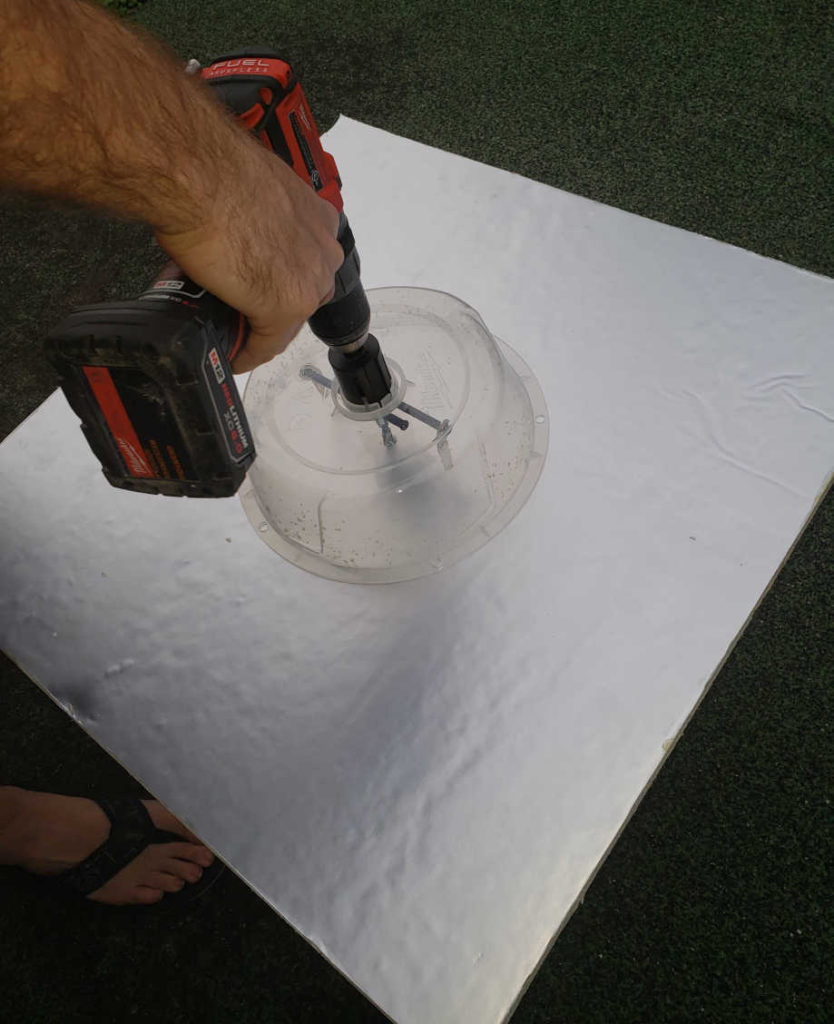
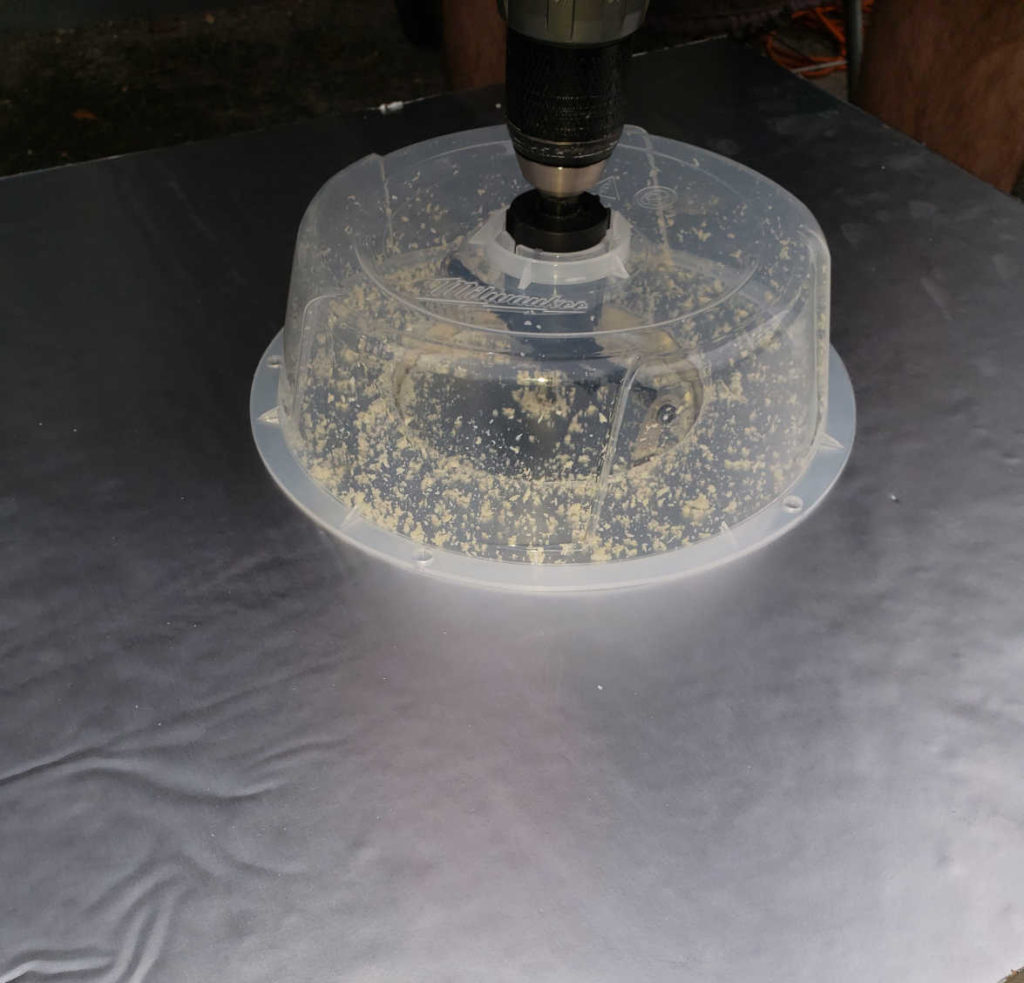
We realized that the lights would be too heavy for the acoustic foam to hold up, so we had to come up with another idea to put the lights in the ceiling. It turns out, the foam board was perfect for this. It was rigid and sturdy, and could easily hold the weight of the light! Now we just needed a way to cut a perfect circle in the center of the foam board “tile”. Another trip to the hardware store revealed this little gem. A hole cutting tool for your electric drill!
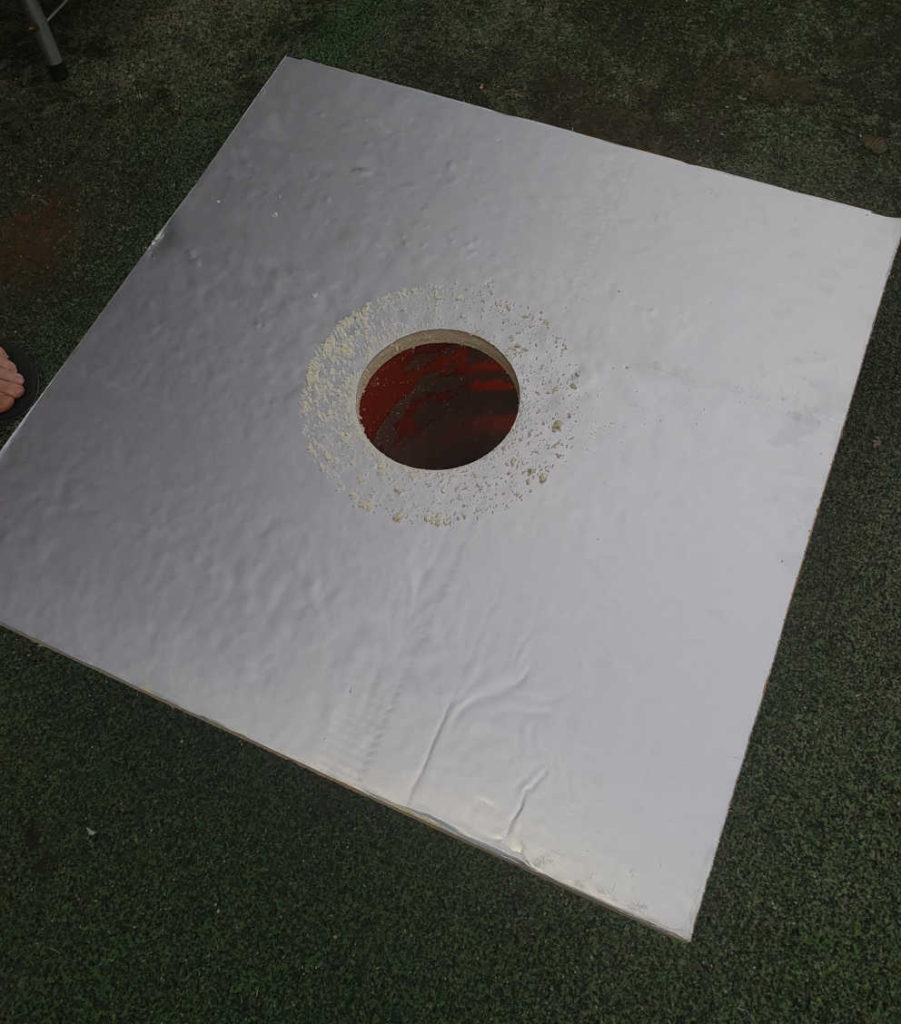
Once the holes were cut, we put them in the ceiling grid and hubby connected the wiring for the lights. We used these dimmers to control the lights. Then we used the clips on the light to place it in the tile. Those little buggers really grab on, so the light feels super secure in the tile!
Cut and Insert Foam into Grid
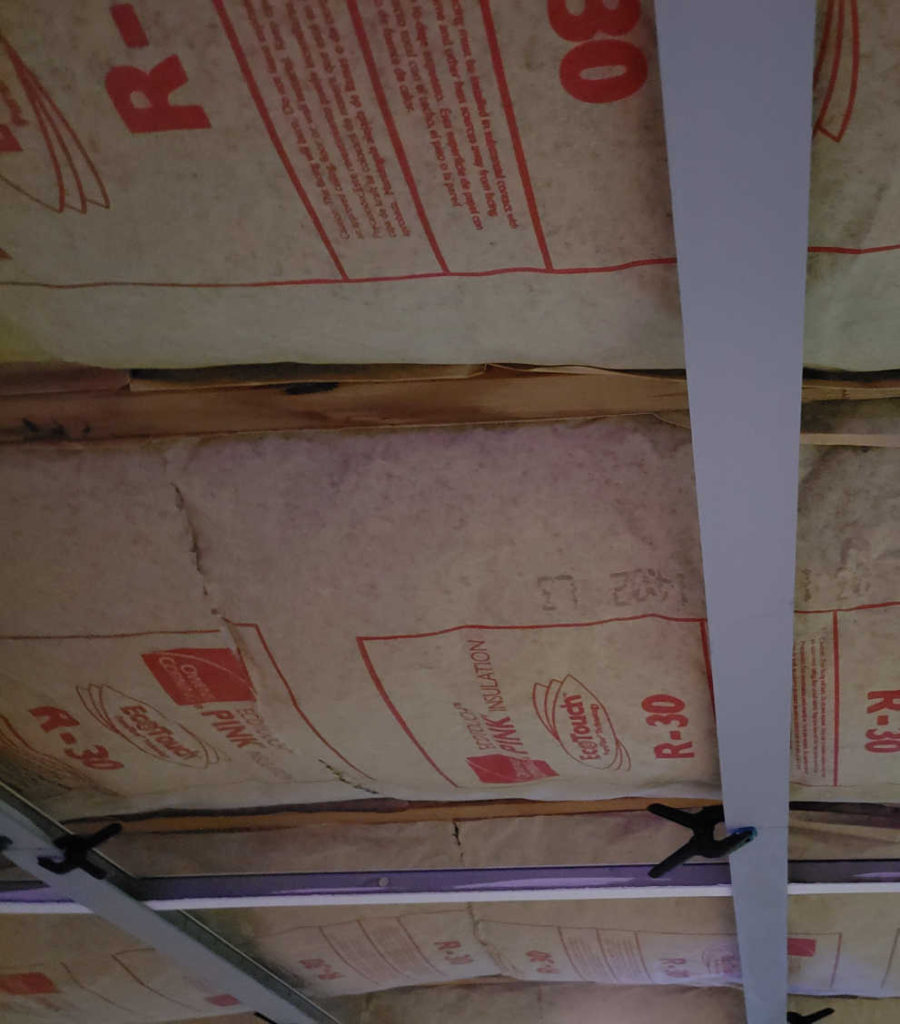
Our foam finally arrived, so we got busy trimming the pieces to fit the grid. We discovered quickly that the foam sagged in the grid because it’s so flimsy. A quick fix for this was to add these insulation rods to hold the foam up. We used two rods for each 2×4 foam tile, but you could use more if your tiles are sagging.
Finish it Up
All that’s left to do is paint the tiles that hold the lights. I think I will take the tiles down and remove the lights for this part because I’m a messy painter! We decided on a gray color that matches the foam tiles so that they will blend in.
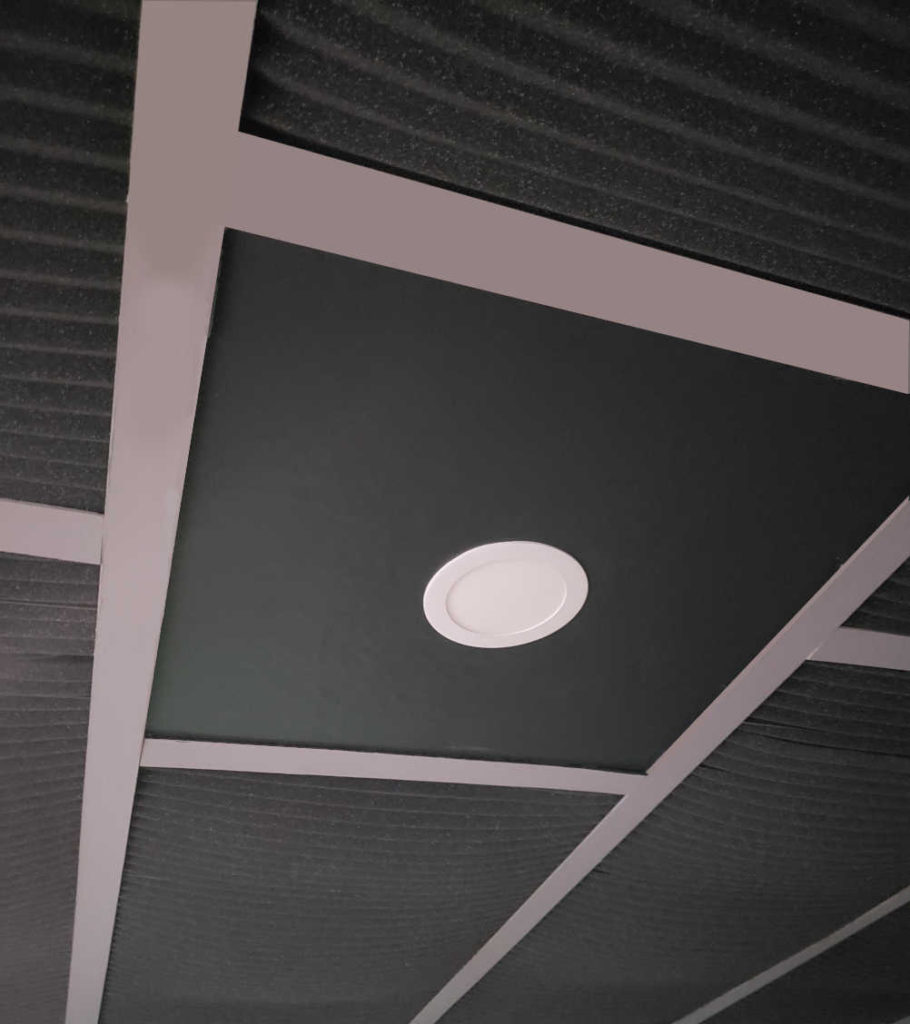
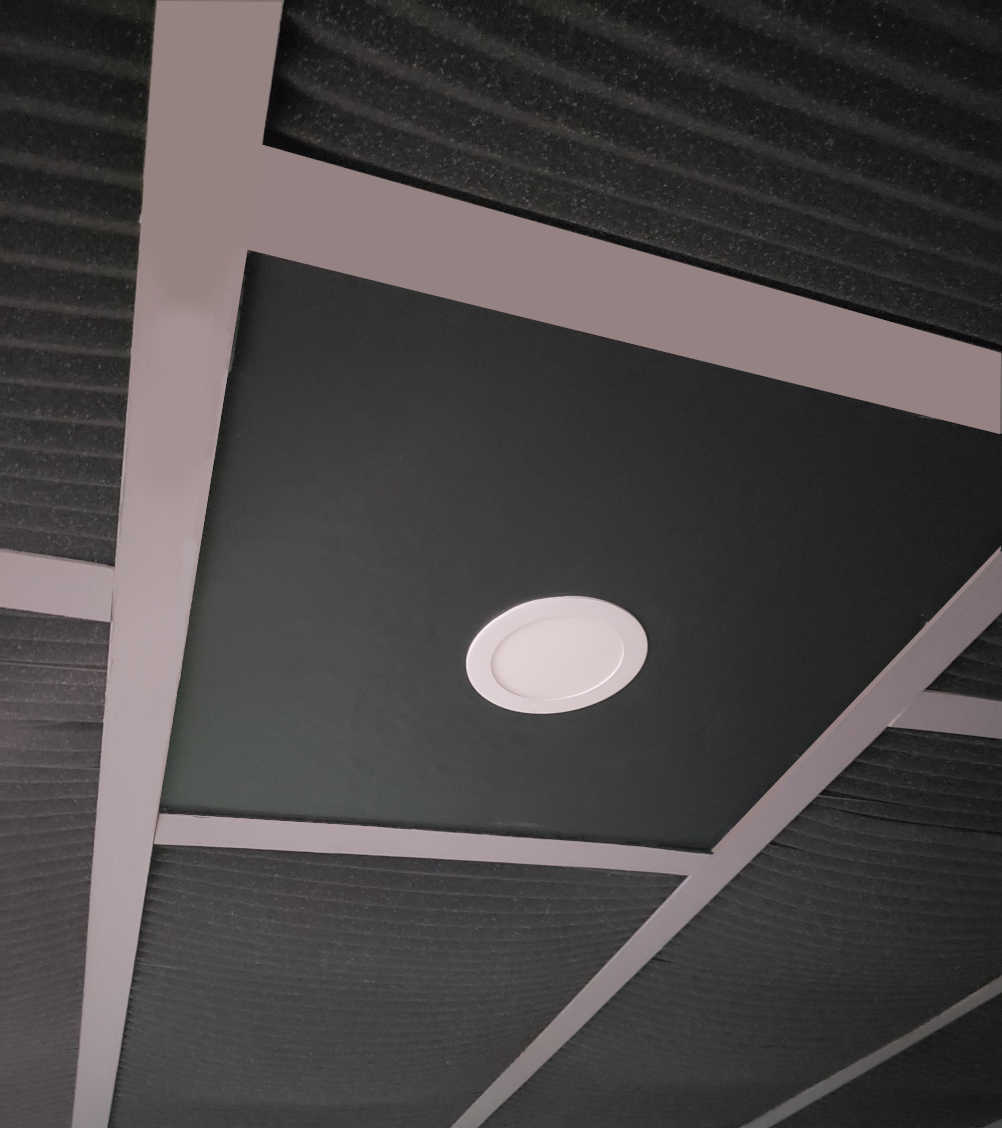
So there you have it – a custom drop ceiling that adds sound dampening and excellent lighting with LED recessed lights. It’s just as functional as it is beautiful! What do you guys think?
Oh wow! I love it! You are just so creative. =)
Thanks, Dani! We’re really happy with how it turned out. 🙂
Do you have a Youtube channel as well with this kind of content on it? I would love to see this post about drop ceiling installation turned into a longer video if possible. Maybe I can share on it on my website. https://www.readingdrywall.com/
Hi Marinet, I currently don’t have a Youtube channel and I have no video footage of any of my posts. This is a great idea though, and it might be something that I add in the future.