

Simple Steps to Build Your Own Half Wall
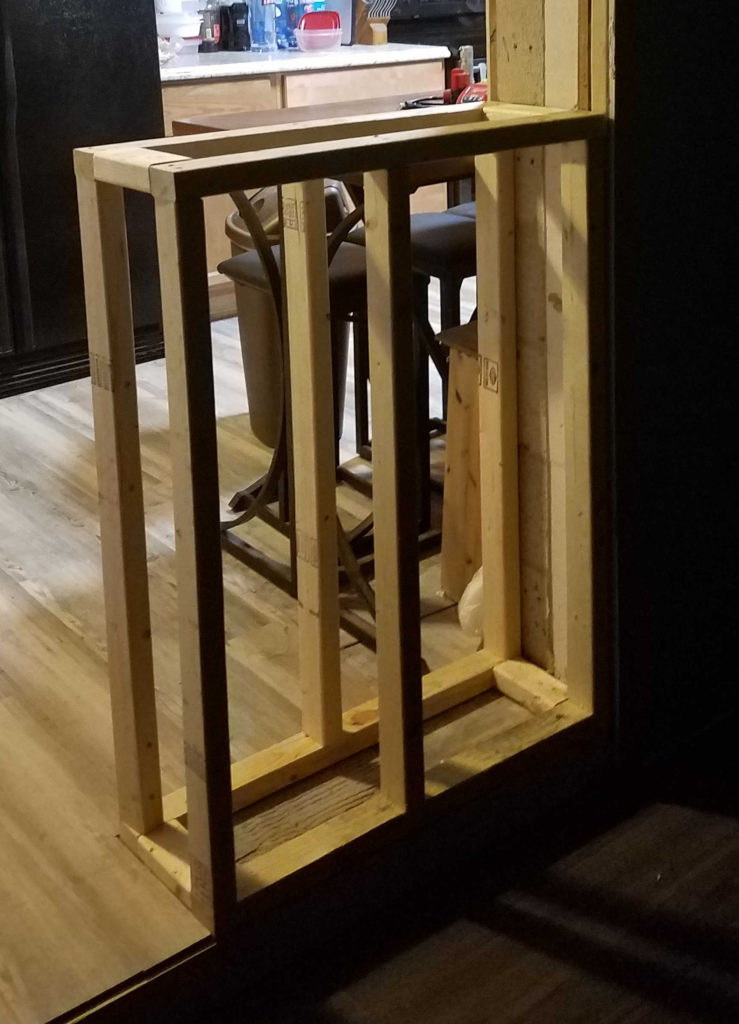
My kitchen has needed help for a long, long time. There’s not enough counter space, not enough storage space, and overall it’s just a boring room. It leads to our (very large) family room, which was an addition to the house (more details on this room in another post!). The opening between the kitchen and family room is very wide. It used to hold a sliding glass door before the room addition. We’ve lived with the extra-large opening for 12 years now, and finally decided that it was time to change things up.
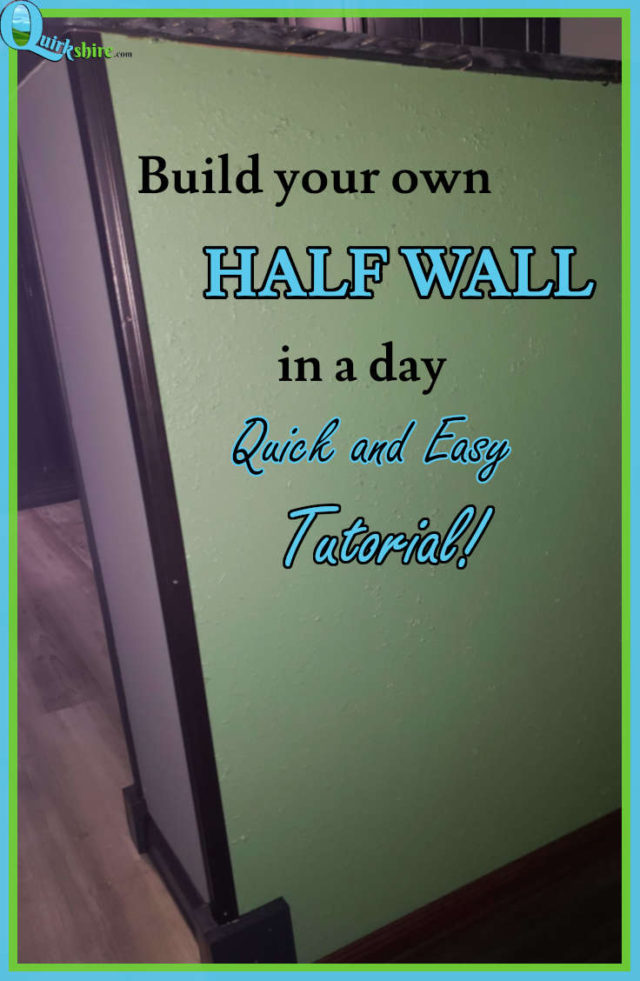
My husband and I debated between putting up a full wall or a half wall. The full wall would allow for a lot more cabinets, but the half wall would allow for a small bar with a couple cabinets. I’ve always wanted a kitchen island to seat guests, but our kitchen simply isn’t big enough for this. So, we opted for the next best thing: a small bar with just a few cabinets option. To accomplish this, we first had to build a half wall to close up part of this huge opening. Today, I will show you how we built the half wall!
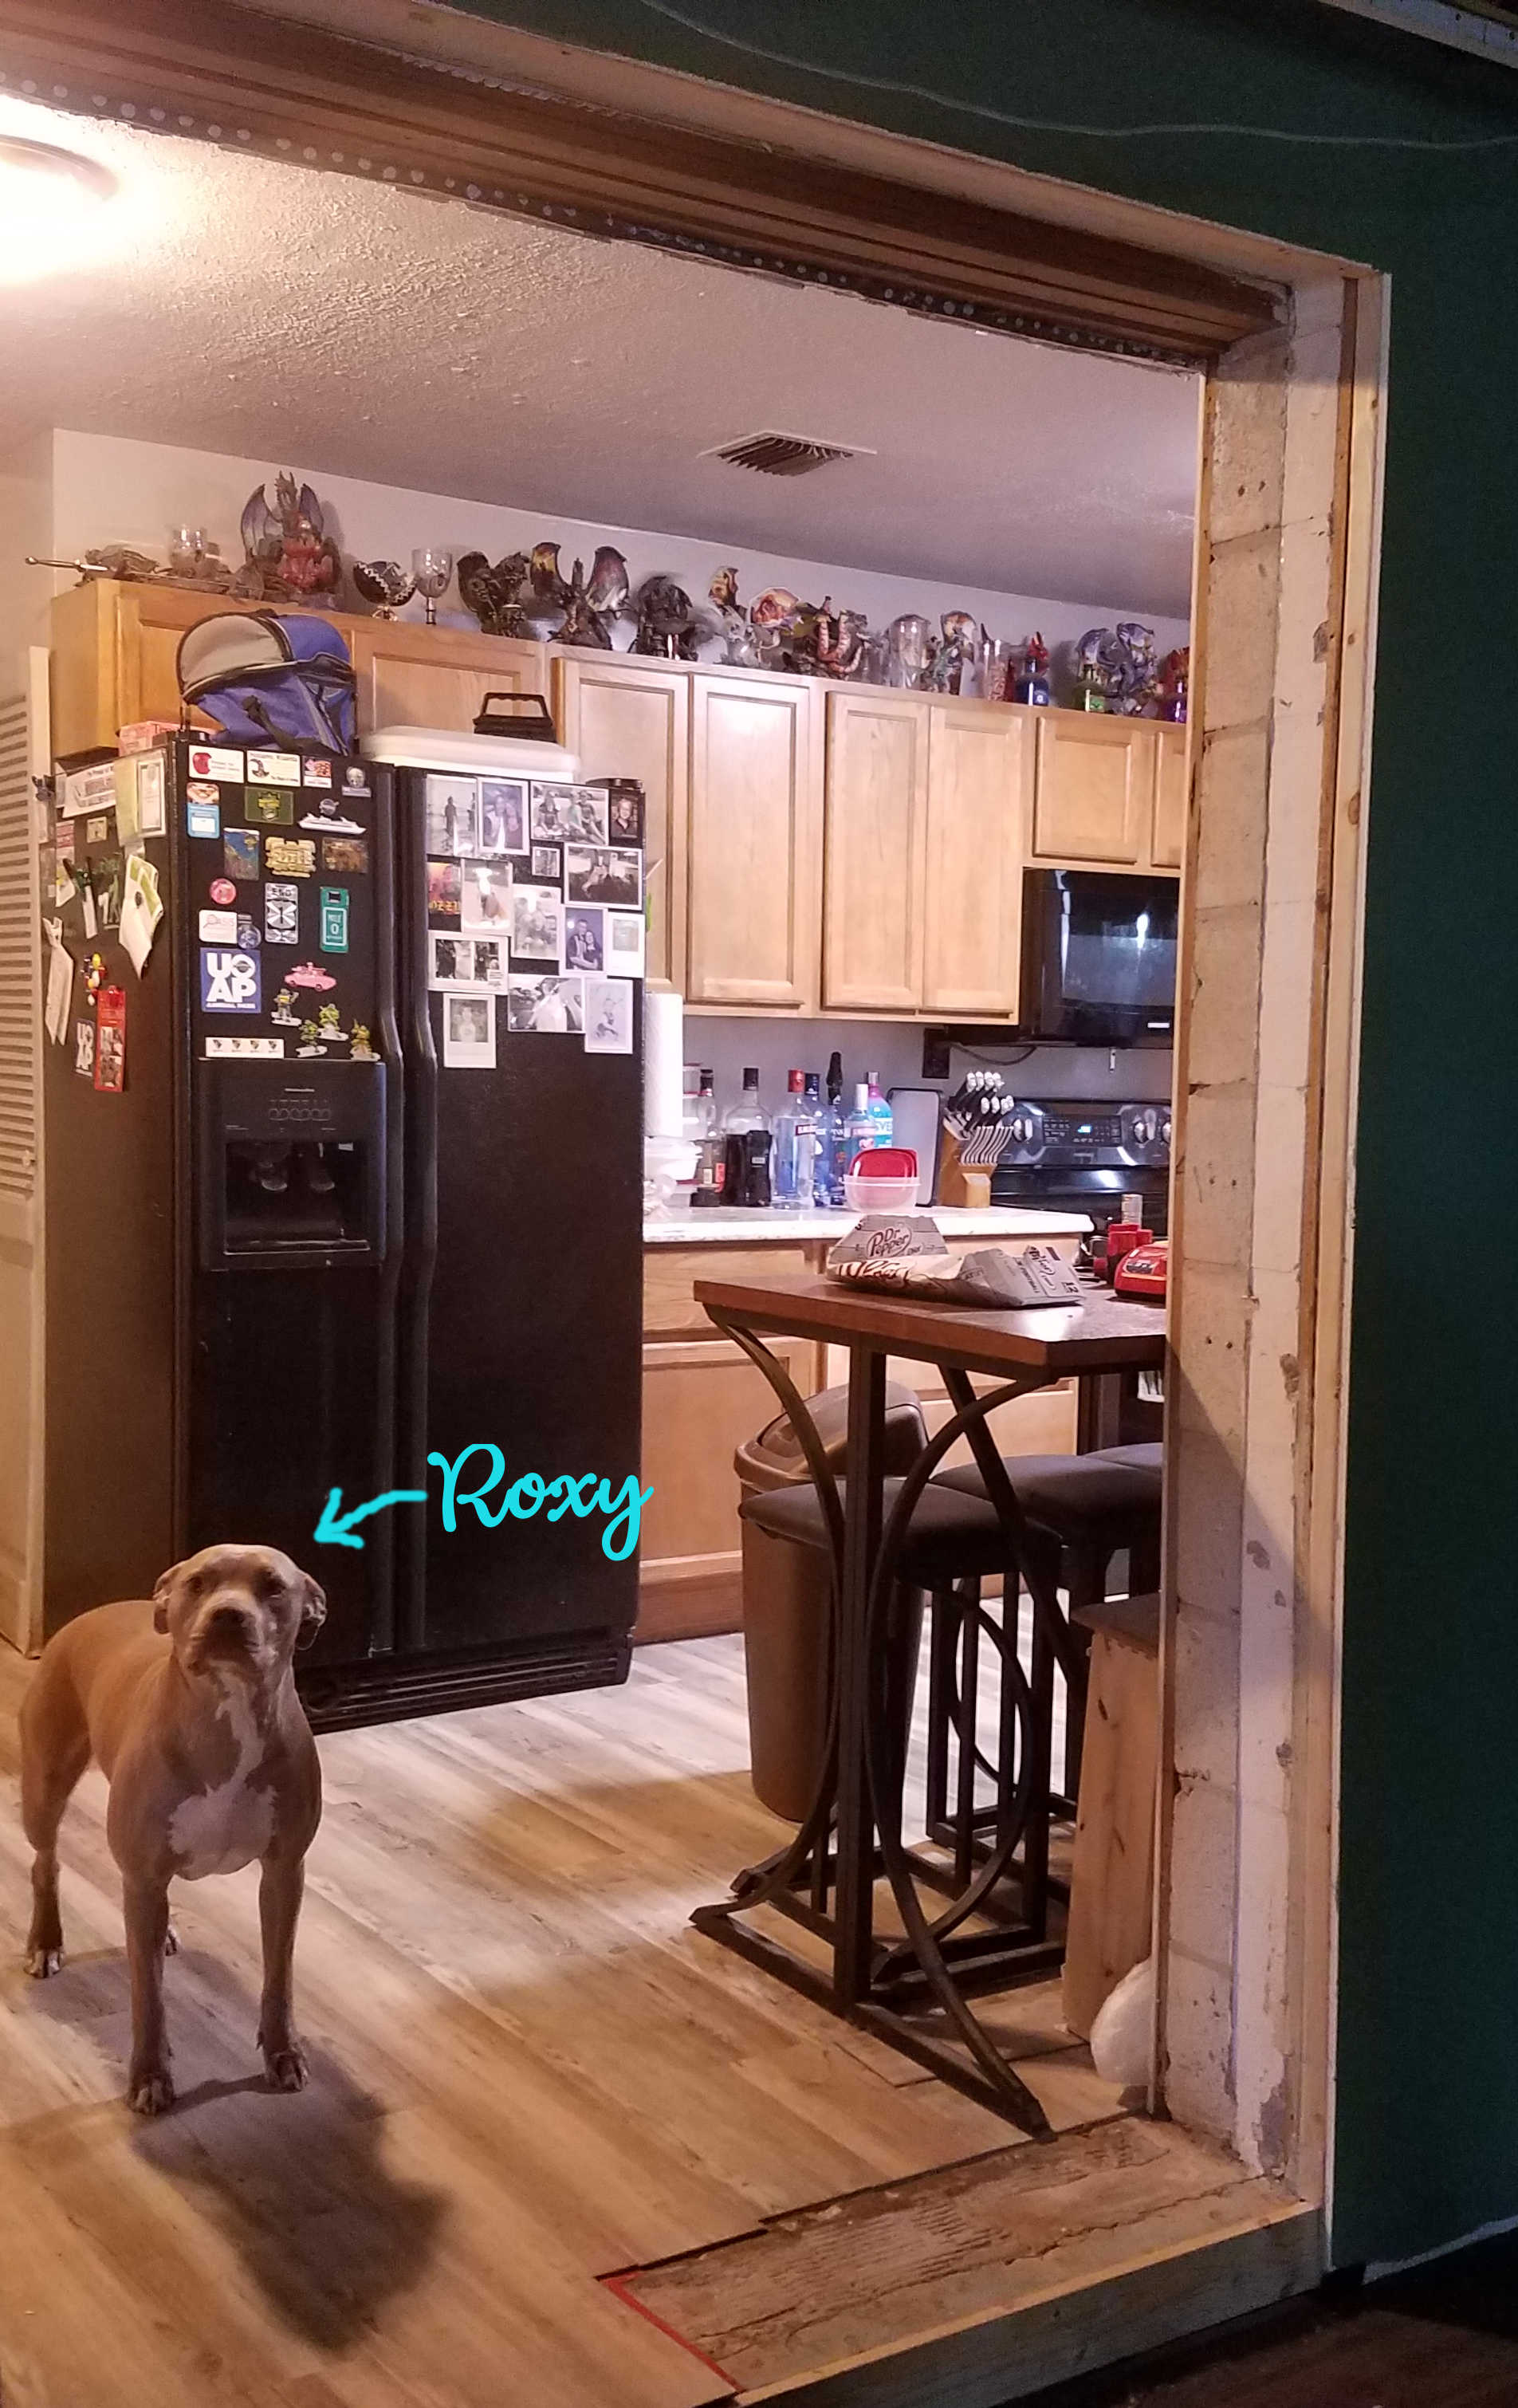
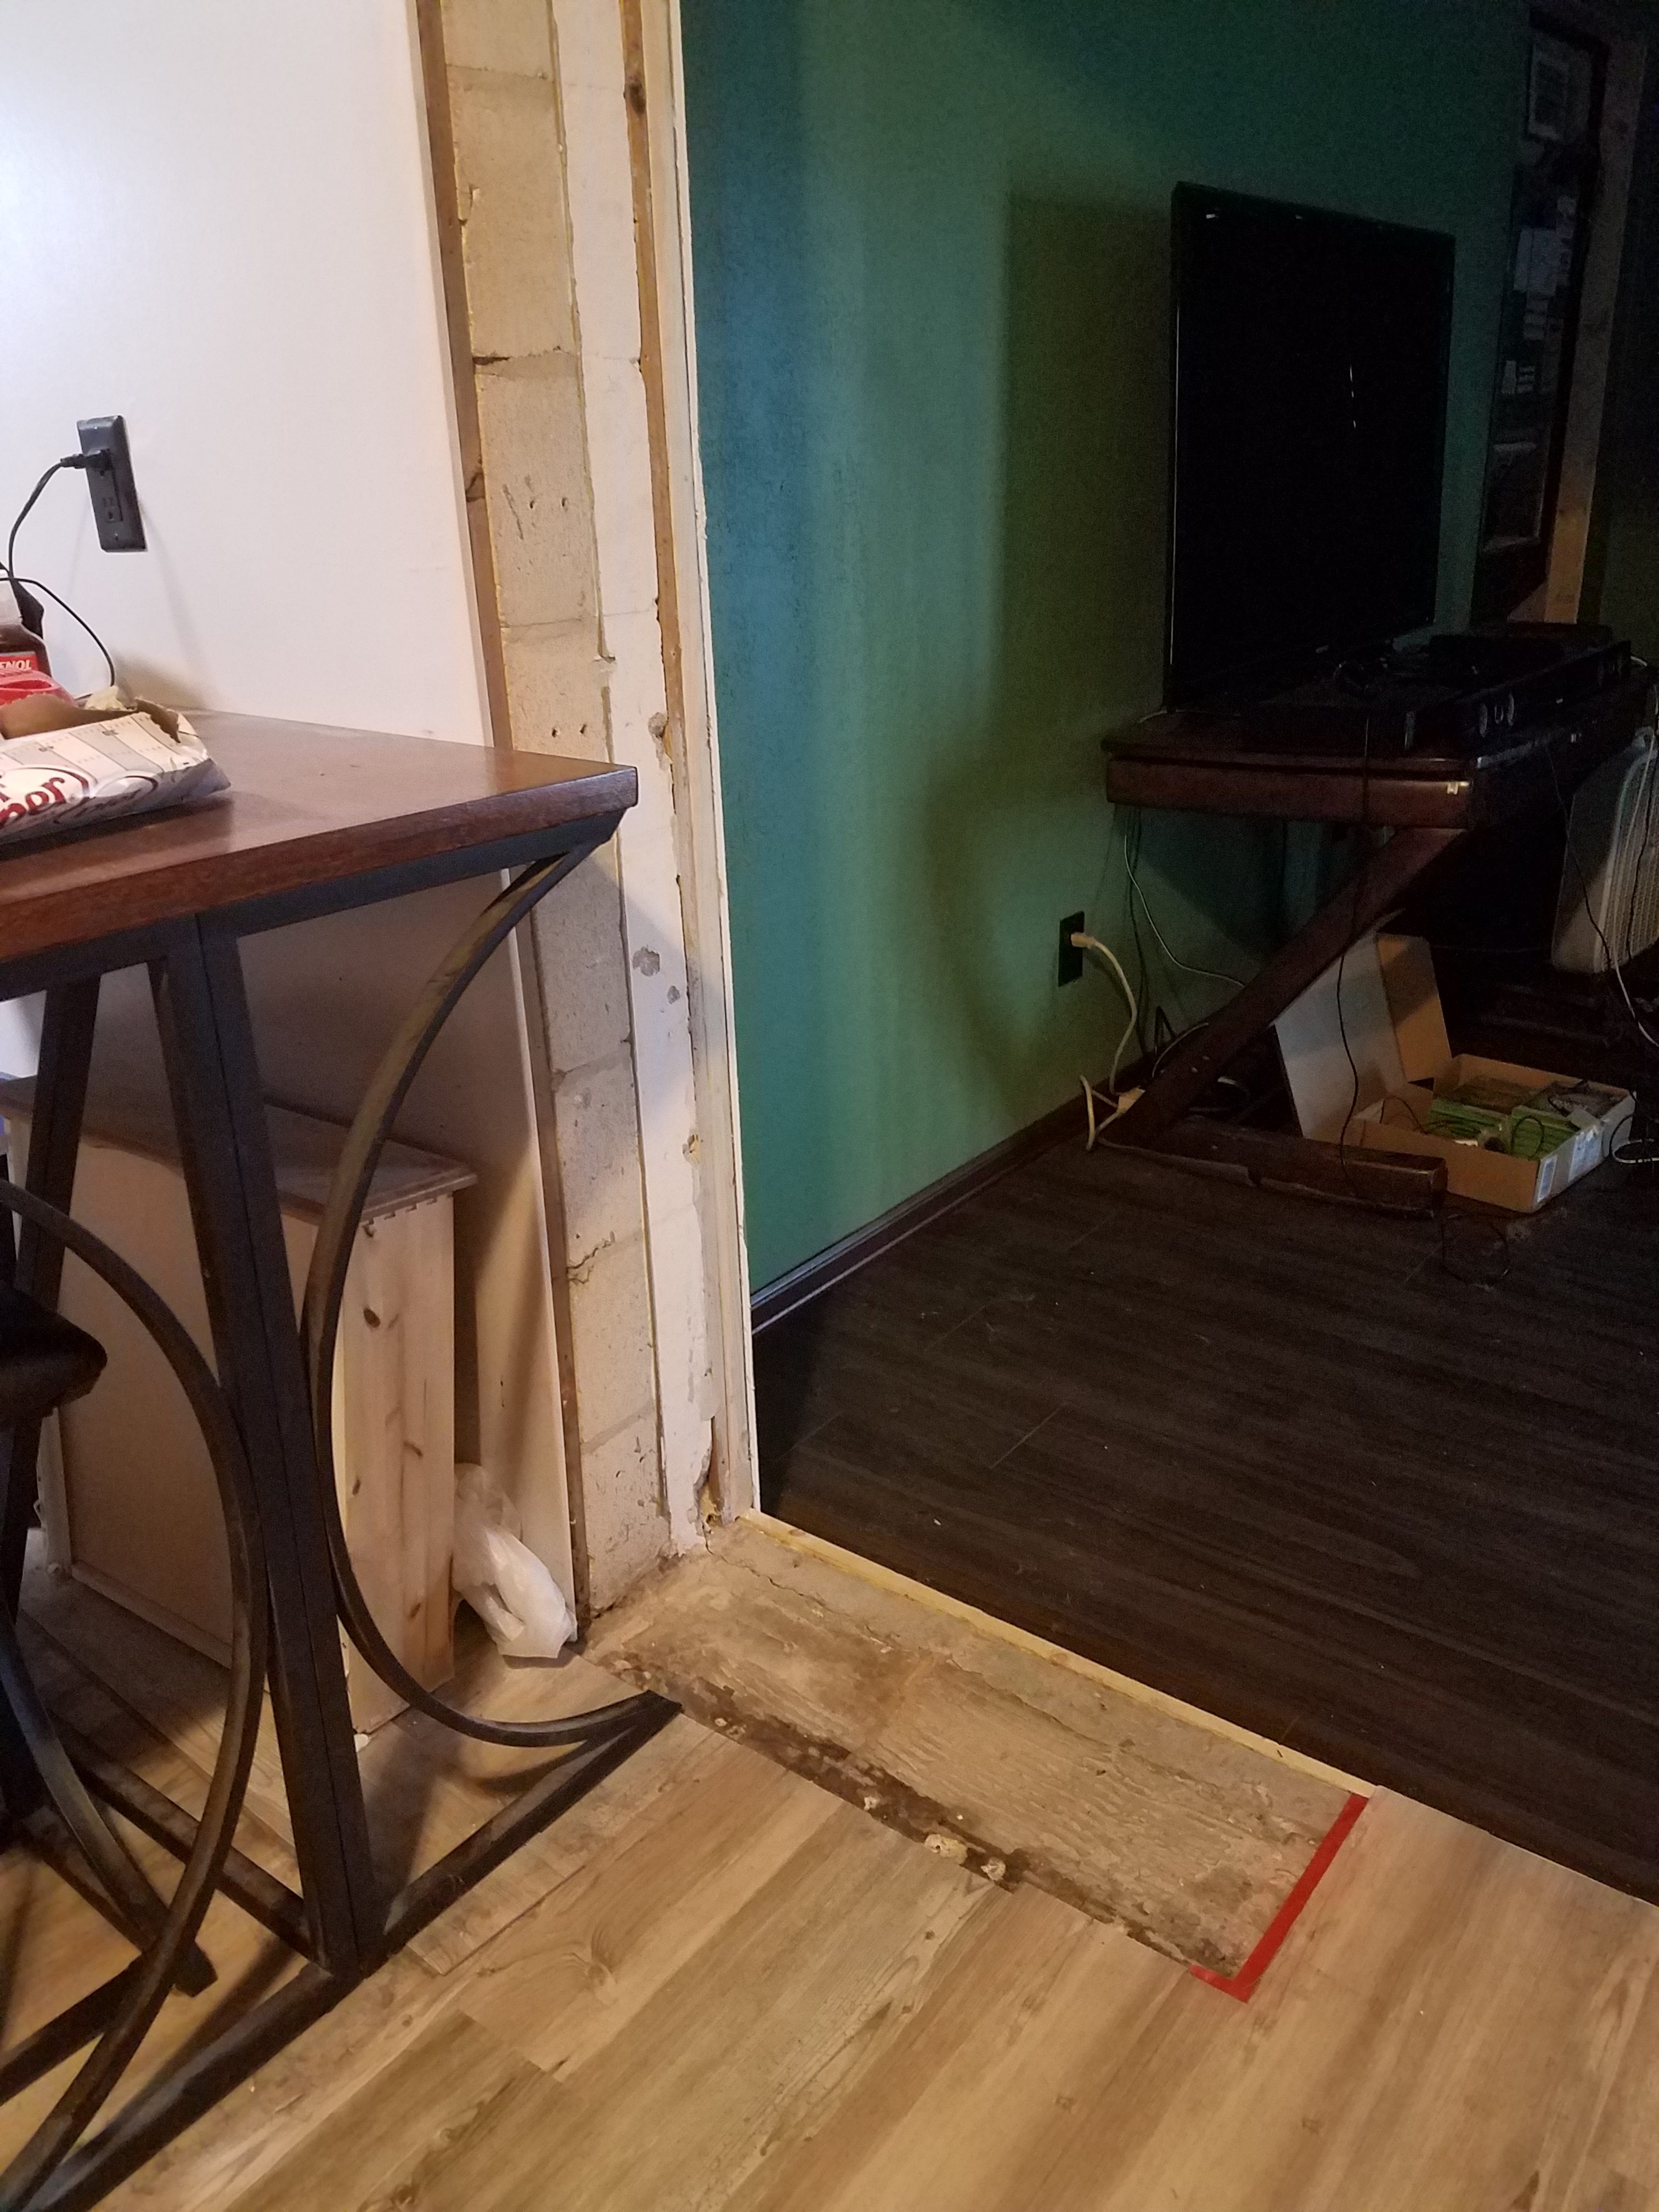
Above: before pics – views from family room and kitchen. Roxy helped!
Some of the links in this post are affiliate links. If you click the links and make a purchase, I will earn a small commission at no additional cost to you.
Step by Step: Building a Half Wall
We started by making the frame for the wall. This is typically done using 2×4 lumber, but we used 2×3 because that’s what we had available. Measure out the length and height that you want for your wall, then calculate studs (the boards that stand vertically). The studs should be 16 inches apart, plus one stud at each end of the wall.
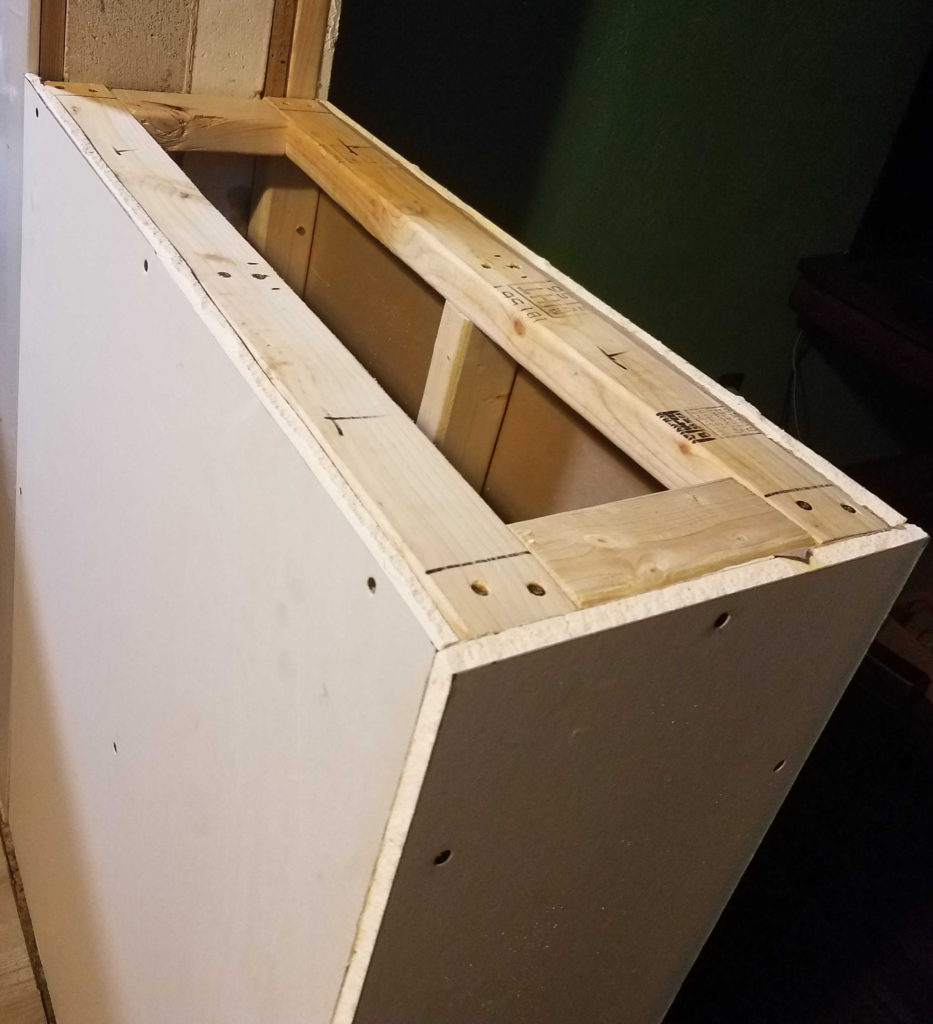
Build the half wall frame
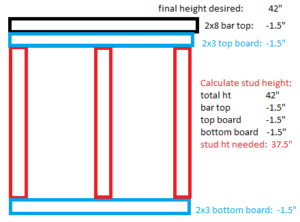
We had to do some math to determine how tall to cut the studs. We knew that we wanted our bar to be 42 inches tall (this is normal bar height) so that we could easily find bar stools to fit. After measuring, we the hubby determined that our studs needed to be 37.5 inches tall. This drawing shows how he calculated that:
Based on your calculation drawing, determine the number of boards and their length needed to make your frame. Cut the boards, then screw them together to build the frame.
Anchor the half wall
Once the frame is built, it’s time to anchor it to the wall that it will sit next to. In our case, the side of this wall is exposed (I know, it’s odd!), which made it easy to screw the new half wall frame into the studs of the existing wall. If your wall is covered (like normal people’s walls) with drywall, use a stud finder to locate the studs to screw the half wall frame to. The half wall also needs to be anchored to the floor. Our floor is concrete at that particular spot, so hubby opted for liquid nails to secure it to the floor. You could use concrete screws if you wanted to.
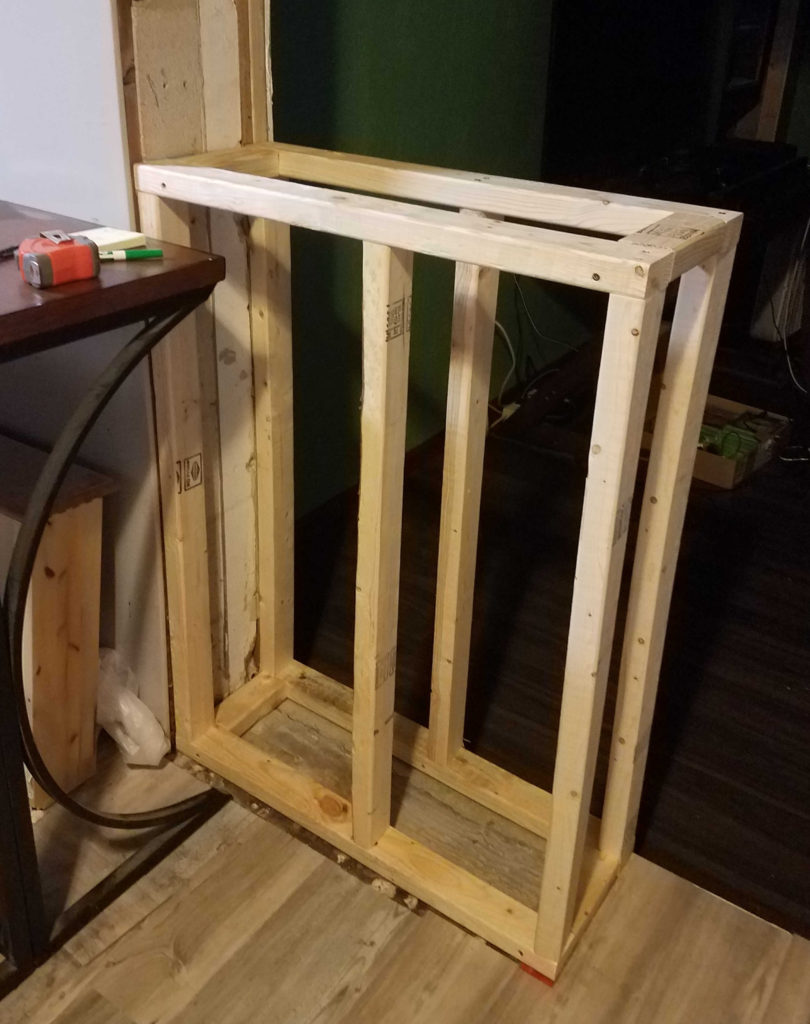
Above shows the completed frame for the half wall, anchored to the adjacent wall with screws and liquid nails to the floor. Note that there are a total of 6 studs (3 on each side of the wall) that connect to the top and bottom. The amount of studs you use will vary based on the width of your wall. General construction rules recommend that studs should be 16 inches apart.
Apply drywall
Now it’s time to put drywall onto the frame! We used 1/2 inch drywall sheets, which is the “norm” for interior walls. Measure and cut the drywall to size, then screw it into place using drywall screws. Hubby finds it easier to finish one side at a time before moving on to the next side, so he measures, cuts, then screws it to the studs before moving on to the next side. You know the old saying – measure twice, cut once! Try to be as accurate as possible in the measure and cutting process to get a good fit. There will be a little wiggle room for error at the bottom of the wall (closest to the floor), since this will get covered with cabinets or baseboards.
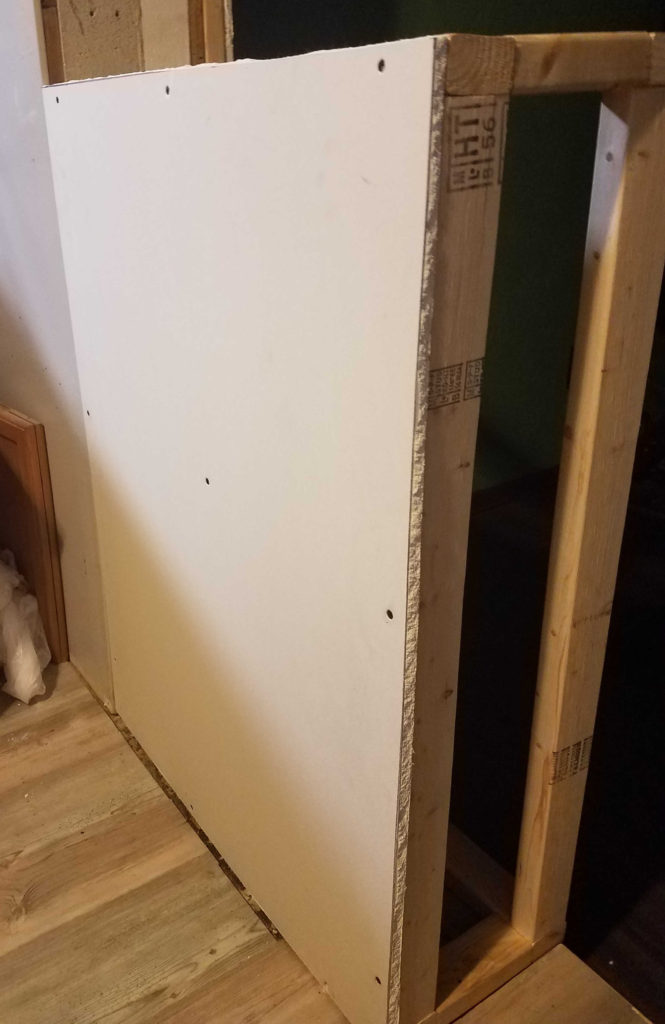
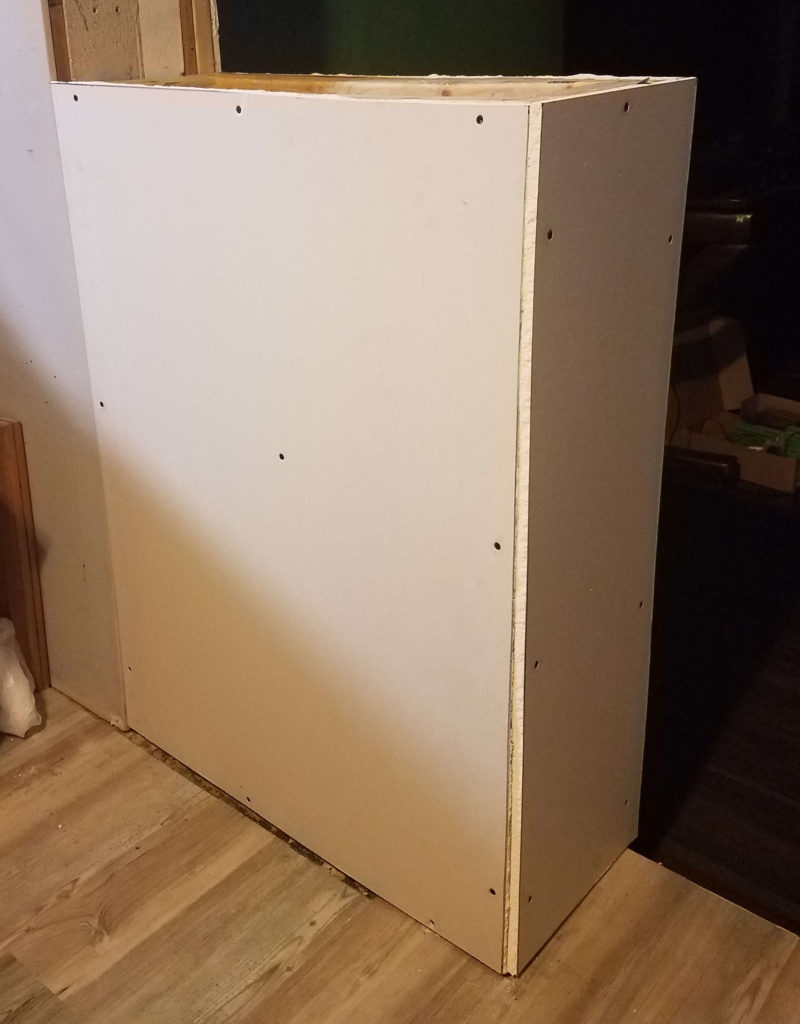
Above: you can see that we measured, cut, and applied the drywall one side at a time until all 3 wall surfaces were covered. The top did not get a piece of drywall because it will be covered with the bar top.
Mud the joints and screw holes
Use drywall joint tape (this is just paper – why do they call it tape??) and mud to cover the seams where the new wall meets the old wall, and use the mud to cover the screw holes. You will need a joint knife (I call it a spatula) to apply the mud and smooth it out. If you are new to drywall, it might take a minute to figure out how to smooth out the mud without completely removing it from the wall. I’ve found that it’s all about the angle of the spatula and the amount of pressure you apply. Try holding the spatula at a 45° angle and apply a bit of pressure, but don’t use brute force. Give it about 24 hours to dry before moving on to the next step – sanding!
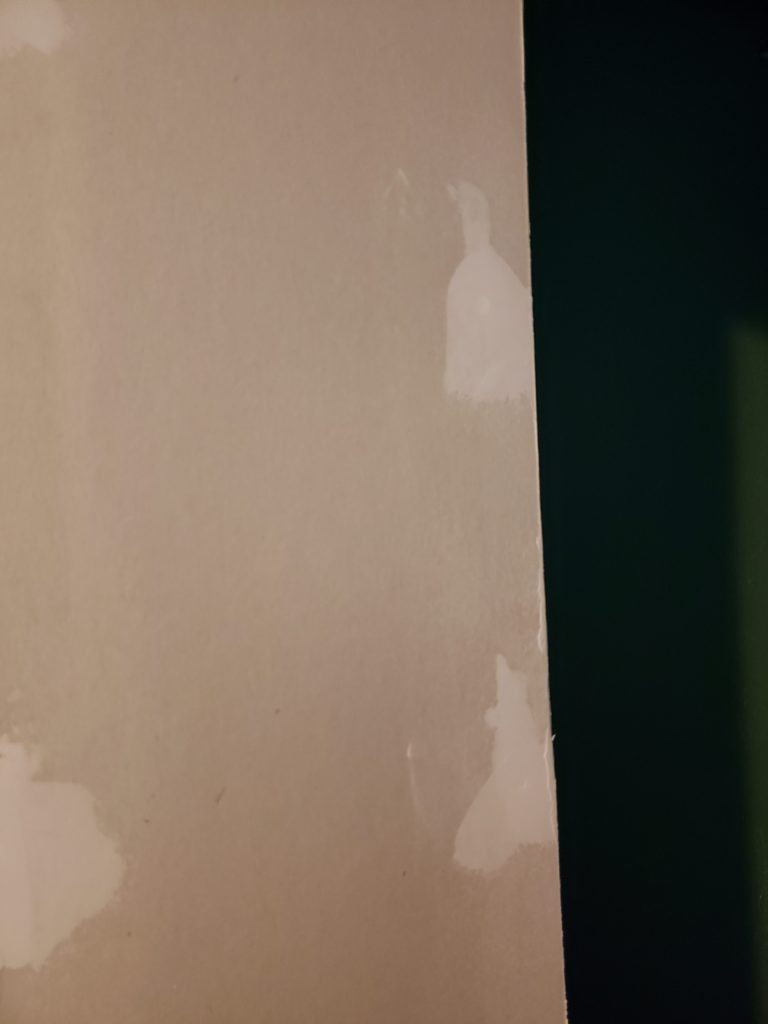
Above: The light white patches on the drywall are the dried mud which covers screw holes. Once this is sanded smooth, it will allow the paint to look smooth and pretty instead of bumpy and weird.
Sand to perfection
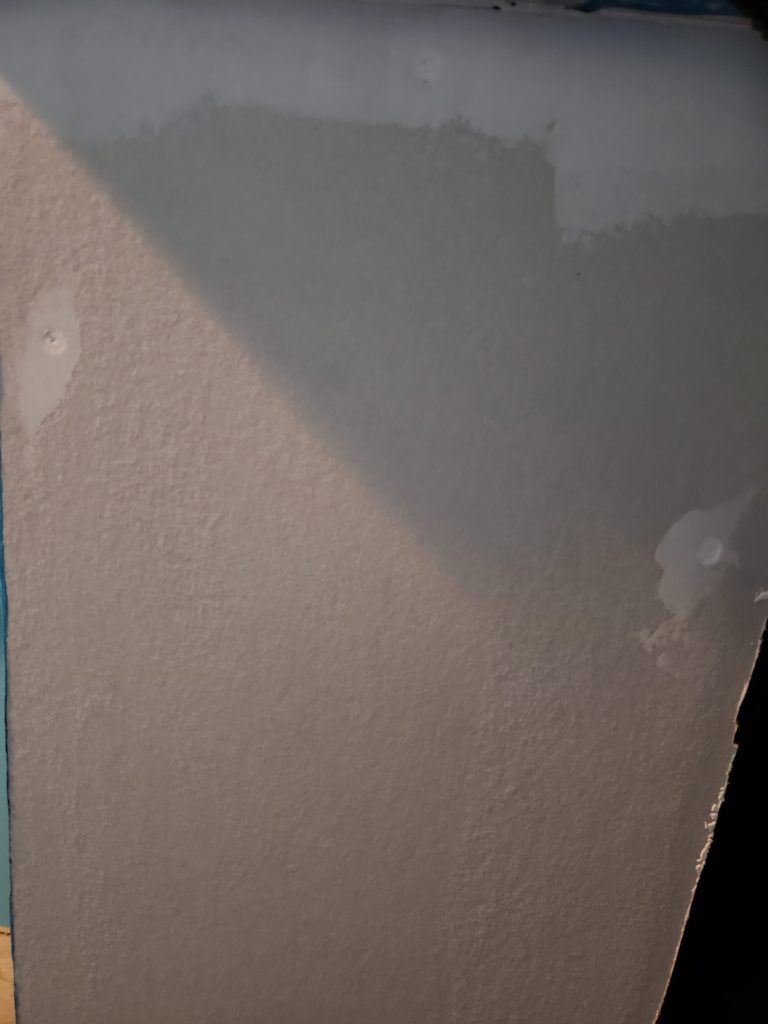
Before the half wall can be painted, it has to be sanded first. Use a fine sand paper (we used 150 grit) to smooth out the bumps and lines that the mud left. It’s best to not sand in an up-and-down motion because this can leave ugly lines that you can see through paint. I find it easiest to sand sort of at an angled motion. Also, apply a small bit of pressure evenly over the whole sander. We’re just trying to smooth out any raised parts of the mud, so be sure not to over-sand! Use a dry rag to wipe down the wall to get rid of the dust.
Finish it up
Now your brand new half wall is ready to be prettied up! At this point, you can go ahead and paint the half wall and apply baseboard to match the walls next to it. We decided to apply trim to the edges of the half wall as well!

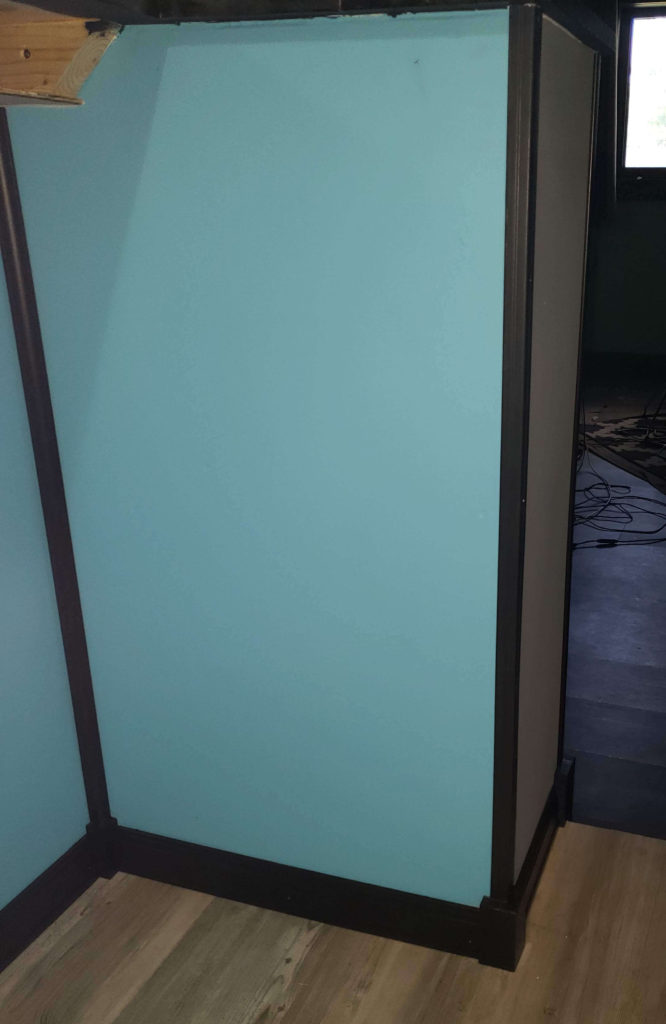
Above: finished half wall! The green side is the living room and the blue side is the kitchen. The unpainted board seen in the blue photo is a support board for the bar top that will be covered once we complete that project.
We will be turning this new half wall into a small breakfast bar, so be sure to check out that tutorial here!