


The hubby and I have been in the process of remodeling our (very large) family room. The plan was to make one side of the room for computer gaming the other side for movie watching. We wanted to add sound dampening features to the room to achieve a really nice theater quality sound.
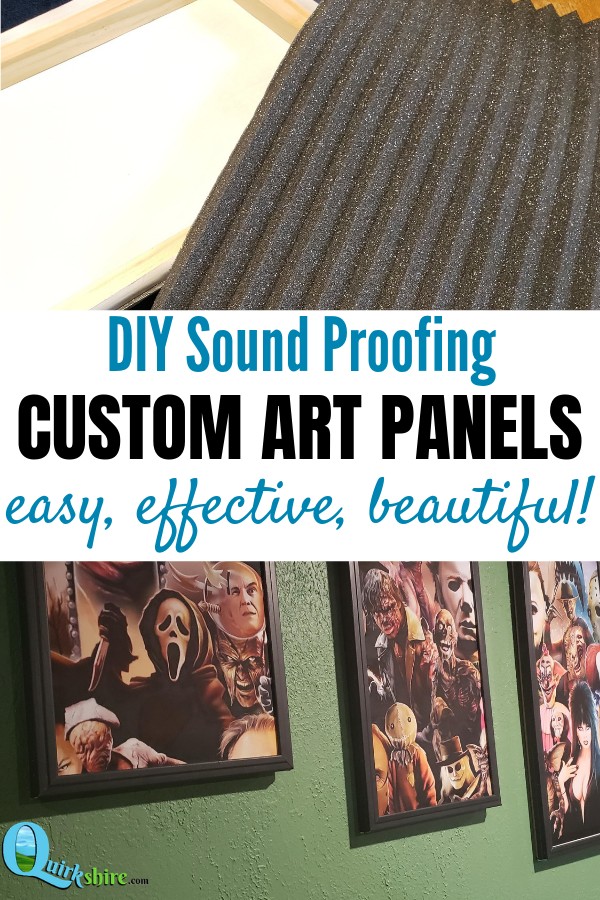
We ordered a bunch of foam to make our custom sound dampening drop ceiling (read all about that project here). While in the middle of that project, we had the genius idea to put this foam behind pictures to disguise sound dampening panels for the walls. Since we had some leftover foam from the ceiling project, we decided to give it a try!
Some of the links in this post are affiliate links. If you click the links and make a purchase, I will earn a small commission at no additional cost to you.
Supplies needed for this project
- unframed canvas art (try wish.com, amazon.com, or local stores)
- 1″ x 1″ square wood dowels (from hardware store or amazon)
- 1″ corner trim (in pre-colored you want to use, or white to paint)
- miter saw or hand saw (to cut the dowels and trim)
- staple gun
- nail gun or finishing nails + hammer
- craft scalpel or sharp knife
- latex paint (for trim color, if painting)
- paint brush
Find unframed canvas art
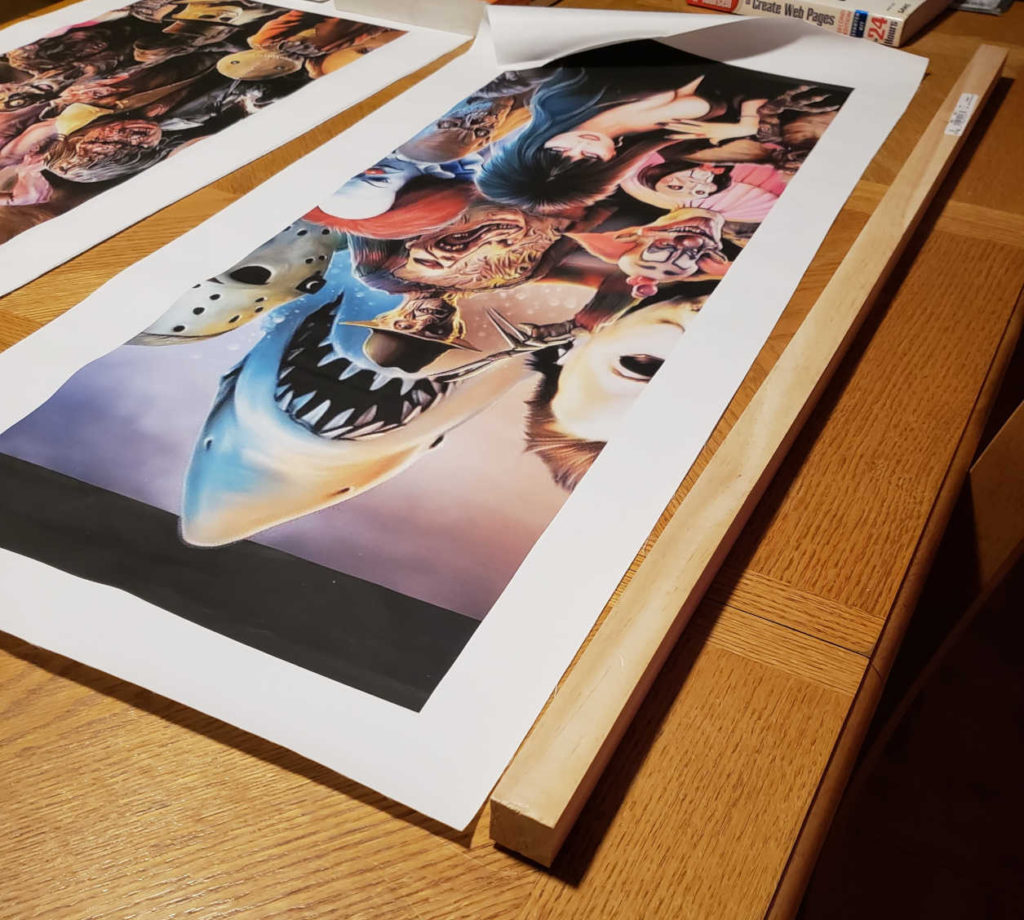
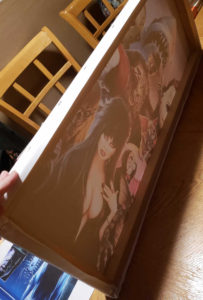
I found some amazingly priced canvas art that was sold without a frame on wish.com. This 5-piece horror movie set is the perfect fit for the movie area of our room! It took a while (about 2 weeks) to arrive. They were all curled up because of the tube they shipped in. I laid them out on the table and sat books on them to flatten them out.
Build the frame for the sound dampening panels
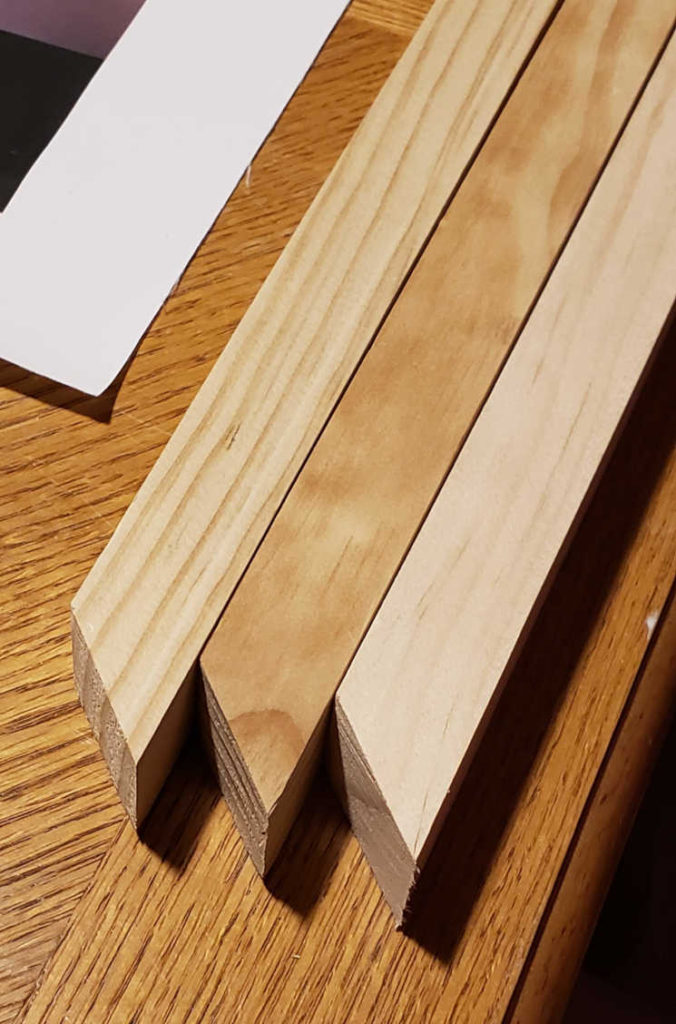
The canvas prints were nice and flat, so it was (finally!) time to start framing them! The idea here is to build a frame that the canvas will be stretched over and stapled to. We used 1″ x 1″ pre-made square wood dowels – they were perfect for the thickness of the frame that we had in mind.
Place the wood dowel next to the canvas print and measure the length needed. Keep in mind that each end needs to be cut at a 45 degree angle to make each corner where the pieces will meet. When measuring for the cut, the start of the angle should be at the corner of the canvas print. Continue measuring and cutting for all four sides.
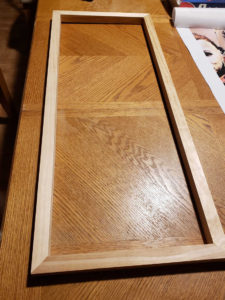
Assemble the frame by nailing the corners together. You can also use wood glue at the corners for an extra-strong joint. We were lazy and skipped this step. You might want to do a “dry fit” by laying the canvas over the completed frame to ensure that your frame will fit the canvas.
Attach the canvas to the frame
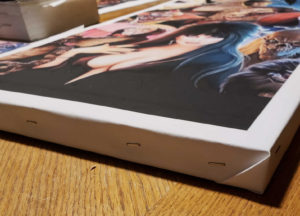
Line up the edge of the canvas print to the outside edge of the frame. Pull the canvas tight over the frame edge and use a staple gun to staple the canvas to the side of the frame. It really helps to have two people for this step: one person to stretch the canvas while the other staples it onto the frame. Repeat the process of stretching the canvas and stapling each side.
Now for the corners. Overlap the canvas at the corners to make triangle folds. This is sort of like folding wrapping paper over a box at the ends. Once you have the overlapped and laying flat, staple them in place.
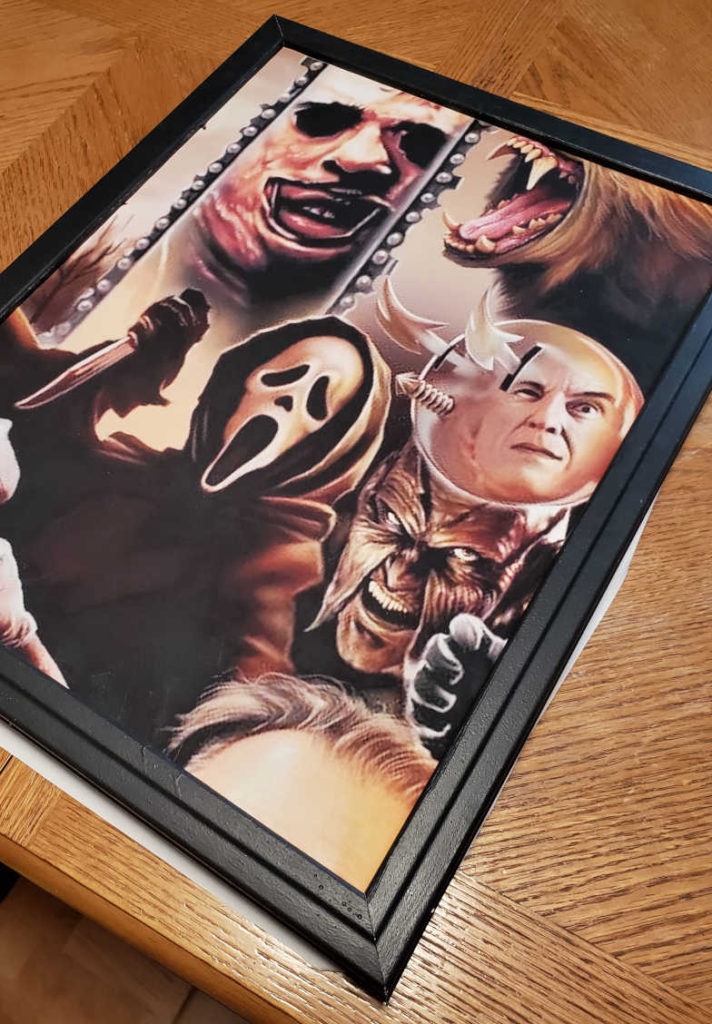
Add trim to the framed canvas
For the trim, you can choose one of the pre-colored options and save the trouble of painting, or you can get the white trim and paint it. I chose to paint mine so that it was a perfect match to the trim in the room. If you choose to paint your frame trim, go the easy route and paint the trim before you nail it to the canvas art! We used this trim from the hardware store. It also comes in black and a couple of wood colors too. You can pretty much use any outside corner trim that suits your fancy here!
Now it’s time to cut the trim to fit the edges of the framed canvas. This process is similar to how we built the wood frame before. Measure and cut the trim for all four sides, keeping in mind that each end will be cut at a 45 degree angle to meet at the corner.
Once you have all four sides cut, nail them into place. This step is easier with two people. Before nailing, align the side and top so that the corner meets up. Now, while one person holds the top trim in place, the other person nails the trim to the frame. We used a nail gun for the step to make it super easy, but you could use a good old fashioned hammer and finishing nails too. Repeat this step working your way around the frame. Be sure to line up the corners before nailing the trim in place.

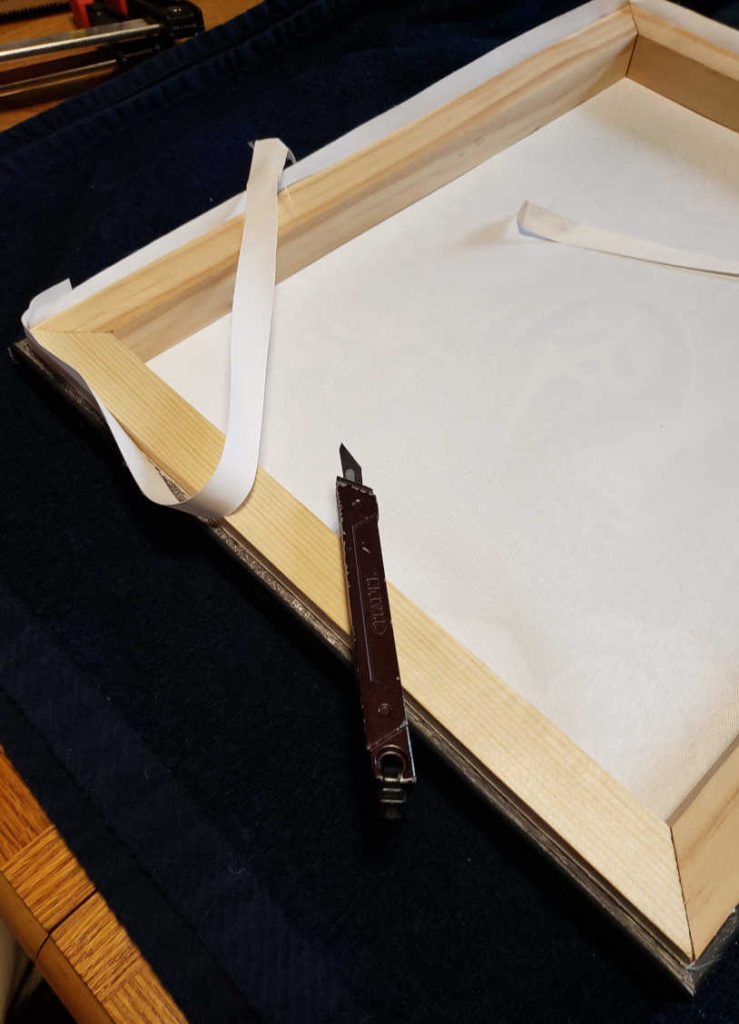
Trim excess canvas
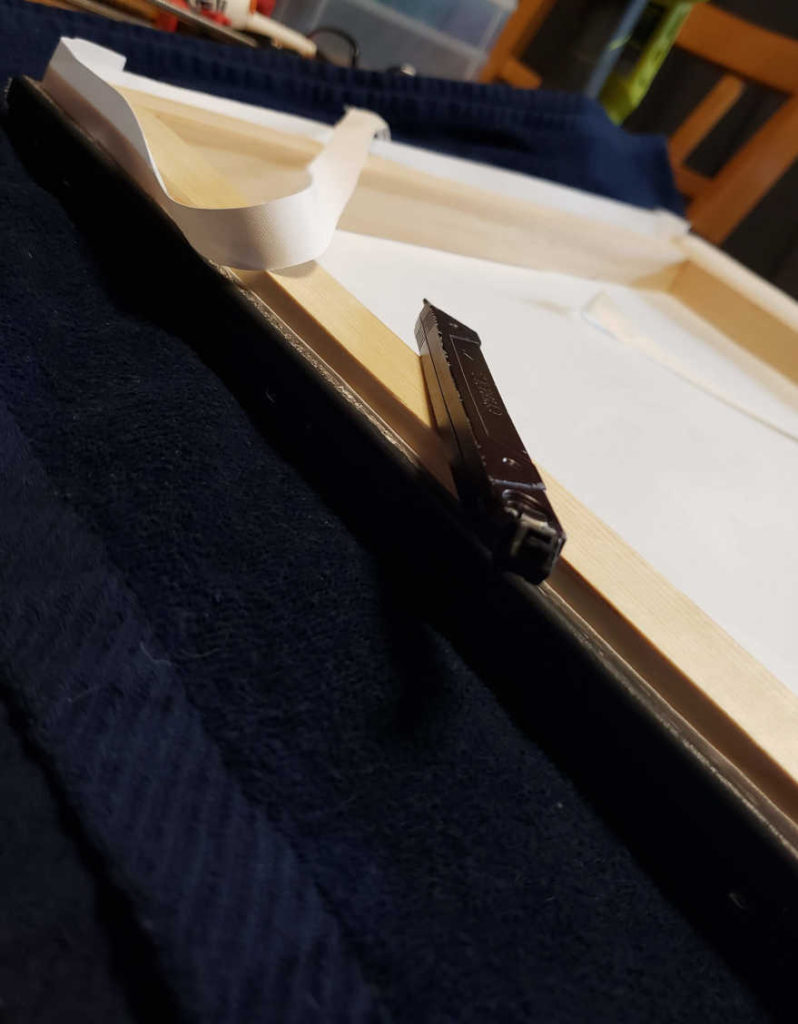
Lookin’ good so far! Now we need to trim away the little bit of excess canvas that’s flopping around. I used a craft scalpel to cut the excess away, but I’m sure a sharp knife would work too. Flip the frame over so that the you’re looking at the backside of the frame. Using the scalpel, cut just above the trim and follow it along every side.
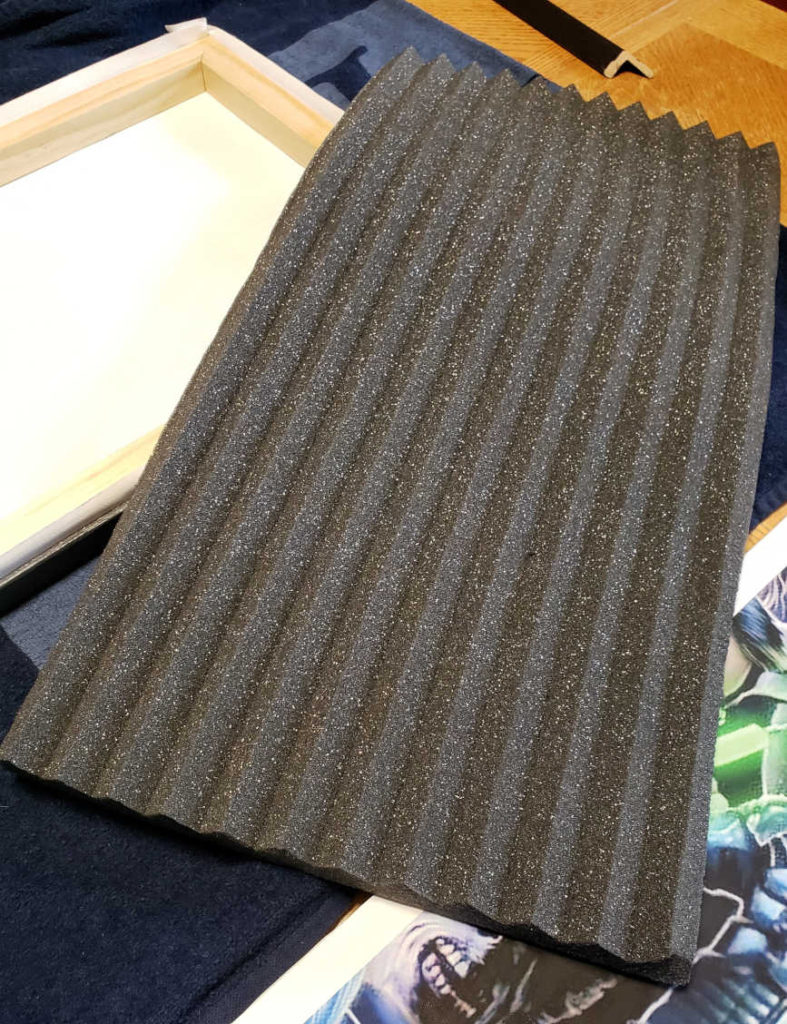
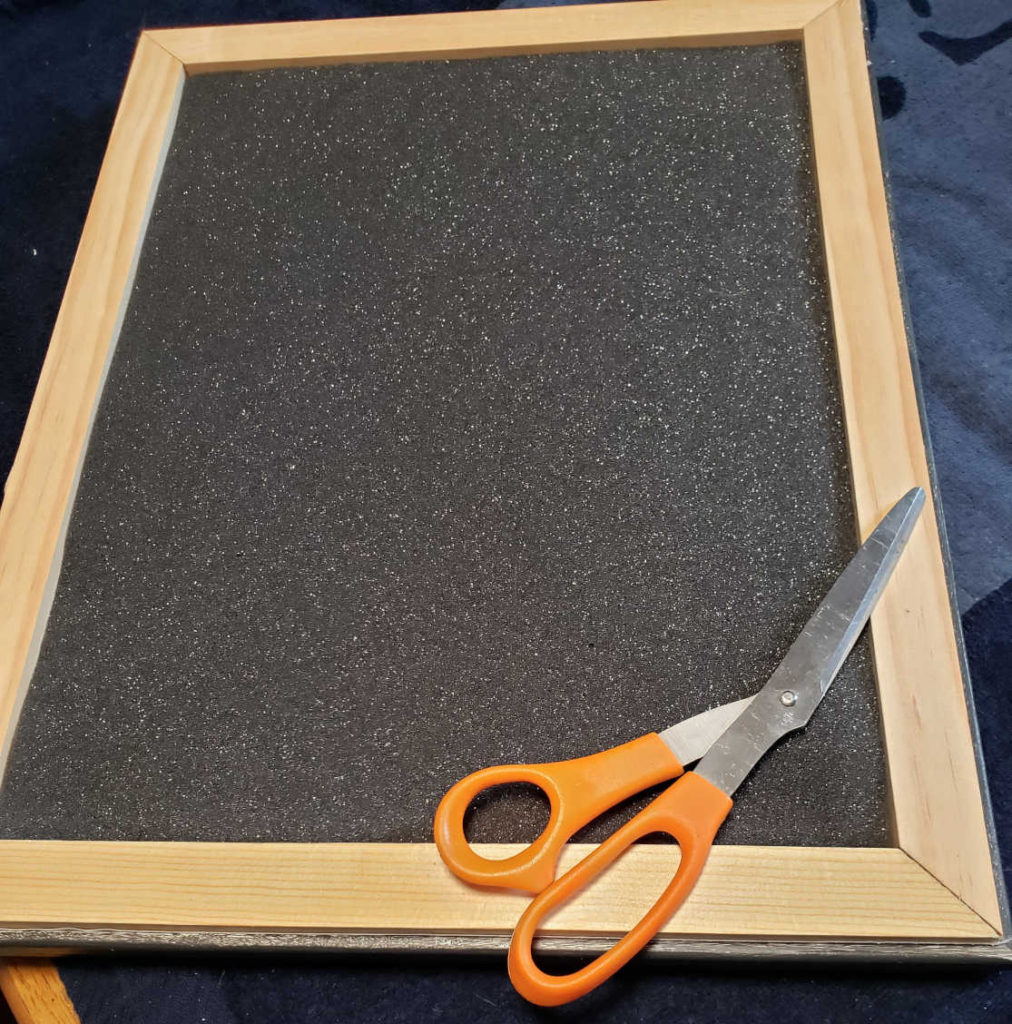
Add sound dampening foam
Now it’s finally time to add the foam to the canvas art! This is where the project finally transitions from custom wall art to custom sound dampening panels – yay! We had some sound dampening foam from our ceiling tile project left over, so we used for this project too. We used a 1″ wedge acoustic foam from thefoamfactory.com. The foam will lay inside the “hole” on the backside of the frame. Cut the foam to fit this hole. I used a pair of scissors and just eyeballed it, but you could definitely be precise and measure if you want to! Once you have the foam cut to size, place it in the back of the frame. It should be snug and stay in place. Alternatively, you could glue it to the edges of the wood frame.
Add hardware for hanging
All that’s left is adding a way to hang the frames on the wall. There’s a few different ways that you can do this. You could add a simple picture hanger hardware to the top of the frame, use a wire hanging kit, add a wire wrapped around screws, or even just use the lip of the frame to hang it on a screw sticking out a bit from the wall.
We skipped adding hardware to the frames and just used Monkey hooks. We put the hook into the wall (no tools or stud needed), then hung the frame on the hook. The nice, thick wood backing sat easily on the hook with no problem.
Hang your custom sound dampening panels
You did it! Now it’s time to hang your beautiful custom sound dampening panels and enjoy!
To add to the sound proofing in this room, we also customized our drop ceiling with the same foam. Check that project out here!
Did you like this easy DIY project? Check out the other projects we’ve completed around our house! There’s some great step-by-step tutorials and unique ideas to customize your home on a budget!
Did this project help improve the sound quality in your home? I’d love to hear about your adventure with this project and see your finished panels!
Excellent post. I was checking continuously this blog and I am impressed!
Very helpful information specially the last
part 🙂 I care for such information much. I was looking for this certain info for a long time.
Thank you and good luck.
I’m so glad you found the info helpful!
Have fun with your sound dampening panel project! I hope you enjoy the final product as much as we do!