

Adding Drawers to the Breakfast Bar:
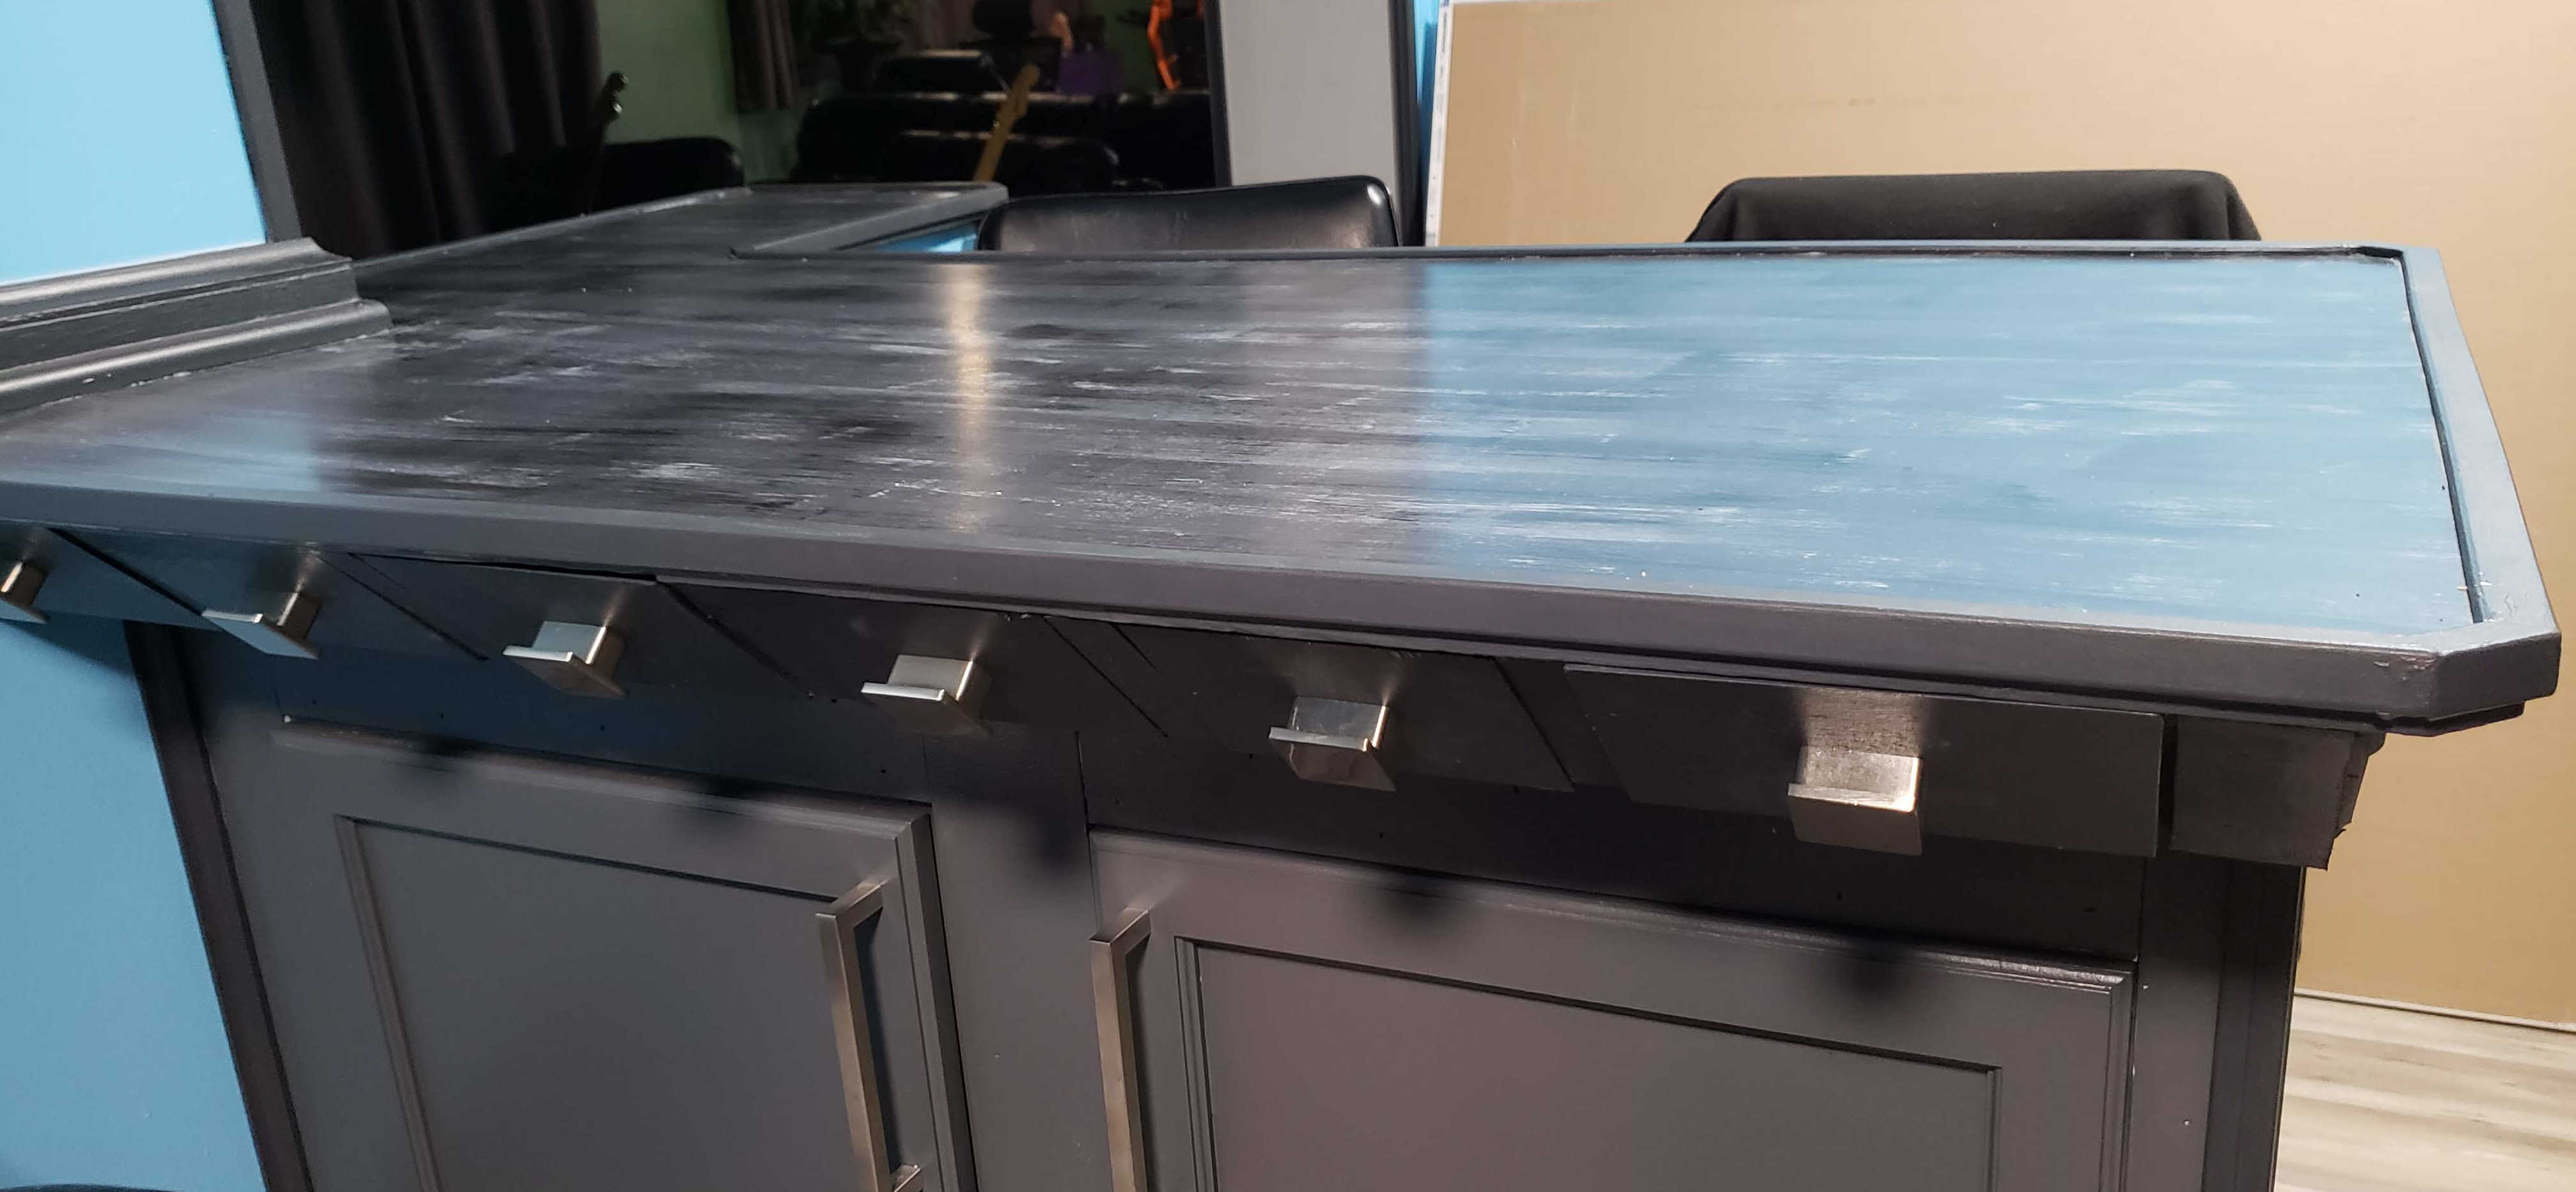
So the hubby and I finally finished our custom DIY breakfast bar for the kitchen. It adds the extra counter space and storage that we hoped for, but we realized that we can make use of the dead space between the countertop and cabinets. This area is the perfect place to add some small drawers to hold items like straws, napkins, etc. Looking back at it, if we had evenly spaced the support beams for the countertop, we could’ve had equally sized drawers. Fortunately, the hubby had a genius idea to hide the random drawer sizes when they’re closed. Today, I will show you how we built custom drawers for our breakfast bar and hid the unequal sizing.
Some of the links in this post are affiliate links. If you click the links and make a purchase, I will earn a small commission at no additional cost to you.

Materials you’ll need for this project:
- MDF sheet in a 2ft x 2ft x 1/4″ size – we needed 2 and got them from the hardware store for cheap
- thin sheet of plywood in 2ft x 4ft size – we got one of these and had leftovers
- wood saw – we used both a table saw and a miter saw for convenience
- wood glue – we used Gorilla wood glue
- clamps – to hold the drawers together while the glue dries
- something to prop the drawers on while they dry – we used 12pack soda boxes
- a drop cloth or old towel in case of glue drips or messes

Measure and build the drawer boxes:
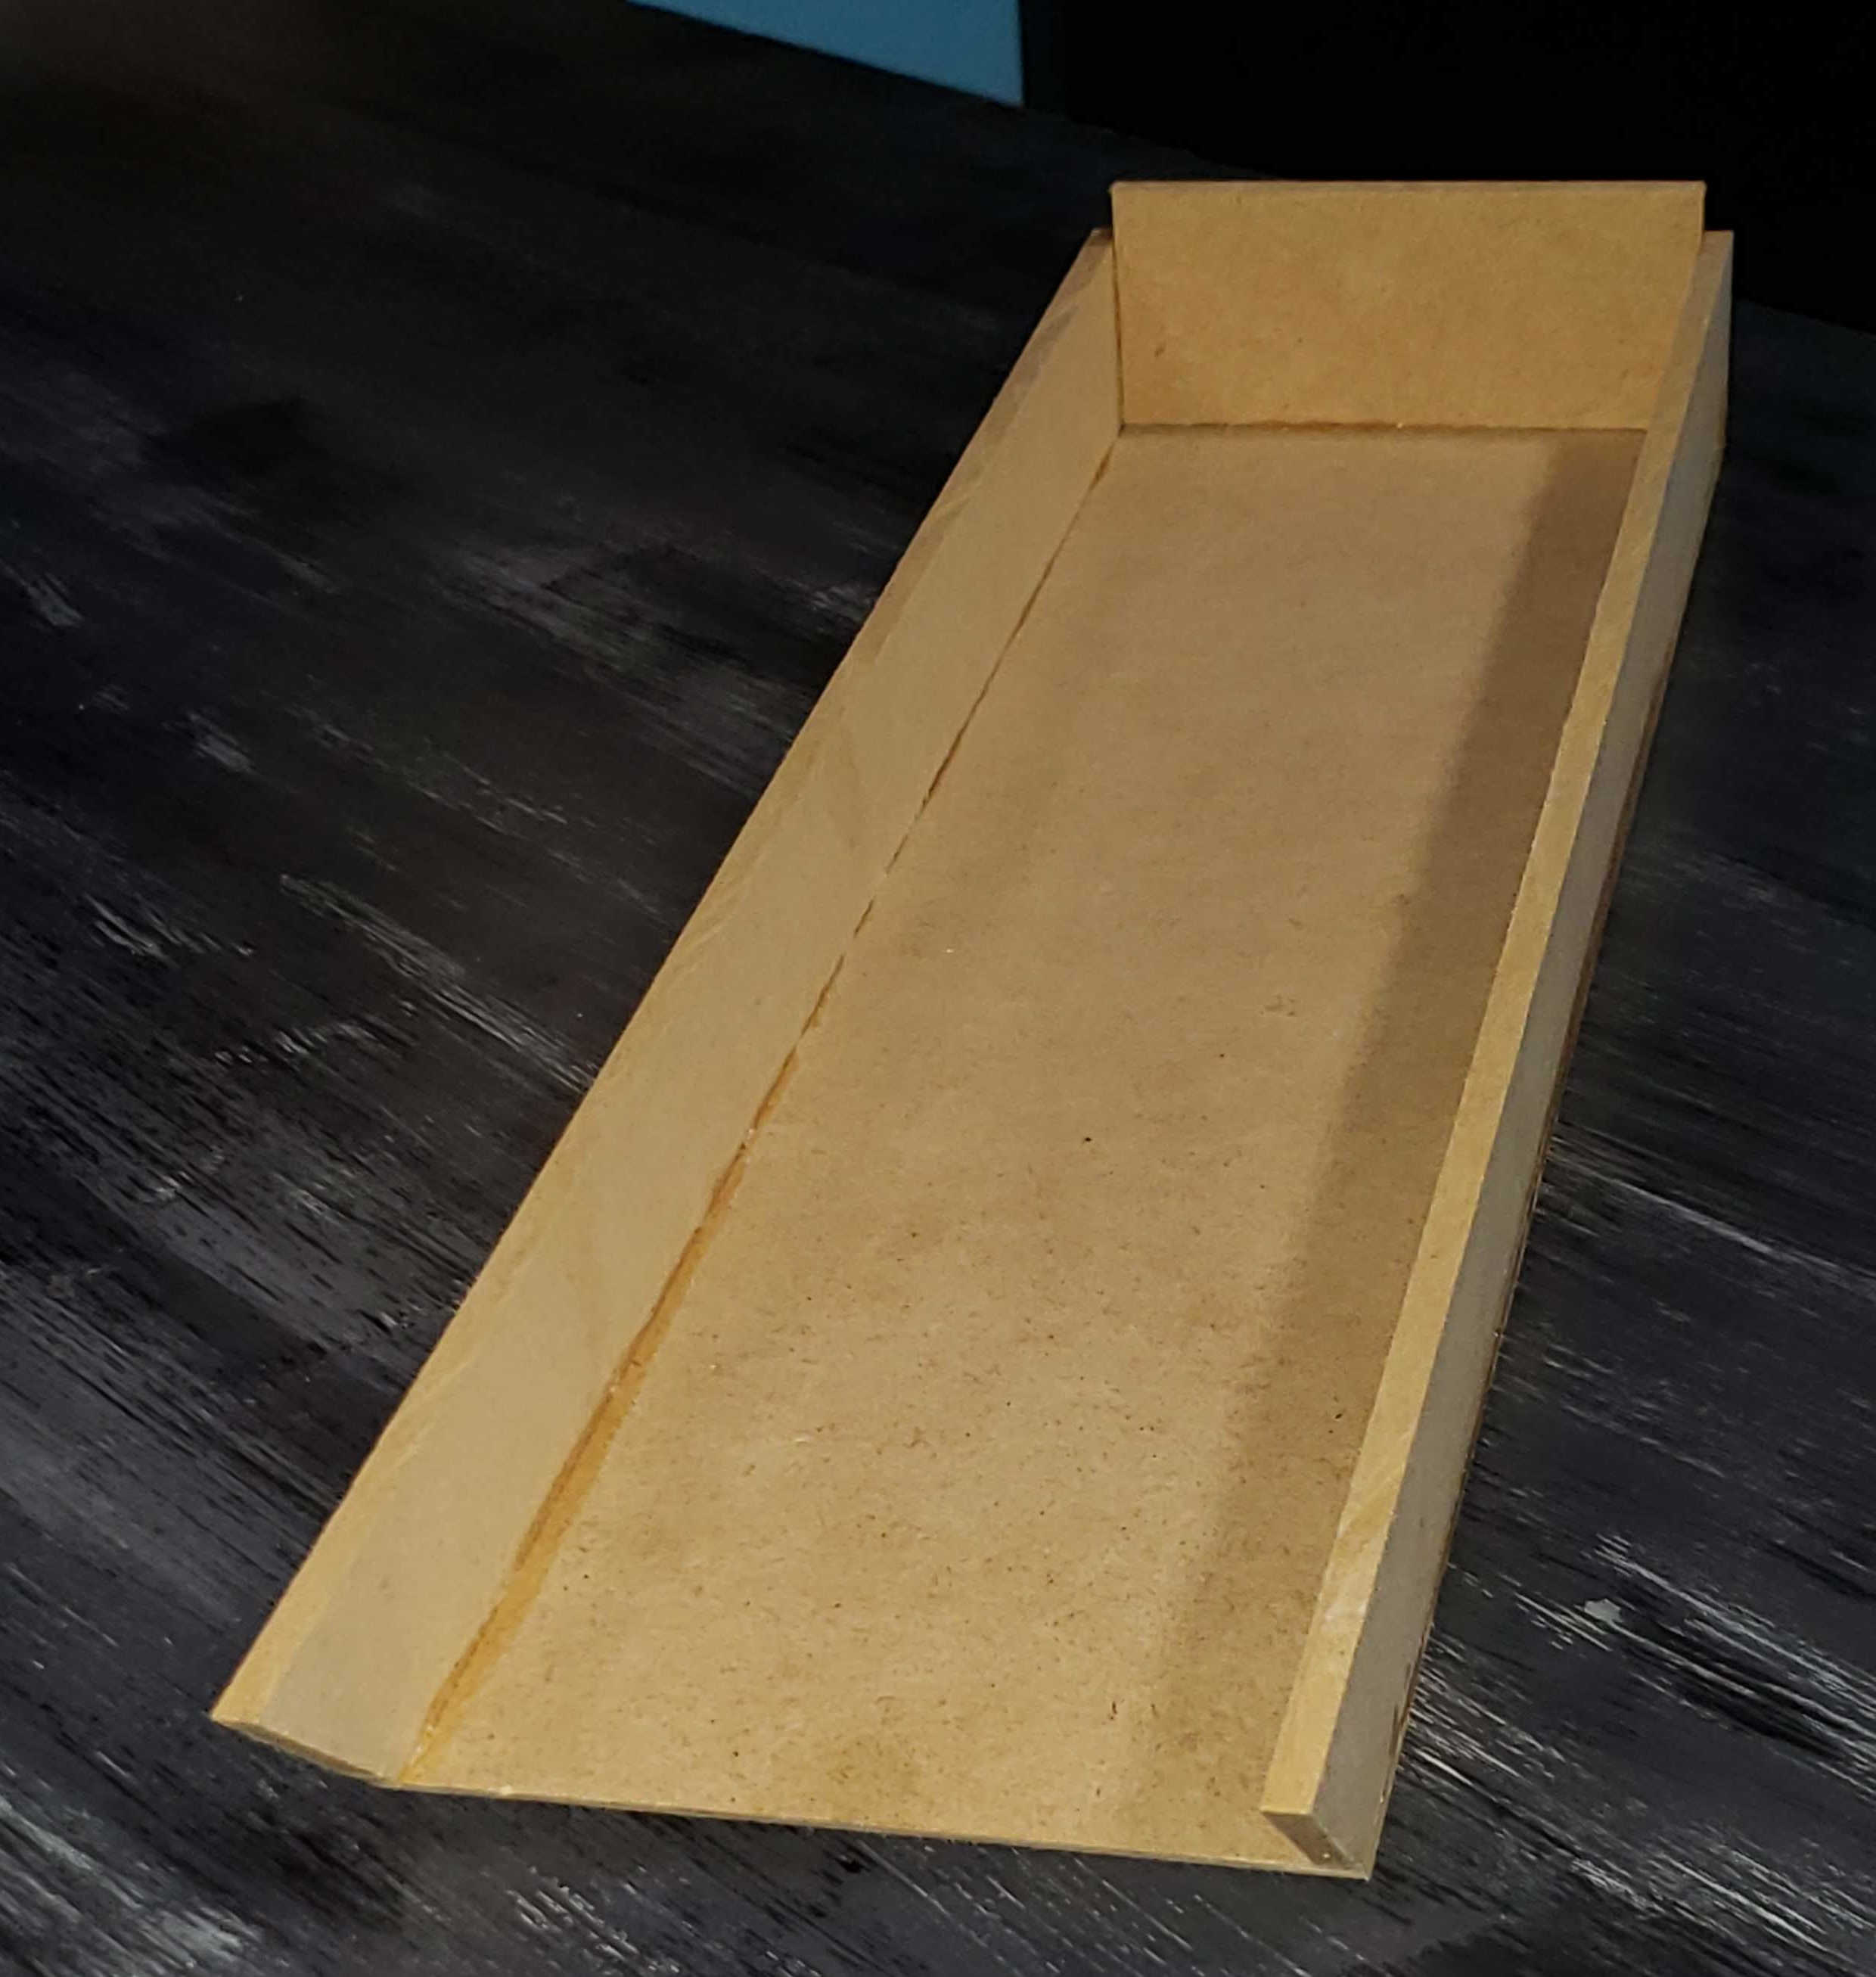
We decided to use thin MDF sheets to build the drawers because it’s cheap and easy to work with. Building the drawer boxes is pretty straight forward and will only take a few steps per drawer. The drawers are just simple rectangles that slide into the empty space under the table. To keep our sanity while working with the varying holes, we made the drawers one at a time. I recommend that if you’re planning to make a breakfast bar like ours, evenly space your support beams. This will allow your drawers to be the same size.
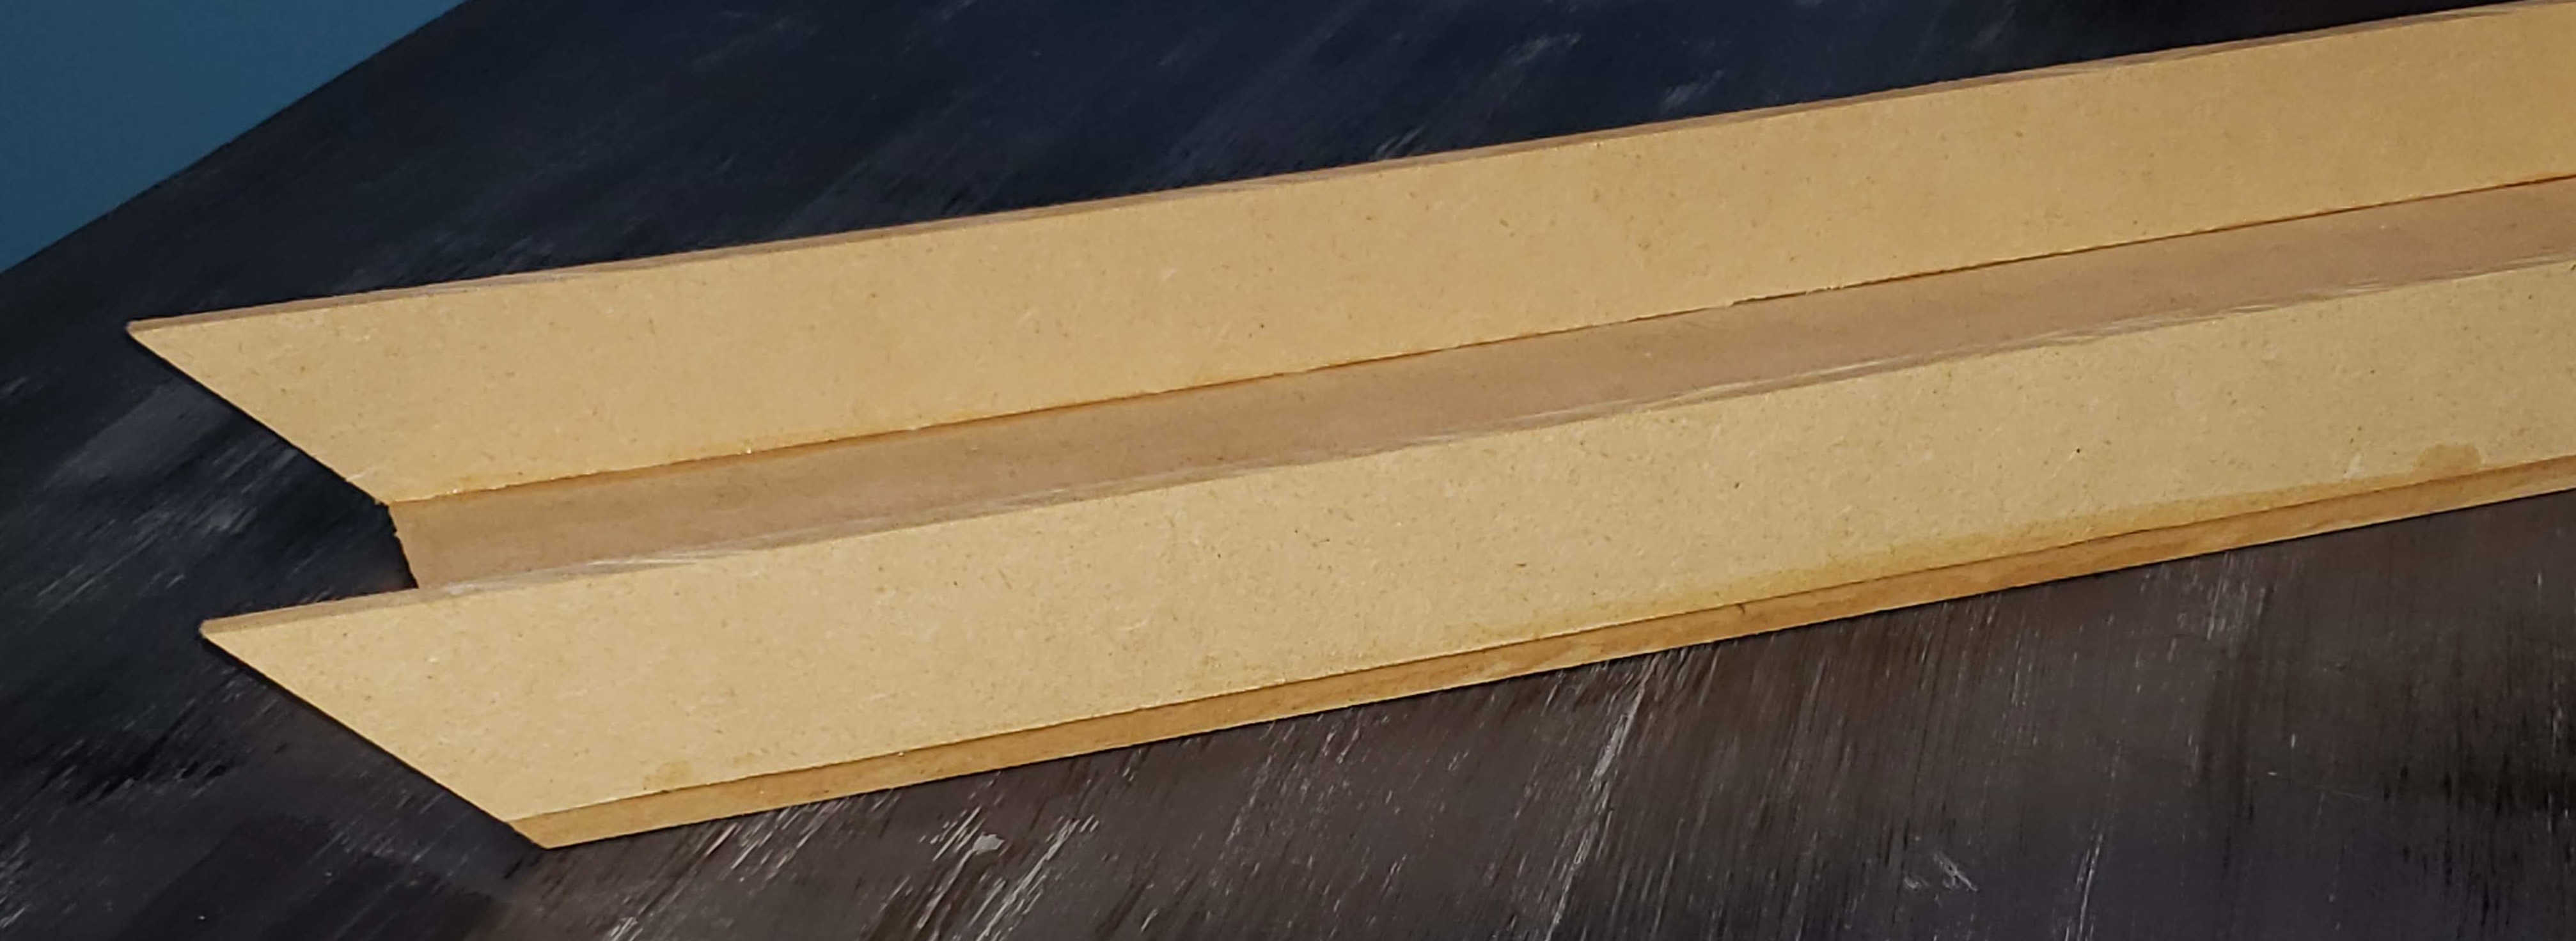
Measure the size of the hole where your drawer will go, then subtract about 1.5 – 2 inches from the measurement to determine how wide the front and back pieces should be cut. Then, measure out how long you want the drawer to be. We chose to make our drawers pretty long, to run almost the whole width of the table. Mark on the MDF and make the necessary cuts to get 2 long side pieces and 2 short pieces for the front and back of the drawer box.
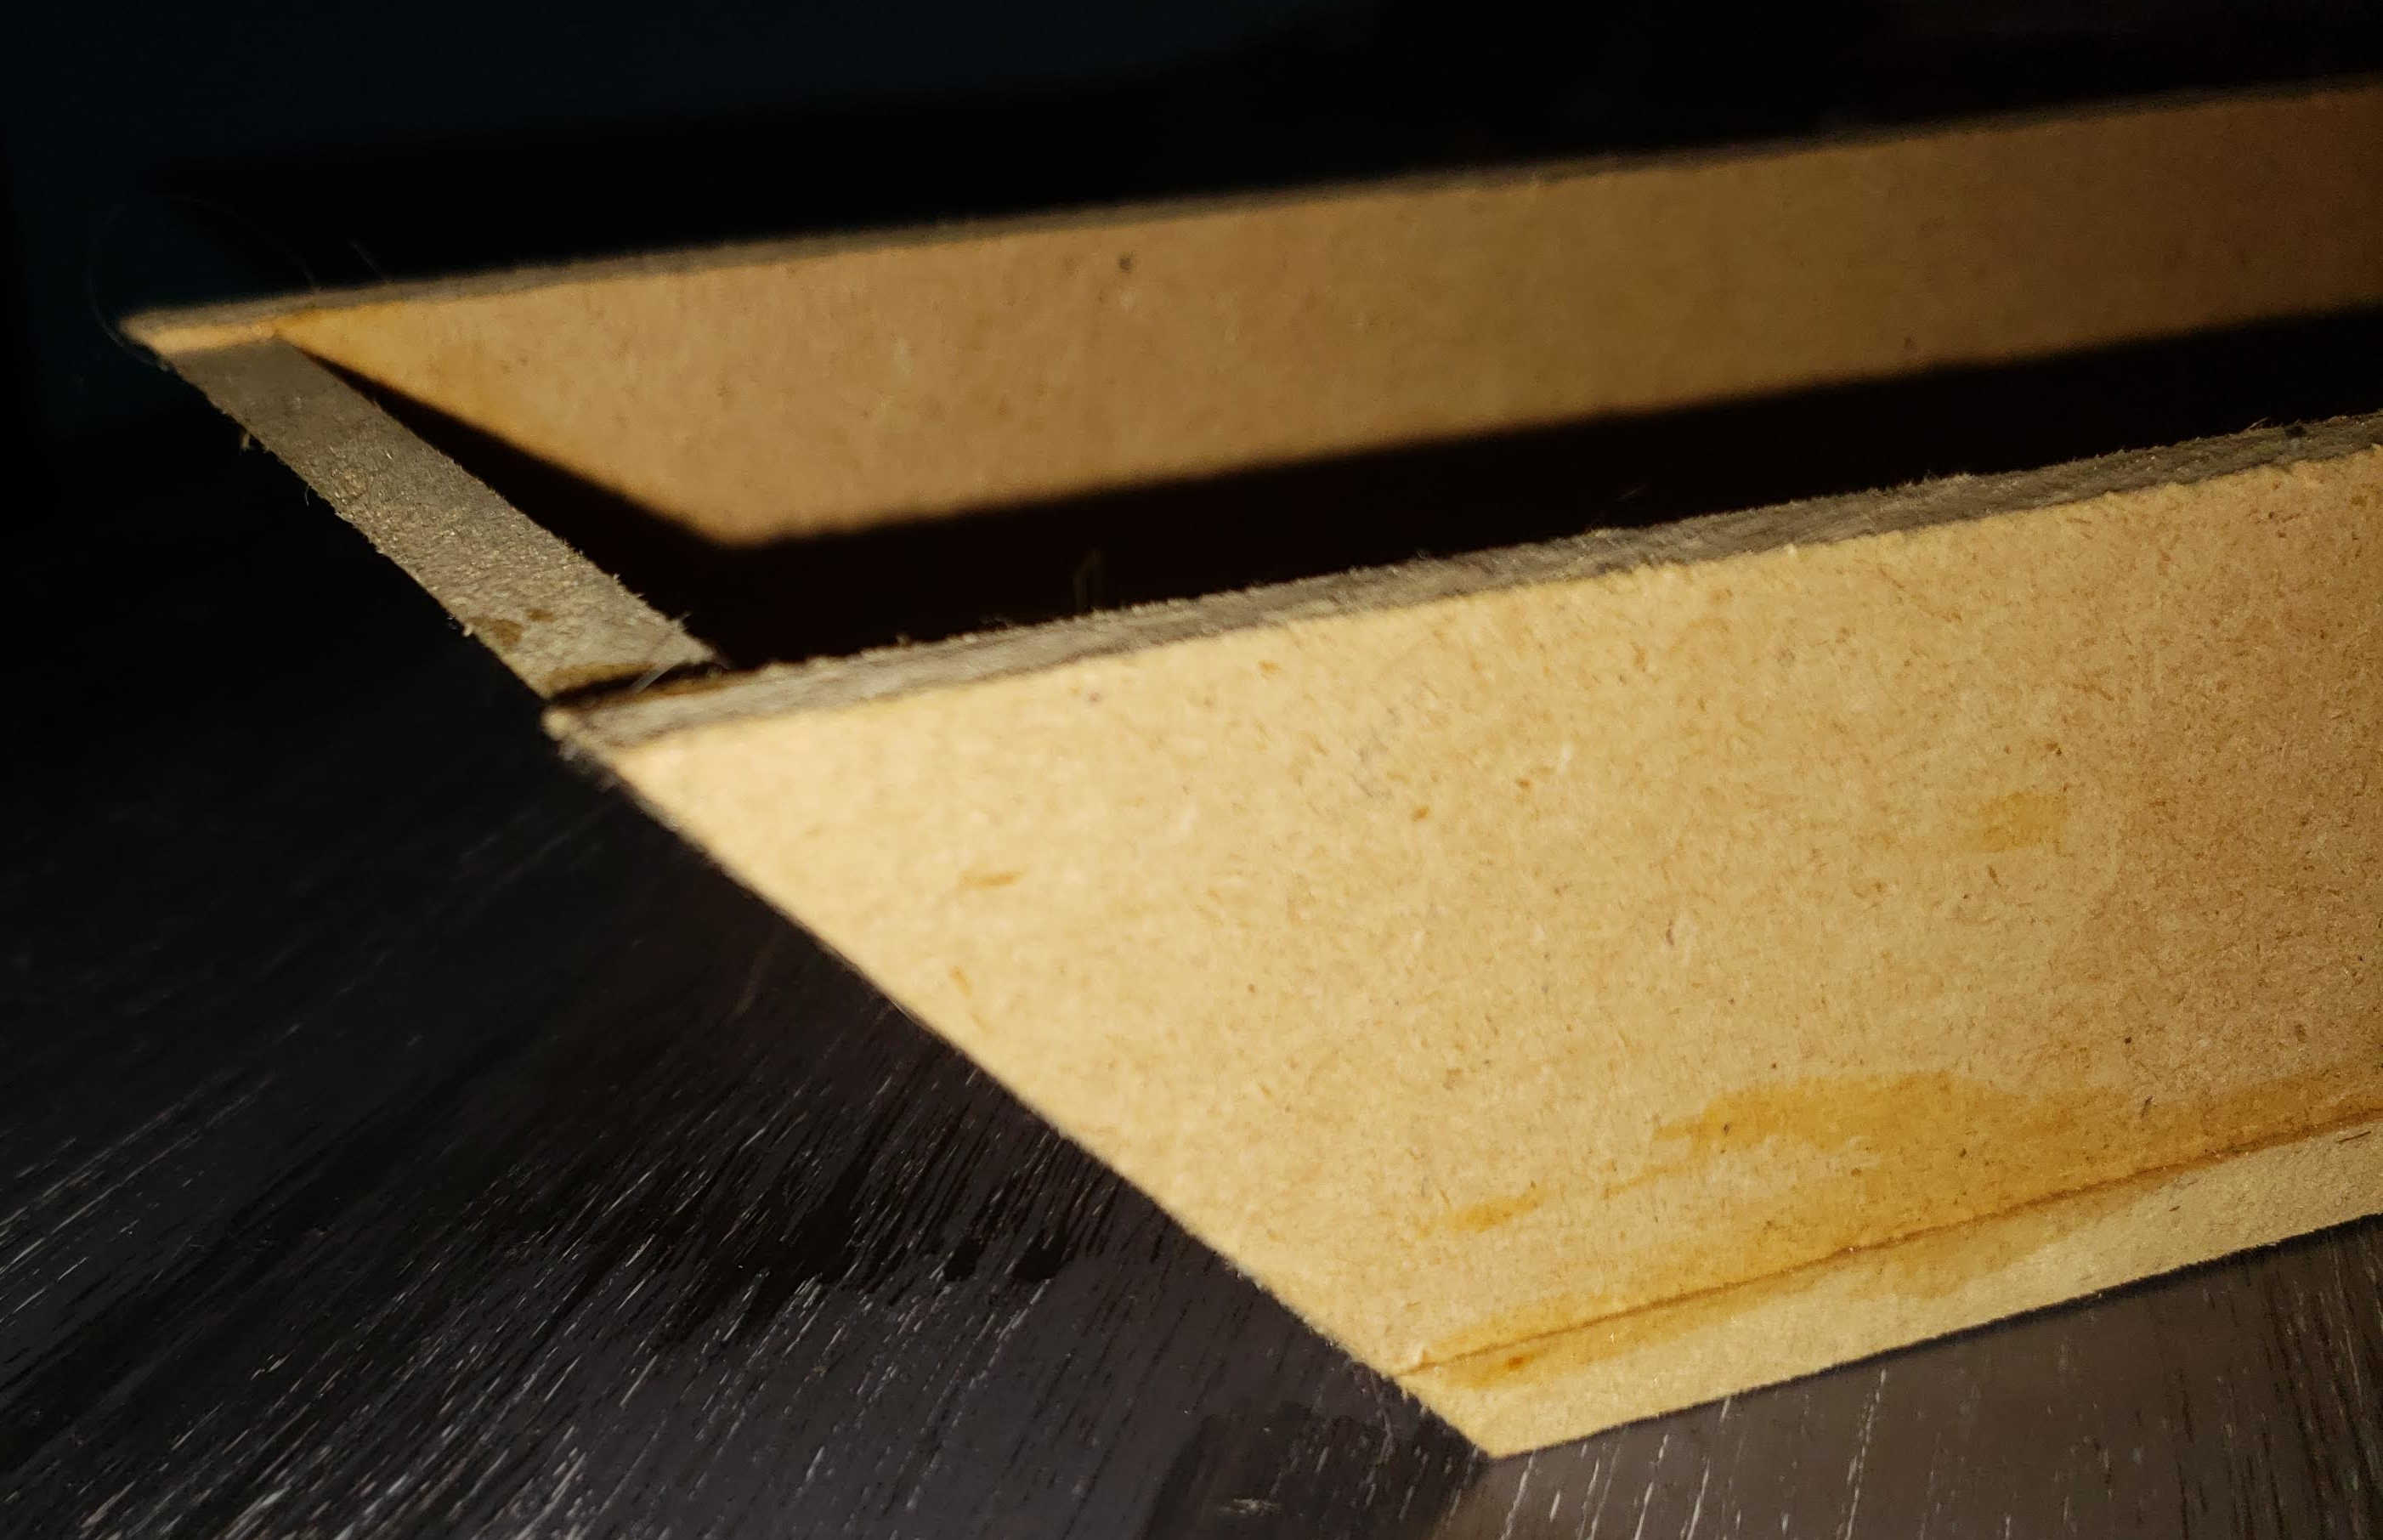
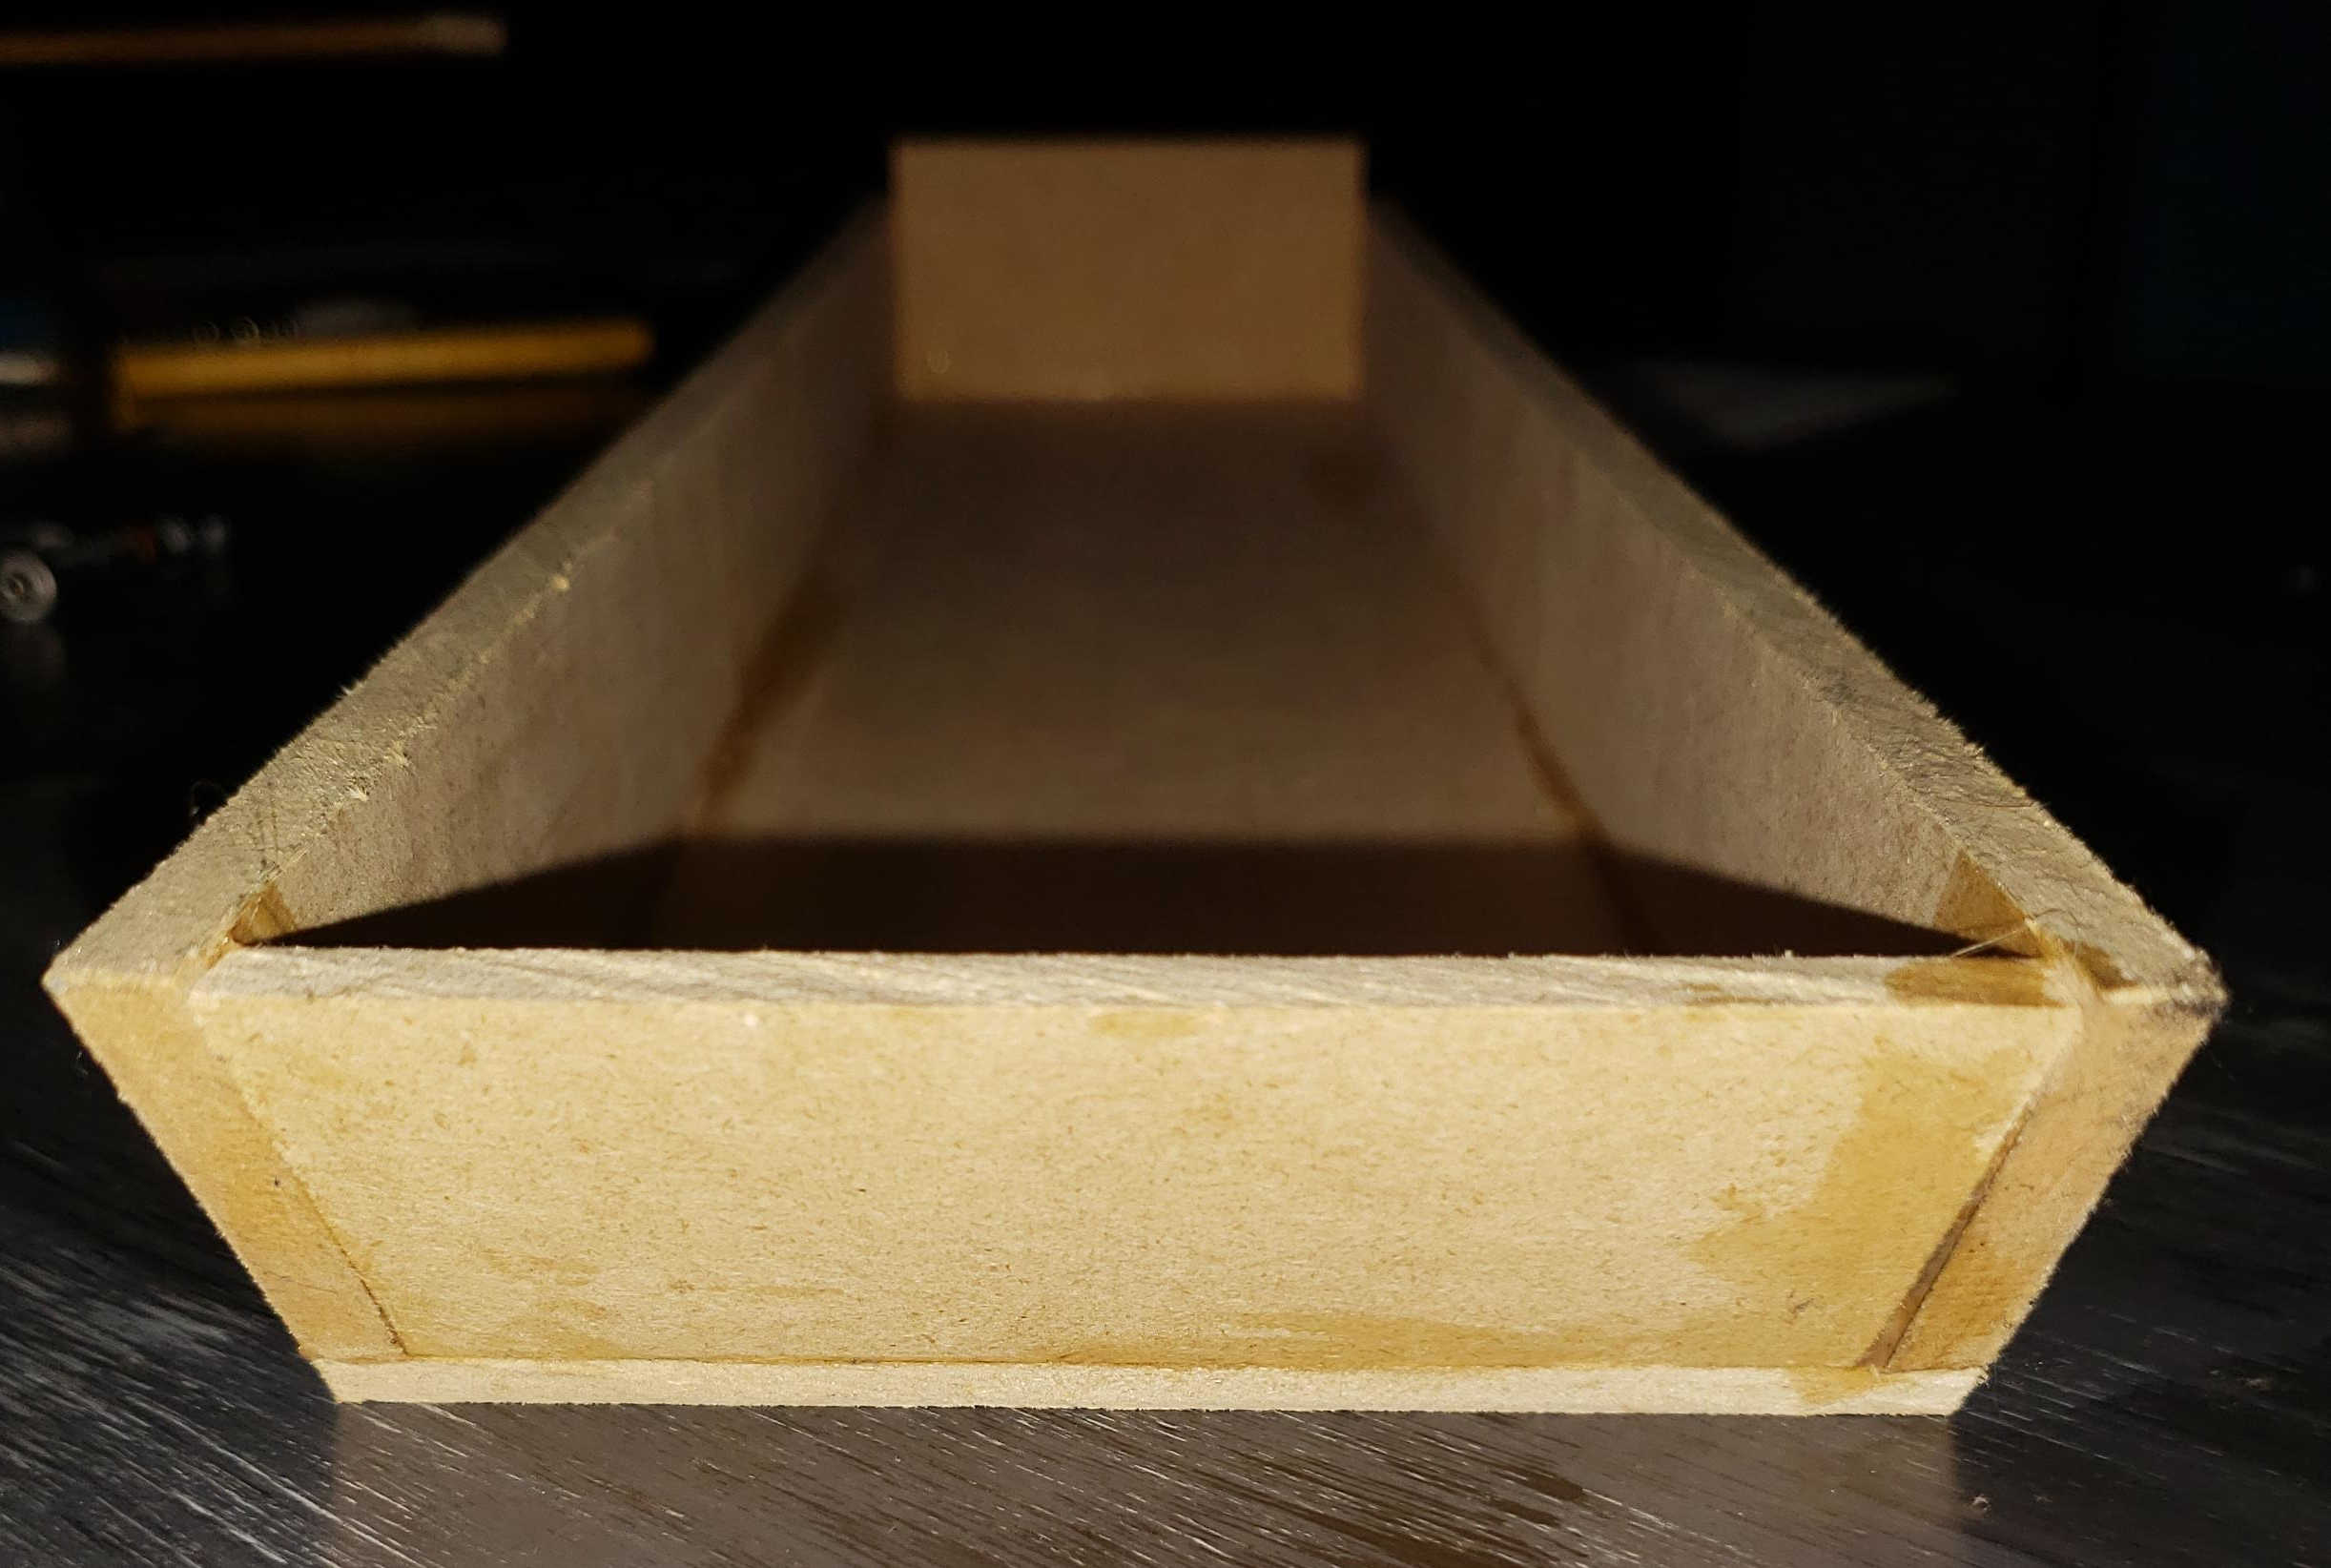
Glue the pieces together to make your drawer box:
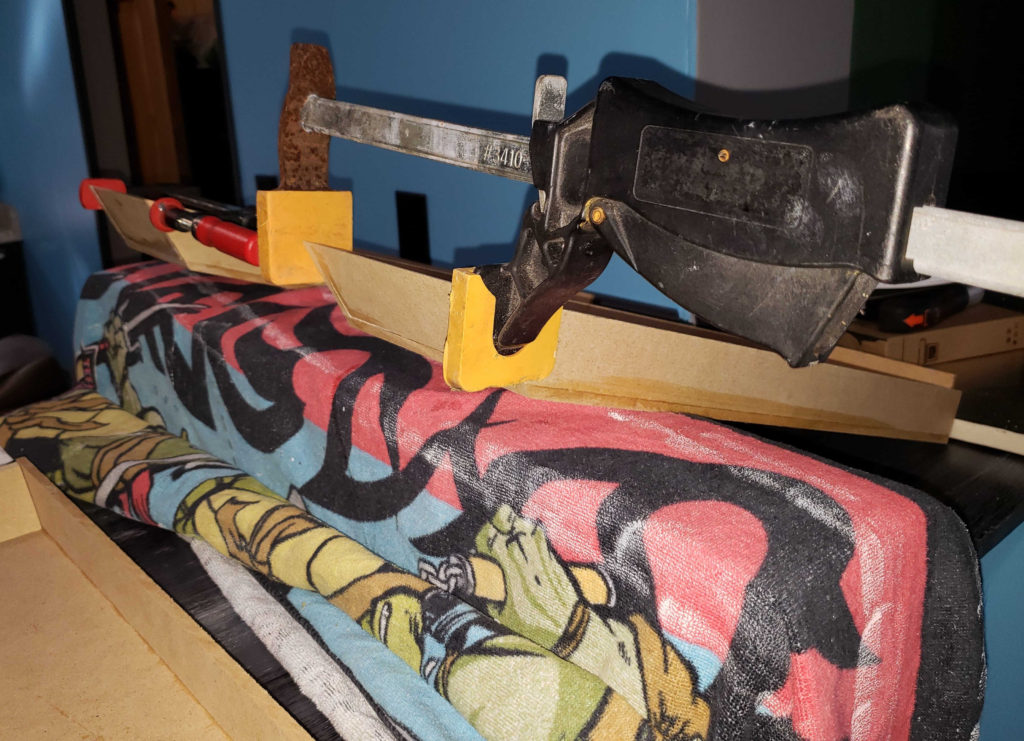
First, setup your glue stations. We set a 12pack soda box on the table and covered it with an old towel so that we could prop the drawer onto the soda box while it dried.
Apply the wood glue to the edges of the drawer pieces, then use the clamps to hold them together. We used 2 clamps for each drawer, and this definitely went smoother with the two of us working together. Hubby applied the glue and held the pieces together as I applied the clamps.
Repeat the process for each drawer: measure, cut, glue, clamp.
Make the drawer fronts:
For the drawer fronts, we used a thin piece of 1/4″ plywood. We found sheets that were 2ft x 4ft for super cheap at our local hardware store. Hubby measured to find the height and width that each drawer front should be, and then cut them using a table saw and miter saw.
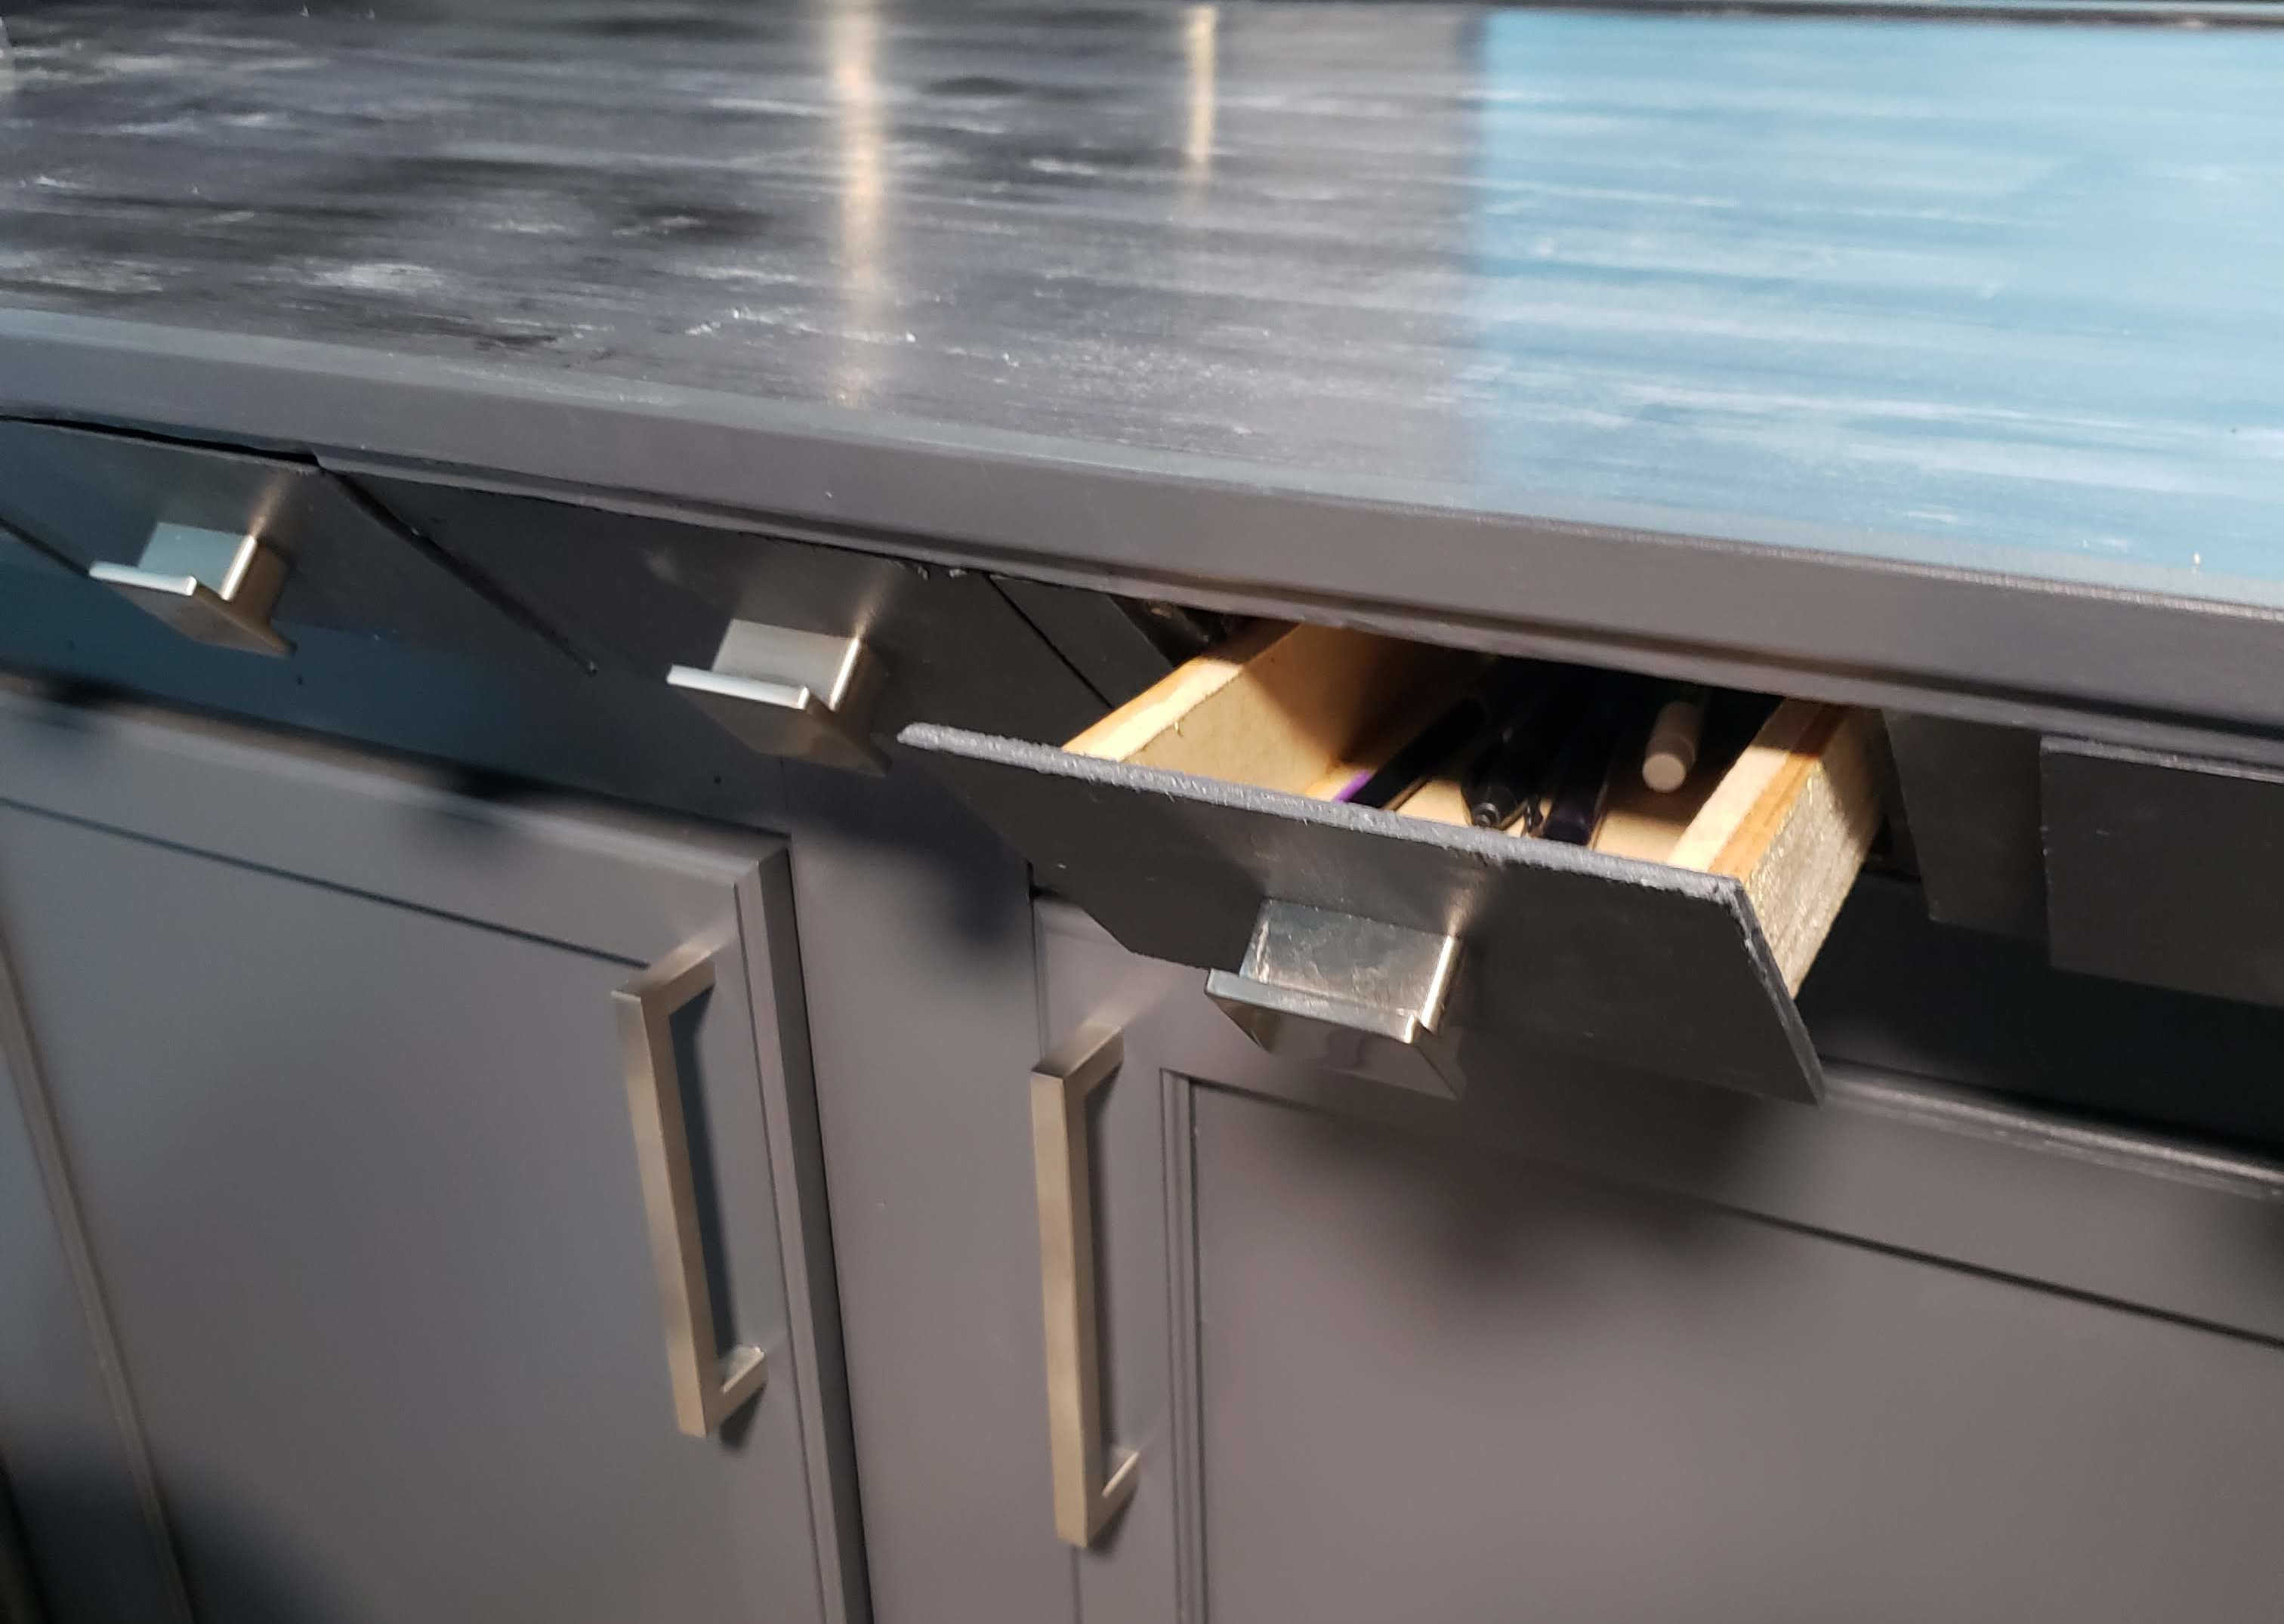
To hide the varying drawer sizes, each drawer front was cut and screwed on so that there was only a small, equal gap between each drawer front. This gives the illusion of even drawers when they’re closed.
Then we screwed and glued the drawer fronts to the drawer boxes. Once the glue was dry, hubby drilled the holes for the hardware.
After all that, the drawers were finally ready for paint! I decided to only paint the drawer fronts and leave the boxes untouched. Once the paint dried, I applied a coat of polycrylic for protection.
Last up: install the handles and fill your drawers!
I decided to make some inserts to help organize the insides of the drawers, so be sure to check out that post too!
I hope that this project inspires ideas on ways that you can add drawers to your spaces too! I’d love to hear about (and see!) your drawer projects – share below!