
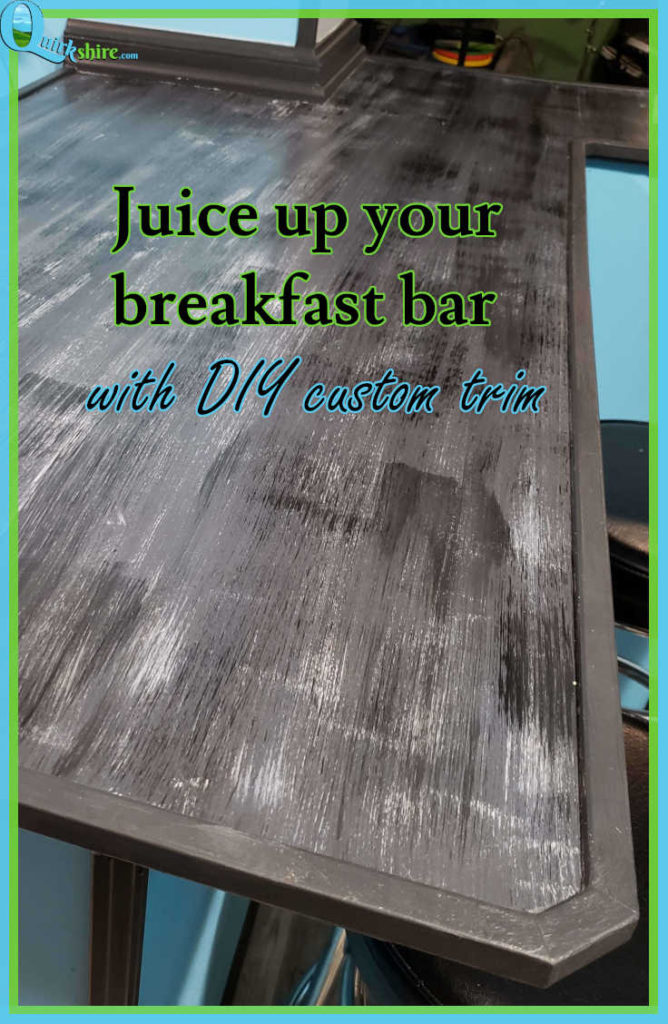
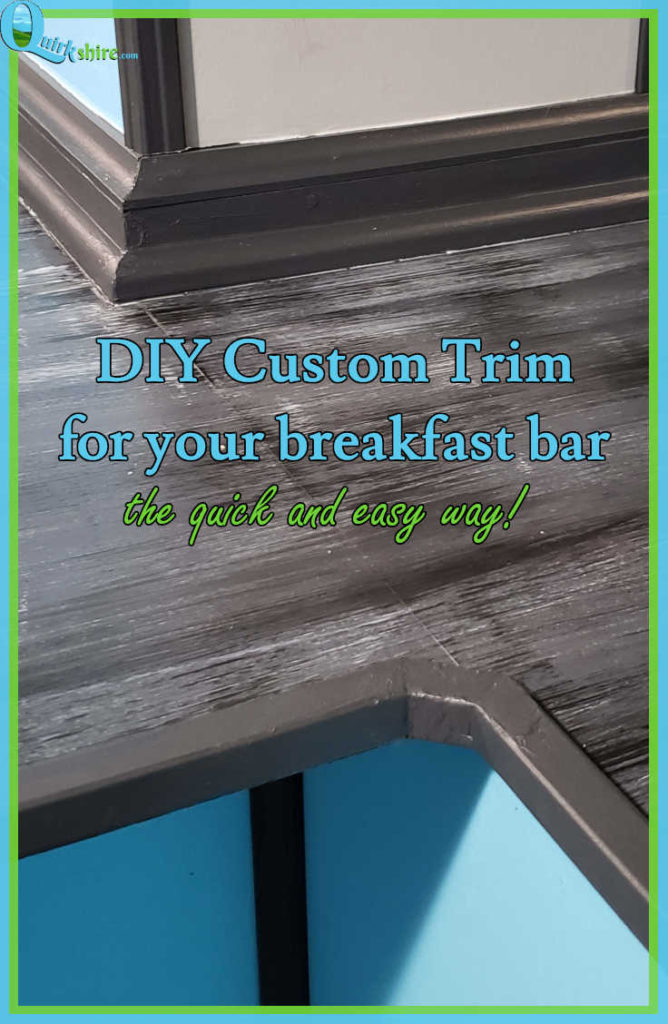
After completing our custom breakfast bar in the kitchen, hubby and I decided that it needed a little something extra to make it look complete. We played around with different wall trims until we found the perfect look to create our custom bar trim.
Some of the links in this post are affiliate links. If you click the links and make a purchase, I will earn a small commission at no additional cost to you.
Materials needed for the custom trim:
- PVC composite outside corner moulding, 1-1/8″ x 1-1/8″ (this lines the outer edges of the bar)
- PVC composite inside corner moulding, 3/4″ x 3/4″ (this makes the decorative top trim piece at the wall)
- PVC composite quarter round 5/8″ x 5/8″ (this makes the decorative top trim that touches the bar and the wall trim)
- PVC composite lattice moulding 1/4″ x 1-3/4″ (this is the trim where the table meets the wall)
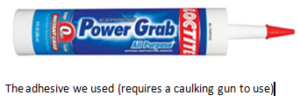
- Loctite Power Grab All Purpose Construction Adhesive (to glue the trim to the bar – comes in a caulk tube, so you will need a caulking gun to use it)
- For measuring: tape measure and pencil
- For cutting: miter saw is convenient, but a hand saw will work
- Optional: paint and polycrylic protective finish

Apply edge trim
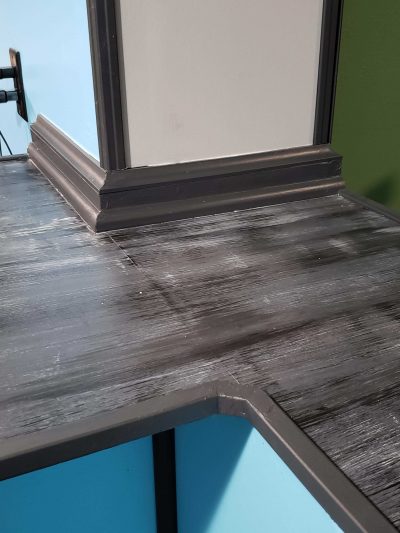
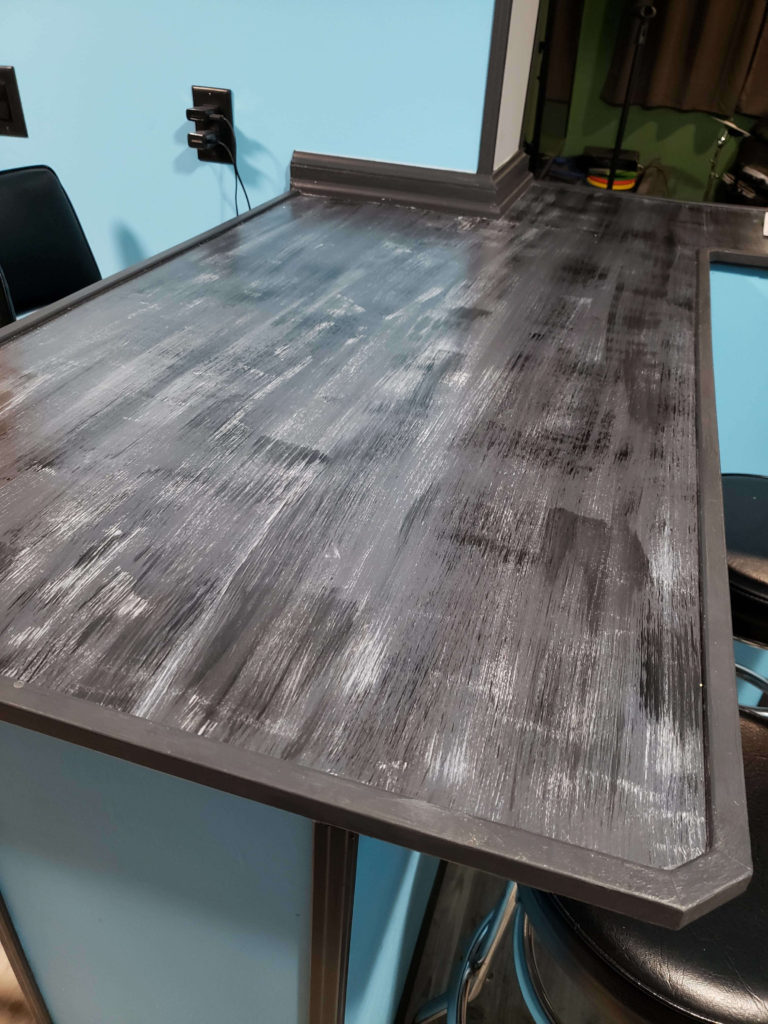
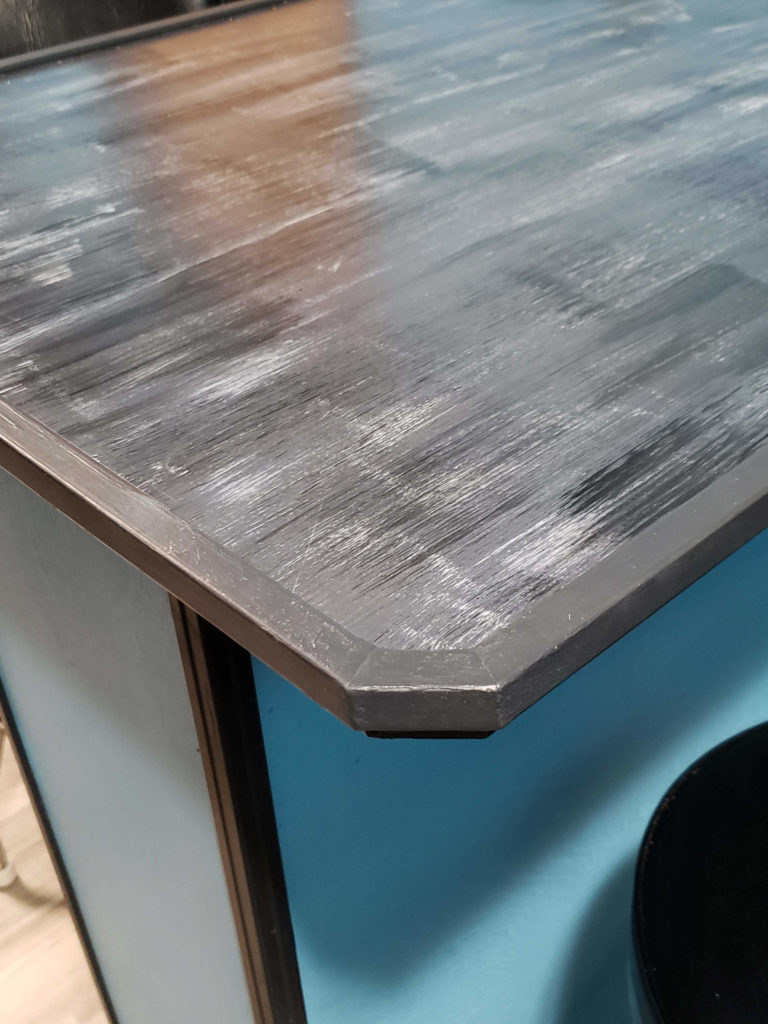
We started by taking the outer trim molding and “dry fitting” it to the edge of breakfast bar. We did some measuring and marking before we cut the trim to fit the bar. If the edges of your bar are straight corners, the edges will make simple 90⁰ angles. Cutting the ends of the trim that meet at the corner at a 45⁰ angle will give the right angle.
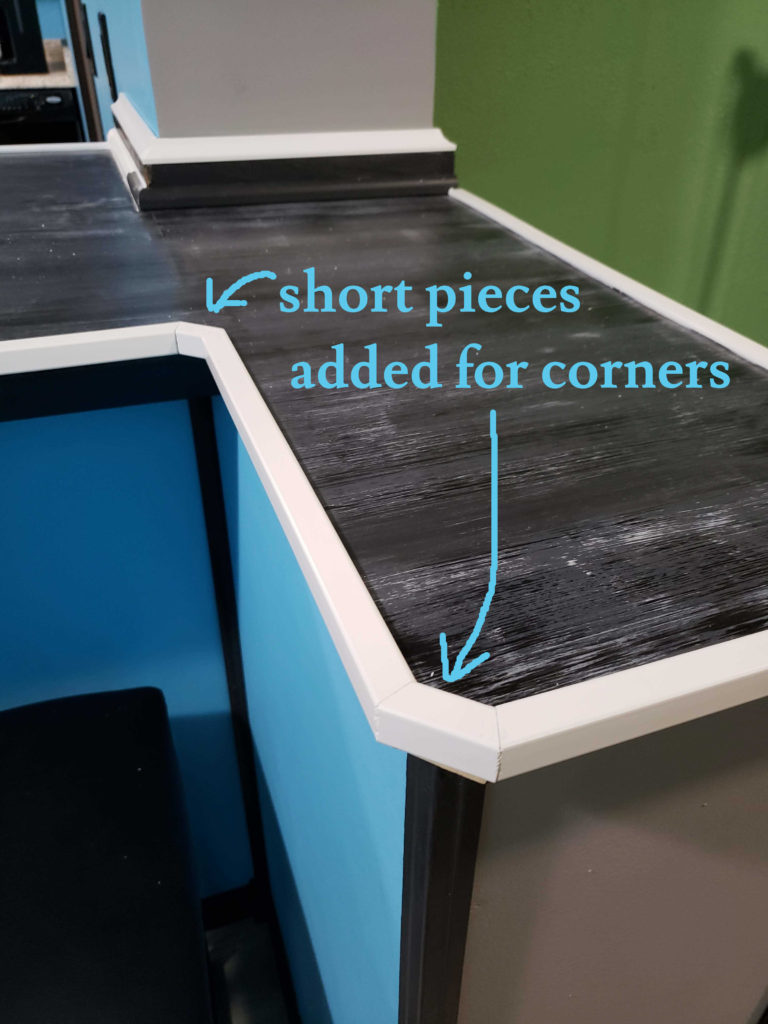
Our breakfast bar has rounded corners, so the angles were tricky. After playing with the angles of the cuts, we finally got the right fit. We ended up adding a third, short piece between the two long pieces for the best look. Don’t be afraid to play with the angles if you’re trying to fit the trim to a rounded edge! We used the outer trim moulding for the custom trim around the bar. Keep fiddling with it until you find the perfect custom trim look that you’re after!
After marking the trim for our cuts, hubby cut the trim using a miter saw. Then we “dry fit” them to the edge of the bar to be sure the pieces lined up.
Once happy with the fit, we applied the power grip adhesive to the inside of the trim and smooshed it onto the bar.
Apply wall trim
With the edge trim in place, we began working on the trim where the bar meets the wall. We played with different trim shapes and sizes placed in various configurations at the wall. It took a while, but we finally found one that we were happy with: it wasn’t too fancy but still gave a bit of flair.
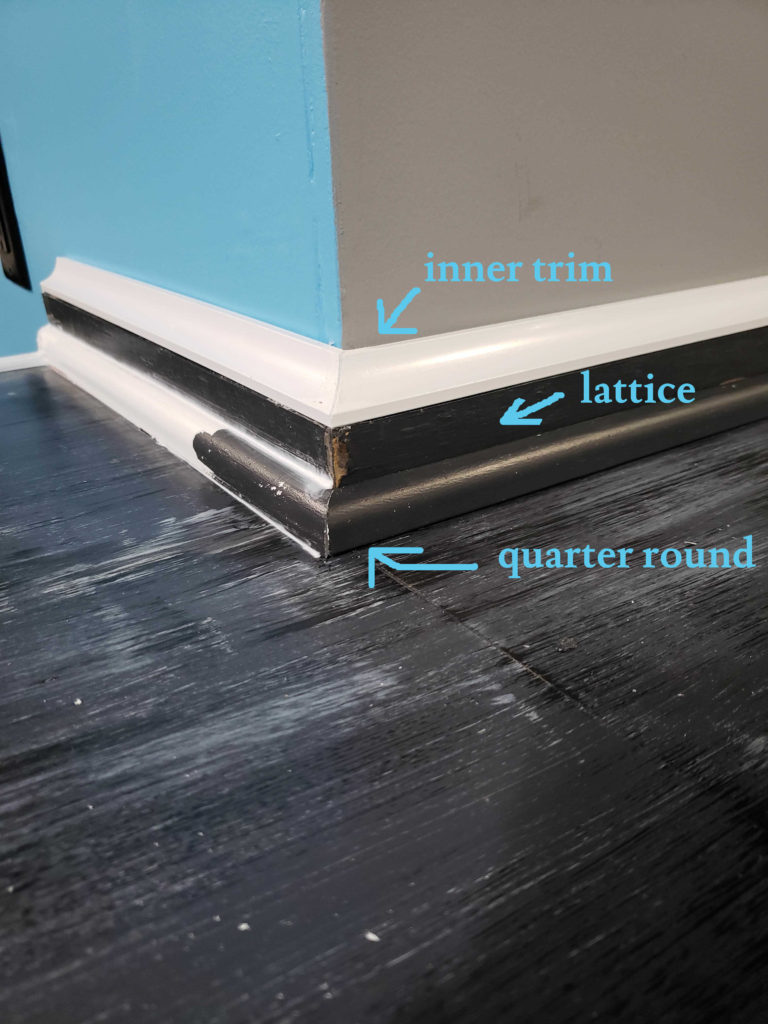
We measured, marked, and cut all three pieces of trim using a miter saw. Then we “dry fit” the trim to check the fit. Once it all looked right, we glued the trim in place, one piece at a time. We started with the lattice moulding against the wall, then applied the quarter round where the bar meets the lattice moulding. Last but not least, we glued the outer trim moulding to the top of the lattice moulding against the wall.

Finish it up with paint
We painted the new trim around the bar to match the rest of the trim in the kitchen. Then, I gave it several coats of polycrylic for protection. We’re very happy with the end result! The trim really helped give it a finished look!
Check this post out to see how we built the custom breakfast bar! It was a cheap and easy project that made a huge impact to the look (and functionality) of our kitchen!
Have you ever used trim to give a piece that “finished” look? I’d love to hear about your projects below! Thanks for reading and sharing!