
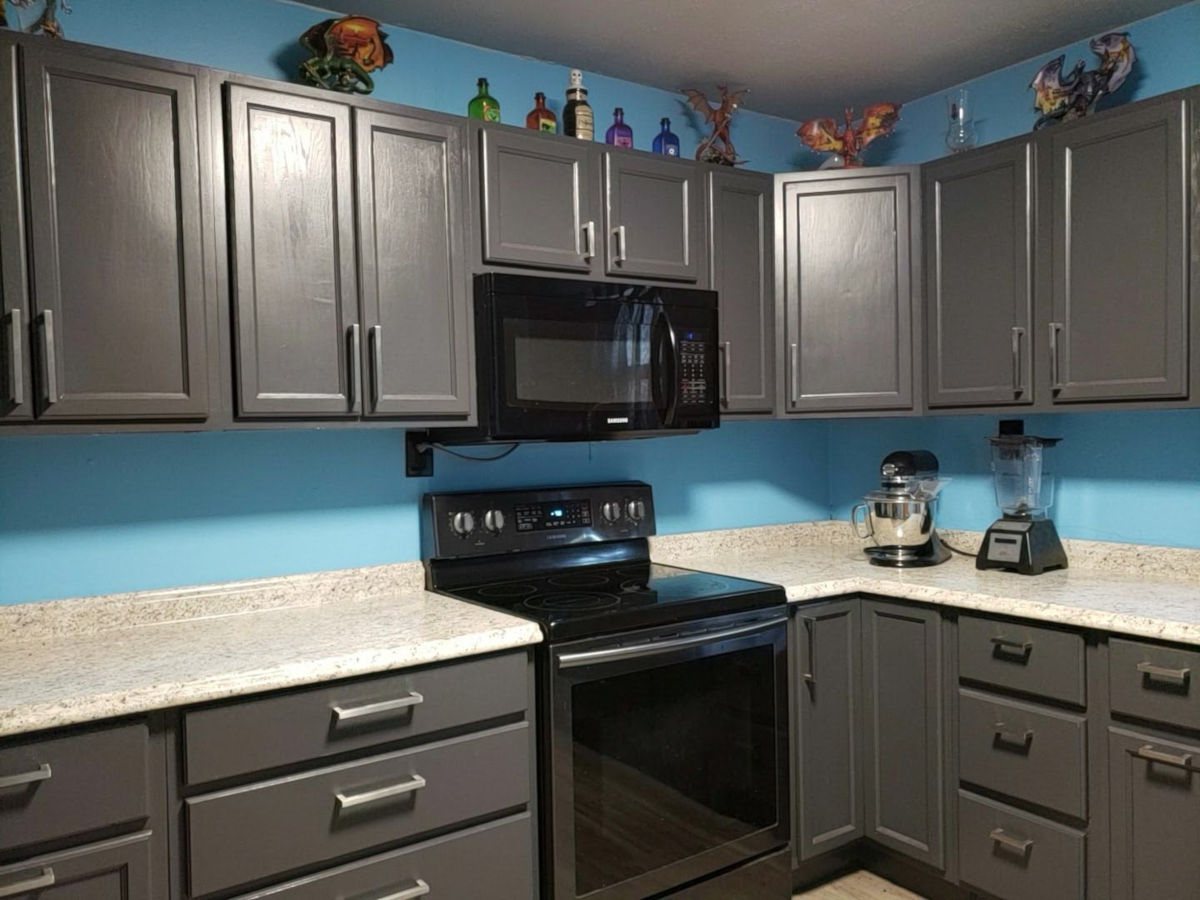
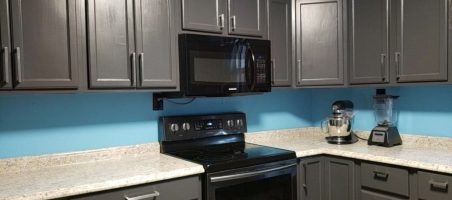
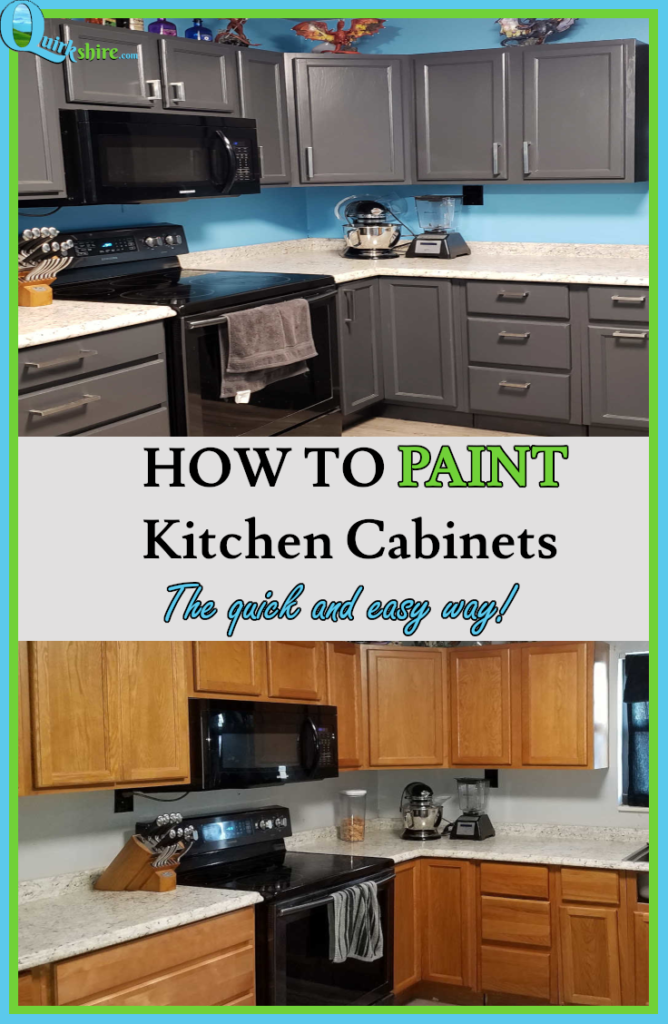
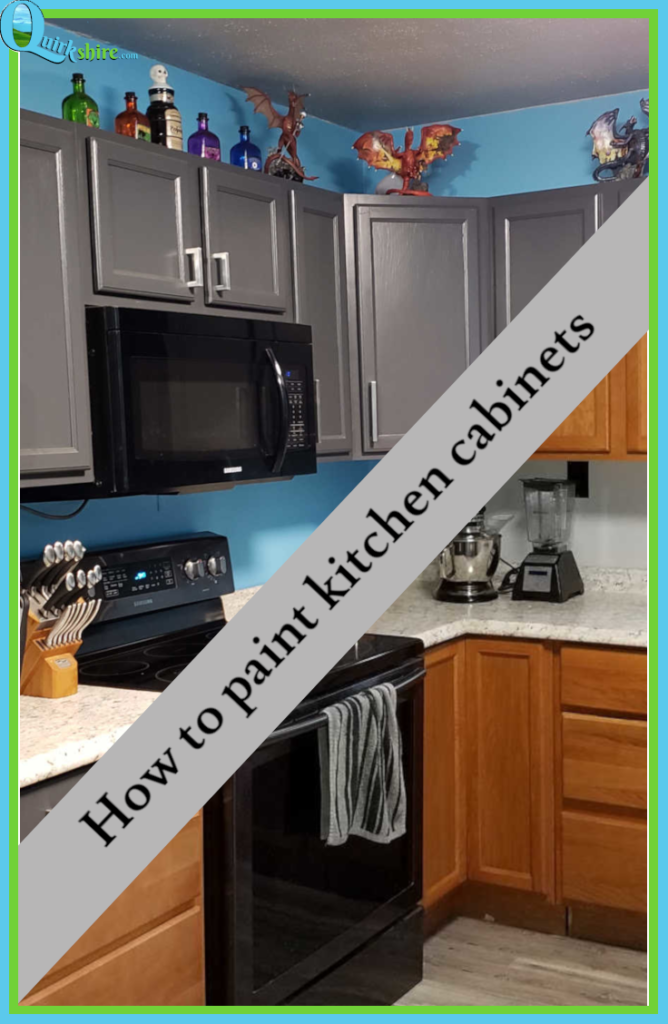
Cheap and Easy Kitchen Update: Paint your Cabinets!
Guys, my kitchen is super ugly, mostly thanks to the outdated cabinets. When we first moved in, we had ugly 1950’s white laminate cabinets. We opted to rip those out and put in cheap wood cabinets in “honey oak” shade about 2 years after we moved in. It was better than the super ugly laminate cabinets, but still didn’t really make us love our kitchen. After about 10 years of looking at the honey oak cabinets, I had enough and wanted to replace them.
Some of the links in this post are affiliate links. If you click the links and make a purchase, I will earn a small commission at no additional cost to you.
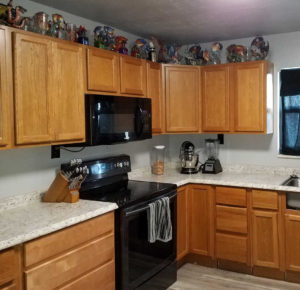
Unfortunately, kitchen cabinets are stupidly expensive and replacement just wasn’t an option. This is when I came up with the bright idea to paint them! I was worried about the paint chipping off from wear and tear, so I went on a quest to find the best technique and paint to use. After doing quite a bitch of research, I came up with the easiest, laziest way to paint my kitchen cabinets that would still give results that would last for years.
Choosing the right tools for the job:
The most important part of this project is to choose the right tools before you get started. You’ll need some basic things for this project – here’s a list:
- dish soap, water, and a rag or sponge
- a screwdriver to take the doors off of the cabinets
- some painter’s tape for storing the screws
- 1 or 2 good quality paintbrushes
- 1 mini foam paint roller
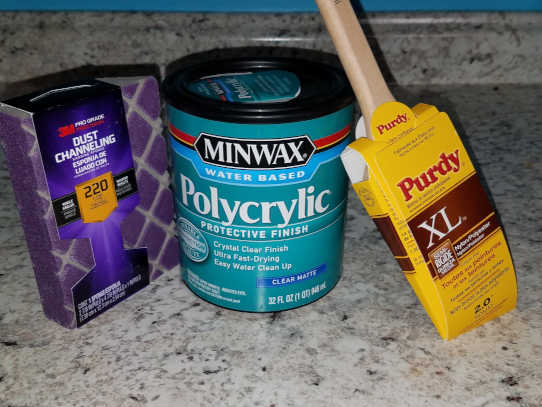
- a 220 grit sanding block (optional for protective coat step)
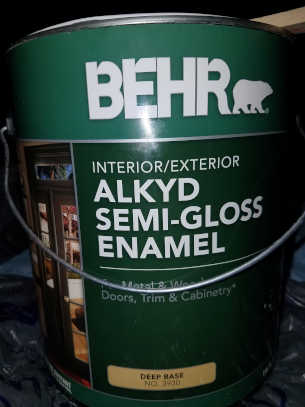
- alkyd semi-gloss enamel paint in your color choice (I used Graphic Charcoal by Behr)
- Minwax polycrilic protective finish in your sheen finish of choice (I used Clear Matte)
Clean your cabinets:
I know, it’s boring and you’re excited to start painting. Unfortunately, this step is very important and shouldn’t be skipped. Your cabinets need to be clean so that the paint will stick properly to provide a lasting result. I thought I had a pretty clean kitchen because I wipe my cabinets down somewhat regularly…boy was I wrong! There was a lot of dirt and grease that came off – especially on the cabinets above the stove!
Remove the doors and drawers:
Use your handy-dandy screwdriver to unscrew the hinges from the cabinets. I was lazy and left the hinge on the cabinet door and just painted around the hinge. If you prefer, you could remove the hinges completely to make painting the hinge area easier. Whichever method you choose, make sure that you keep the screws and hinges for each door with that specific door.
If you have handles on your doors and drawers, you will need to remove them or carefully tape them so that you can paint around them. If you choose to remove them, make sure that you keep the handle and screws together and label them to make reassembly easier.
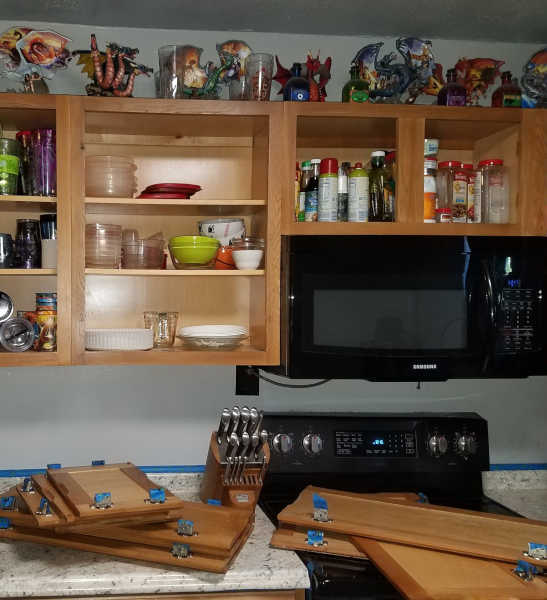
Be sure to label your cabinets and doors so that you know where the door goes when it’s time to put them all back. Trust me on this – the door needs to go back to its original home to avoid problems with hinges and screw holes not lining up. The easy way to do this is use painter’s tape to label the cabinet and the door. Wrap the screws for that hinge in tape and tape it to the door hinge or put it inside the cabinet. The blue tape that you see on the hinges is holding the screws for that specific hinge.
As you remove the doors, be sure to remove the little pads on the inside of the door. It’s really tough to paint around them and totally not worth the effort since you can pick up a big pack of them for a few bucks at the hardware store or online and just replace them. Don’t forget to remove the little pads from the drawers too, if you intend to paint that side of them.
Set up your painting stations:
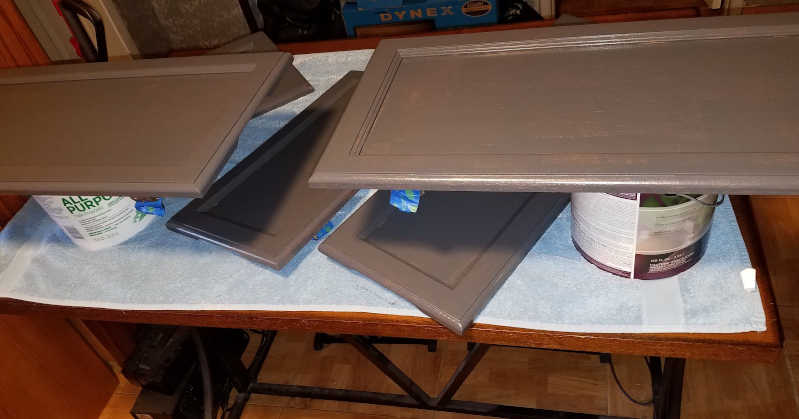
You’ll need space to lay your doors while you paint them and wait for them to dry. I used any flat space I could find – my dining table, washer, a 5 gallon bucket, etc. It works well to use a can or bucket to raise the door above the table that you sit it on, as you can see in the photos below. It takes quite a bit of time for the alkyd paint to dry, so be sure that you put the doors in a place that’s not going to be in the way. If you’re a messy painter like me, it’s a really good idea to use a drop cloth or towel to protect whatever you’re sitting the doors on.
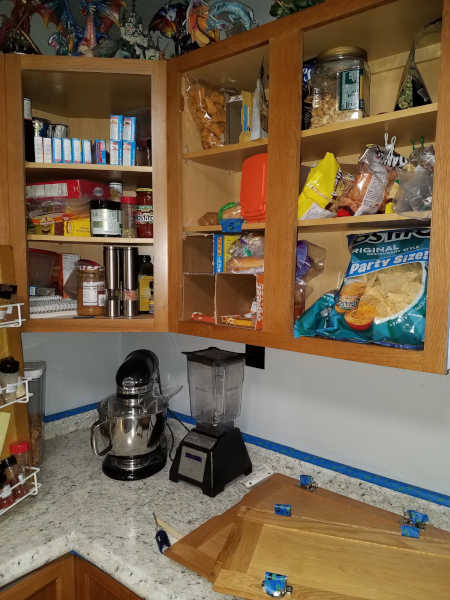
For the drawers, I found it easiest pull them out of the cabinet and empty them. Then, stand them upright so that the drawer front is pointing towards the ceiling. I was able to paint all of them easily like this. It also added the bonus of making the cabinet box easier to paint since I didn’t have to worry about the drawer being in the way.
Once your doors are all laid out, it’s time for the fun part – painting!
Paint your little heart out:
It’s finally time to paint! The best way to paint the cabinets is to start with the brush to follow along the edges of indentations or crevices on the doors. Then, take the foam roller and roll the rest of the door. This hides brush strokes best. There’s a good chance that after the first coat, you will still see the original color of your cabinets peeking through the paint. That’s OK, once the paint is completely dry, just apply a second coat.
Something to note about this alkyd paint – it takes forever to dry! Even though the can says it takes a few hours, I waited days between coats because the paint felt tacky. Resist the urge to paint over the tacky coat because it will take even longer to dry if you add a second coat, which will create a big problem in the next step when you use the polycrilic.
Paint your drawers the same way – use the brush along the edges and the roller on the rest. The most time-efficient way to paint is to apply the first coat to all doors and drawers, then paint the cabinet boxes. Once the first coat is dry on everything, apply the second coat just like you applied the first coat.
Seal and protect your beautiful cabinets:
Once the paint is completely dry, it’s time to apply the polycrilic. This will seal the paint and provide a protective layer to prevent chipping with everyday use. This step is boring and doesn’t feel rewarding because the polycrilic is clear and doesn’t really add anything visually (especially if you use matte finish like I did). It’s very important that you be sure not to miss any spots when applying the coating. It’s also a good idea to apply 2-3 coats for extra protection. The directions recommend lightly sanding in between coats. I bought a 220 grit sanding block for this, but didn’t use it because I thought it would be tough to sand some areas of the doors and I got lazy by this point.
The polycrilic should be applied to everything – doors, drawers, and cabinet boxes. This stuff is very runny, so be careful about drips and wipe them away quickly to get the best finish.
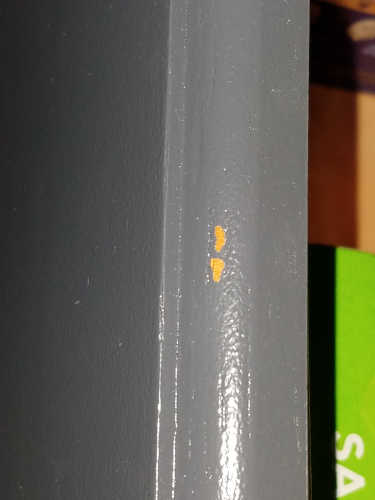
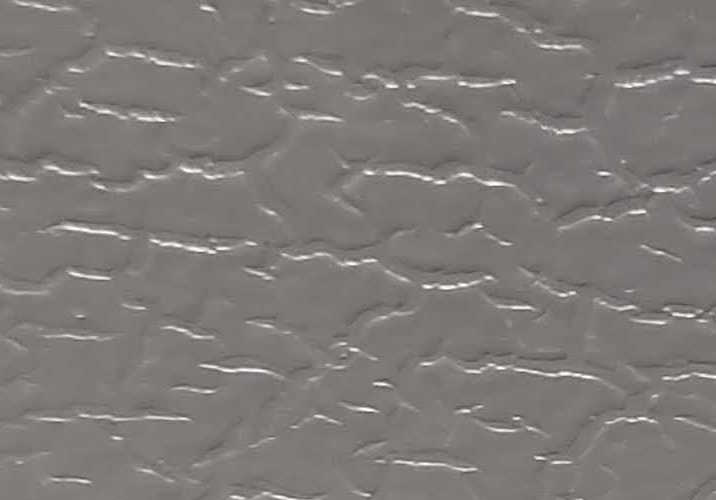
If you miss a spot with the polycrilic, it leaves the paint vulnerable to chipping. Also, it’s very important that the paint be completely dry before applying the polycrilic. If the paint is tacky and you apply the polycrilic over it, you will get a strange alligator looking texture. You can see these problems from my boo-boos in the picture below.
Put it all back together:
Once the top coat is dry, it’s time to put everything back together! Here’s the part where the extra effort of labeling your cabinets and doors, and keeping the hardware with the right door really pays off. Use the hinges and screws that belong to each door and put the doors back on. Put your drawers back in and put the stuff back in the drawers. If you’re using the same hardware, go ahead and put it back on.
Apply new door and drawer handles:
This is the perfect time to change to a new handle (or add them if you never had them, like me!). We did a lot of searching before we settled on the handles. They were crazy expensive at the hardware store for the style that we wanted, so I ended up searching online. Amazon pulled through again, and I found many big packs of handles for a much cheaper price. I went with 6.25 inch bar pulls for the cabinets and wide drawers and 3 inch bar pulls for the smaller drawers. These were a total steal for the price I paid, plus they’re beautiful and durable!
The hubby used a cabinet handle template to drill the holes in the doors and drawers. Then he screwed the handles on using the screws that were provided in the pack that we bought.
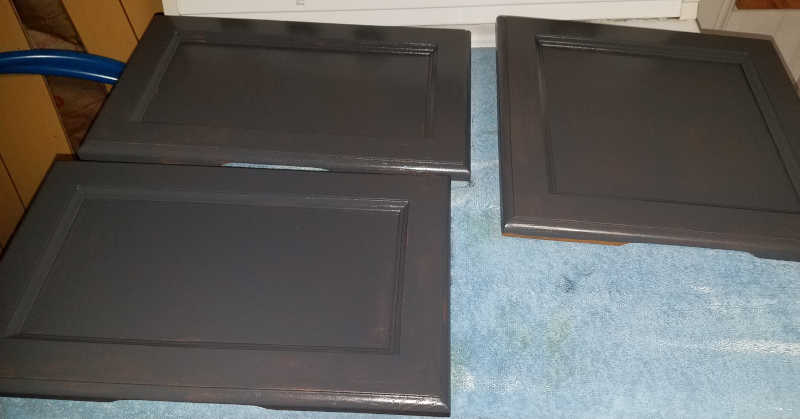
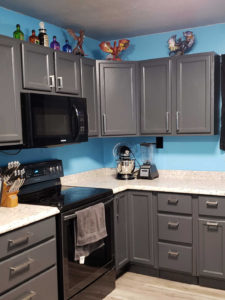
Now, stand back and admire your hard work.
This project wasn’t hard, but it definitely turned out to be more time consuming than I expected. What about you? Do you have a cabinet painting adventure to share with us? Did this inspire you to take the plunge and paint your cabinets? I’d love to hear from you!
Be sure to check out the rest of our kitchen makeover. We closed off part of the entryway from the living room to the kitchen by building a half wall. Then we added a custom breakfast bar. The result is a beautiful kitchen that we love!